Cabbage is one of the most nutritious and versatile vegetables, packed with vitamins, minerals, and antioxidants. From soups and salads to stir-fries, cabbage is a staple in many households. But for housewives and urban gardeners with limited space, growing a full cabbage garden can seem impossible.
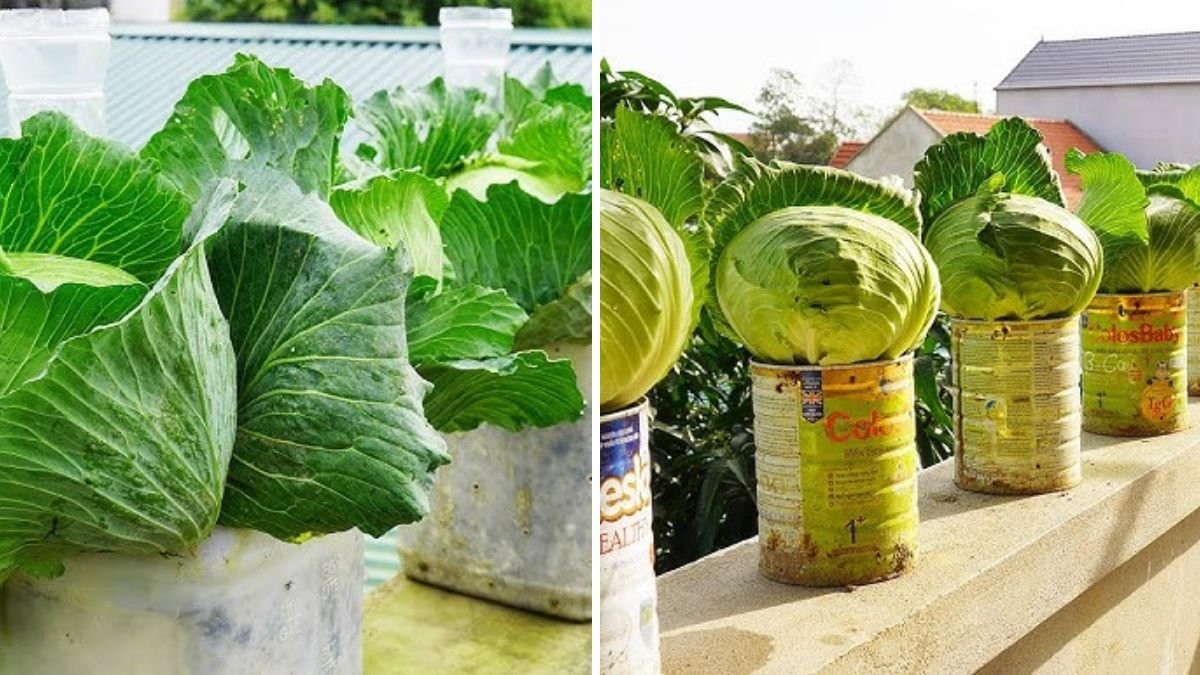
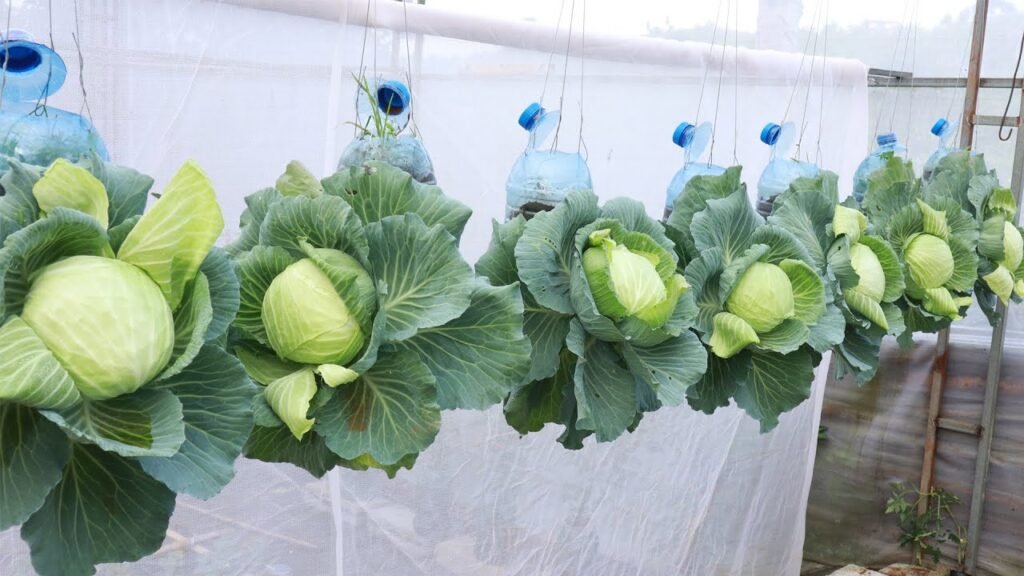
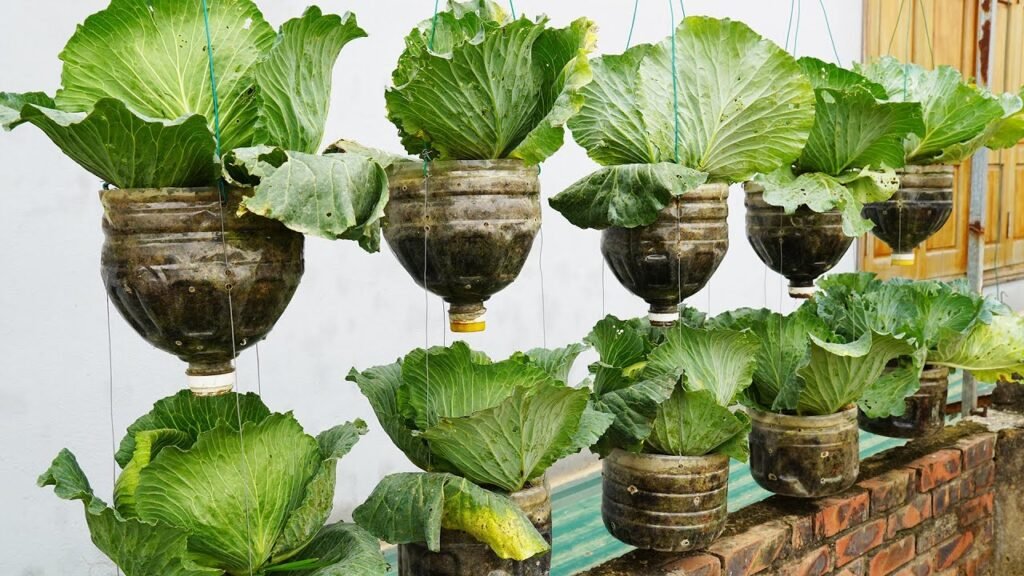
What if you could grow cabbage right at home in plastic bottles, turning even the smallest balcony, windowsill, or countertop into a productive, space-saving garden?
This article reveals a step-by-step, beginner-friendly method to grow cabbages in recycled plastic bottles, ensuring a high-yield, cost-effective, and beautiful home garden.
🌱 Why Growing Cabbage in Plastic Bottles Works
Plastic bottle gardening is ideal for urban households for several reasons:
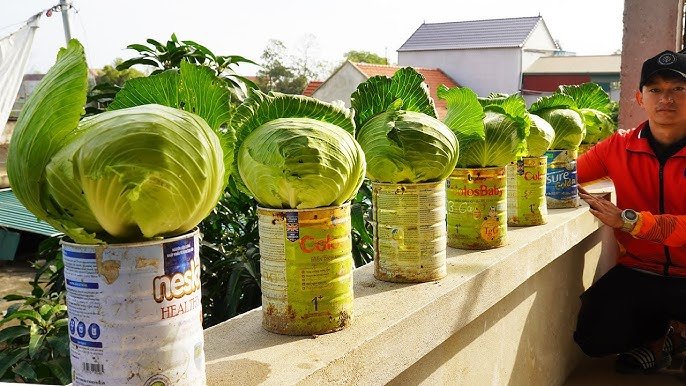
- Space-efficient: Perfect for small balconies, kitchens, or windowsills.
- Cost-effective: Recycle old bottles instead of buying pots.
- Controlled growth: You manage soil, water, and nutrients easily.
- Year-round gardening: Grow cabbages anytime without a traditional garden.
- Fun and sustainable: Reusing bottles reduces waste and teaches eco-friendly gardening.
Even beginners can enjoy lush, healthy cabbage heads using this innovative method.
🥤 Step 1: Choose the Right Plastic Bottles
The type and size of the bottle affect cabbage growth:
- Use 2-liter or larger bottles for big cabbage heads.
- Clean and remove labels for better aesthetics and sunlight exposure.
- Cut the bottle horizontally or vertically to create a planting space and drainage system.
- Punch small drainage holes at the bottom to prevent waterlogging.
Pro tip: Transparent bottles allow you to monitor root growth and soil moisture easily.
🪴 Step 2: Prepare a Nutrient-Rich Soil Mix
Cabbage requires fertile, well-draining soil for optimal growth:
Soil mix for bottle gardening:
- 2 parts garden soil
- 1 part compost or well-rotted manure
- 1 part sand or perlite for drainage
Mix thoroughly to provide nutrients and aeration for strong roots and large cabbage heads.
🌿 Step 3: Select Healthy Cabbage Seedlings or Seeds
Start with either seedlings or seeds:
- Seedlings: Stronger and faster to mature. Choose plants with healthy, green leaves.
- Seeds: Sow in a small tray first and transplant when seedlings have 4–5 true leaves.
Healthy seedlings ensure high yield and minimal transplant shock.
🌞 Step 4: Planting Cabbage in Bottles
Planting properly is key to healthy growth:
- Fill the bottom of the bottle with soil mix.
- Create a small hole for the seedling or seed.
- Place the cabbage plant or seed in the hole, burying the roots but leaving leaves above soil.
- Lightly press the soil around the plant to secure it.
Tip: Space bottles adequately to allow airflow and prevent disease.
💧 Step 5: Watering and Moisture Control
Cabbage needs consistent moisture for fast and healthy growth:
- Water every 2–3 days, depending on climate.
- Keep soil evenly moist, not waterlogged.
- Mulch the soil surface with straw or dried leaves to retain moisture.
Proper watering prevents bolting and promotes large, crisp heads.
🌿 Step 6: Fertilizing for Big, Healthy Cabbage
To grow large cabbage heads, feed plants regularly:
- Apply organic compost or well-rotted manure every 2–3 weeks.
- Use nitrogen-rich fertilizer during leaf growth to boost size.
- When cabbage heads start forming, add potassium and phosphorus to improve firmness and taste.
Fertilization ensures lush, juicy, and flavorful cabbages.
🕒 Step 7: Sunlight and Temperature Requirements
Cabbage grows best in moderate temperatures and ample sunlight:
- 6–8 hours of sunlight daily is ideal.
- Maintain temperatures between 15–25°C for optimal growth.
- In hot regions, provide partial shade to prevent heat stress.
Correct sunlight exposure encourages strong stems and vibrant leaves.
✂️ Step 8: Pruning and Care
Although cabbage is relatively low-maintenance, proper care increases yield:
- Remove yellowing or damaged leaves regularly.
- Pinch off small side shoots if overcrowding occurs.
- Support tall plants with small stakes if needed.
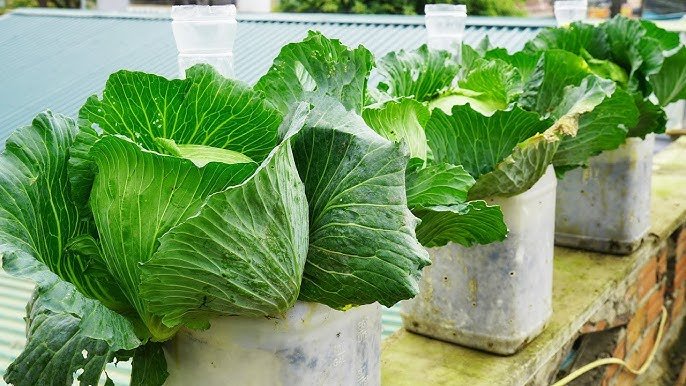
Healthy plants produce large, firm, and well-shaped cabbage heads.
🐞 Step 9: Pest and Disease Management
Even balcony-grown cabbages can face pests like aphids, caterpillars, or whiteflies:
- Inspect plants frequently for insect damage.
- Spray a mild neem oil solution or homemade garlic spray for natural pest control.
- Avoid overcrowding to reduce fungal infections.
Proactive care ensures beautiful, pest-free cabbage heads.
🍴 Step 10: Harvesting Your Cabbage
Cabbage is ready for harvest when:
- Heads are firm, dense, and fully formed.
- Outer leaves are large and healthy.
- Cut the head from the base with a sharp knife.
Harvesting regularly encourages faster regrowth for smaller side heads in some varieties.
🌟 Step 11: Tips for Maximizing Balcony Cabbage Yield
- Use large bottles to allow root expansion.
- Maintain consistent moisture and nutrient levels.
- Rotate bottles occasionally for even sunlight.
- Mulch soil to reduce evaporation.
- Propagate side shoots to increase the number of plants.
Following these tips can transform a few bottles into a thriving cabbage garden.
🏡 Benefits of Growing Cabbage in Plastic Bottles
- Space-saving: Ideal for balconies, kitchens, and small apartments.
- Eco-friendly: Reuse plastic bottles and reduce waste.
- Fresh, chemical-free vegetables: Control soil and fertilizer.
- Cost-effective: Save money while producing multiple harvests.
- Fun and satisfying: A hands-on gardening experience for beginners and housewives alike.
🍀 Step 12: Conclusion – Your Dream Cabbage Garden at Home
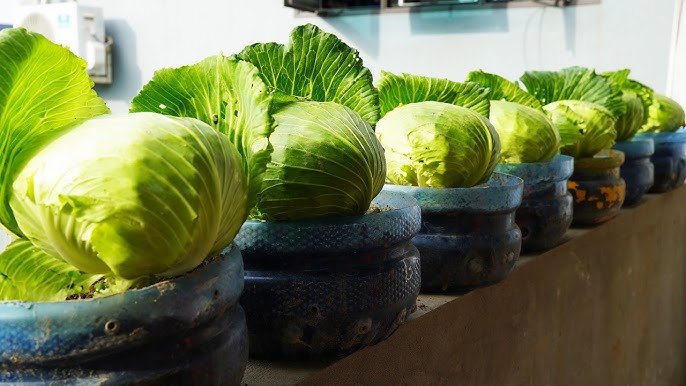
Plastic bottle gardening is a game-changer for urban households, allowing housewives and home gardeners to grow healthy, crisp, and delicious cabbages with minimal space and effort.
From selecting bottles and soil to planting, watering, and harvesting, this method is simple, cost-effective, and sustainable. You can enjoy year-round cabbage harvests right on your balcony, saving money and eating fresh, chemical-free vegetables every day.
Start today, and turn ordinary plastic bottles into a lush, productive cabbage garden — a housewives’ dream come true!