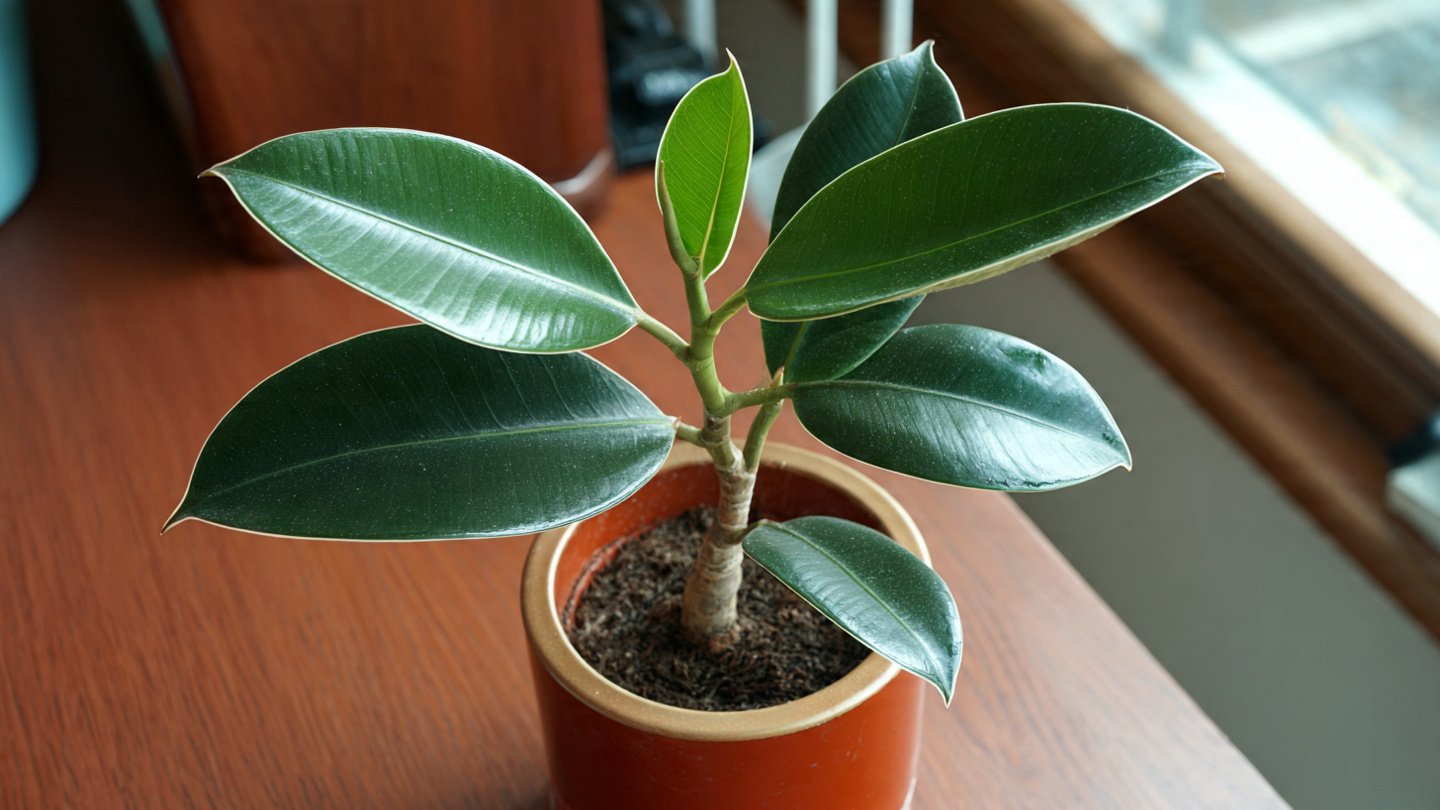
Rubber plants (Ficus elastica) are popular houseplants known for their glossy, leathery leaves and hardy nature. They are relatively easy to care for and can enhance the aesthetic appeal of any indoor space. One of the most effective ways to multiply rubber plants is through propagation using stem nodes. This method encourages healthy growth and ensures the new plants develop strong root systems. In this detailed guide, we’ll explore the step-by-step process of propagating rubber plants via stem nodes, along with tips for ensuring success and maintaining plant health.
Understanding Rubber Plant Propagation
Propagation is the process of creating new plants from existing ones. For rubber plants, propagation can be done by seed, air layering, or stem cuttings. Using stem nodes for propagation is one of the simplest and most popular methods because it is quick, reliable, and results in new plants that are clones of the parent.
What are Stem Nodes?
Stem nodes are the points on a stem where leaves, branches, or aerial roots grow. These nodes contain meristematic cells capable of generating roots and shoots, making them ideal for propagation. When a cutting containing a node is planted, it stimulates root growth from the node, leading to the development of a new plant.
Materials Needed for Propagation
Before you begin, gather the necessary materials to ensure a smooth propagation process:
- Healthy rubber plant
- Sharp, sterilized pruning shears or scissors
- Clean water
- Small pots or containers
- Well-draining potting mix (a mix of peat, perlite, and potting soil works well)
- Rooting hormone (optional but can improve success rates)
- Plastic bags or propagation domes (to maintain humidity)
- Spray bottle for misting
Step-by-Step Guide to Propagating Rubber Plants Using Stem Nodes
Step 1: Select a Healthy Parent Plant
Start by choosing a healthy rubber plant with no signs of disease or pest infestation. Look for firm, green stems with vibrant leaves. Avoid using weak or damaged stems as they may not root well.
Step 2: Identify the Stem Nodes
Look closely at the stem for nodes – the swollen areas where leaves emerge. These nodes are essential for propagation because they contain the necessary tissues to produce roots.
Step 3: Take Stem Cuttings
Using sterilized pruning shears or scissors, cut a stem segment that includes at least 2-3 nodes. The cutting should be about 4 to 6 inches long. Make a clean cut just below a node to maximize rooting potential.
Step 4: Prepare the Cutting
Remove the lower leaves near the bottom of the cutting, leaving 2-3 leaves at the top. This reduces water loss through transpiration while the cutting develops roots. If you want, dip the cut end in rooting hormone to encourage root growth, although rubber plants often root well without it.
Step 5: Rooting the Cutting in Water or Soil
Water Propagation
- Place the cutting in a clear container of clean water, making sure at least one node is submerged but leaves are above water.
- Change the water every few days to prevent stagnation and bacterial growth.
- Place the container in a warm, bright location with indirect sunlight.
- After 2-4 weeks, roots should start to develop from the submerged nodes.
Soil Propagation
- Fill a small pot with well-draining potting mix.
- Make a hole in the soil and insert the cutting deep enough so that at least one node is buried.
- Firm the soil around the base of the cutting.
- Water lightly to keep the soil moist but not soggy.
- Cover the pot with a plastic bag or propagation dome to maintain humidity.
- Place the pot in a warm, bright spot with indirect sunlight.
- In 4-6 weeks, roots should develop, and new growth may appear.
Step 6: Transplanting Rooted Cuttings
Once roots are well established (usually 2-4 inches long), you can transplant the cutting into a larger pot with regular houseplant soil. Make sure the pot has drainage holes to prevent waterlogging.
Step 7: Care for the New Plant
- Keep the soil moist but avoid overwatering.
- Provide bright, indirect sunlight.
- Gradually acclimate the new plant to its environment by reducing humidity and increasing airflow.
- Fertilize lightly with a balanced, water-soluble fertilizer after a few months to encourage growth.
Tips for Successful Propagation
- Use healthy cuttings: Avoid cuttings from yellowing or damaged stems.
- Maintain humidity: Humidity helps prevent the cutting from drying out before roots develop. Use misting or plastic covers.
- Temperature: Keep cuttings at a warm temperature (70-75°F or 21-24°C) to encourage root growth.
- Light: Indirect sunlight is best; direct sun can scorch cuttings.
- Patience: Root development can take several weeks, so be patient and monitor progress.
Common Problems and Solutions
- Cuttings not rooting: Ensure the cuttings have nodes submerged and keep the environment warm and humid. Use rooting hormone if necessary.
- Rotting cuttings: Avoid overwatering and make clean cuts to prevent infections.
- Yellowing leaves: This may indicate overwatering or low humidity; adjust care accordingly.
Why Propagate Rubber Plants Through Stem Nodes?
Propagation through stem nodes is ideal because it:
- Produces genetically identical plants.
- Is cost-effective compared to buying new plants.
- Allows gardeners to expand their rubber plant collection.
- Can rejuvenate older plants by creating new growth.
- Is a relatively easy method suitable for beginners.
Conclusion
Propagating rubber plants using stem nodes is a highly rewarding process that can bring vibrant new life to your indoor garden. By choosing healthy stems, properly preparing cuttings, and providing optimal conditions for root growth, you can successfully grow new rubber plants that are healthy and robust. Whether you prefer water or soil propagation, this method offers a straightforward way to multiply your beloved plants and enjoy their lush greenery for years to come.
With patience and care, your propagated rubber plants will thrive and become a beautiful addition to your home or office space. Happy planting!