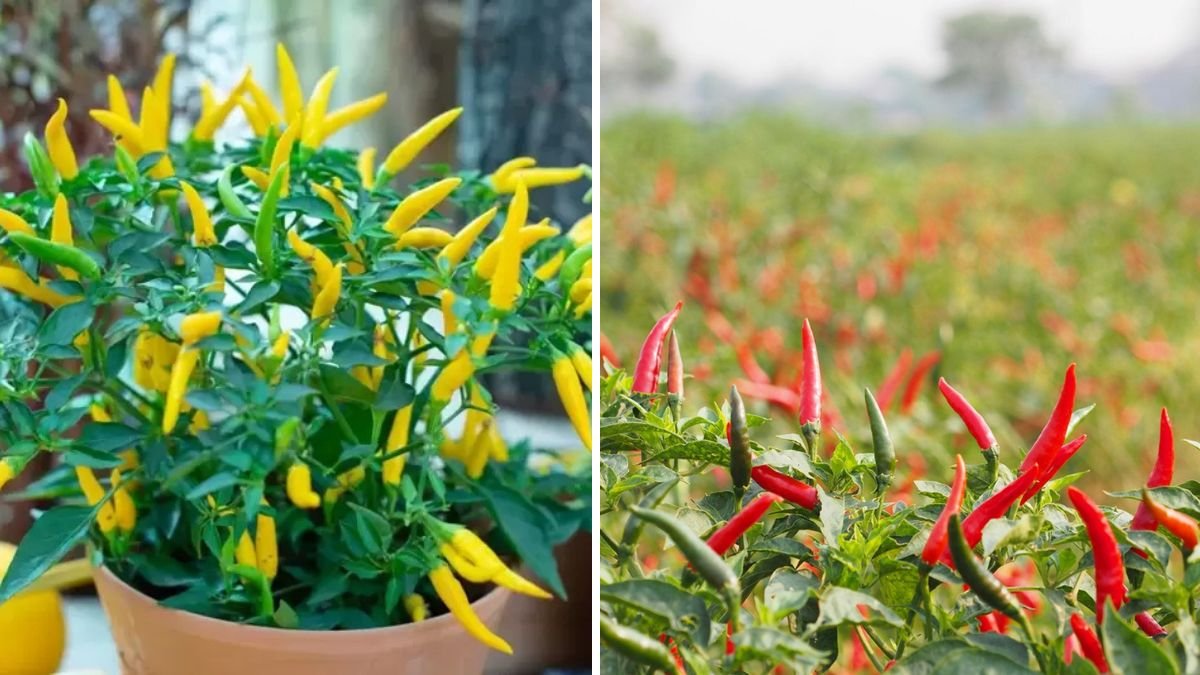
Chilies are among the most versatile and widely used vegetables in kitchens around the world. From adding heat to curries and sauces to providing essential nutrients like Vitamin C and antioxidants, chilies are a must-have in every garden. But growing chilies successfully isn’t always easy—many gardeners struggle with low yields, poor germination, and pests. Fortunately, new ideas for propagating chilies can help you grow healthier, more productive plants with less effort.
This guide will explore innovative chili propagation techniques, care tips, soil preparation, fertilization, pest management, and harvesting strategies that can transform your chili garden into a thriving, high-yielding paradise.
Why Chili Propagation Matters
Propagation is the first step in growing healthy chili plants. By using the right propagation techniques, you can:
- Ensure high germination rates
- Produce disease-free seedlings
- Shorten the time to fruiting
- Create stronger, more resilient plants
- Experiment with different chili varieties for taste, heat, and color
Whether you’re a beginner or an experienced gardener, understanding the latest chili propagation methods can save time, money, and effort.
Step 1: Selecting the Right Chili Seeds
The foundation of successful propagation begins with high-quality seeds:
- Choose healthy seeds from reputable sources or fresh, ripe chili fruits.
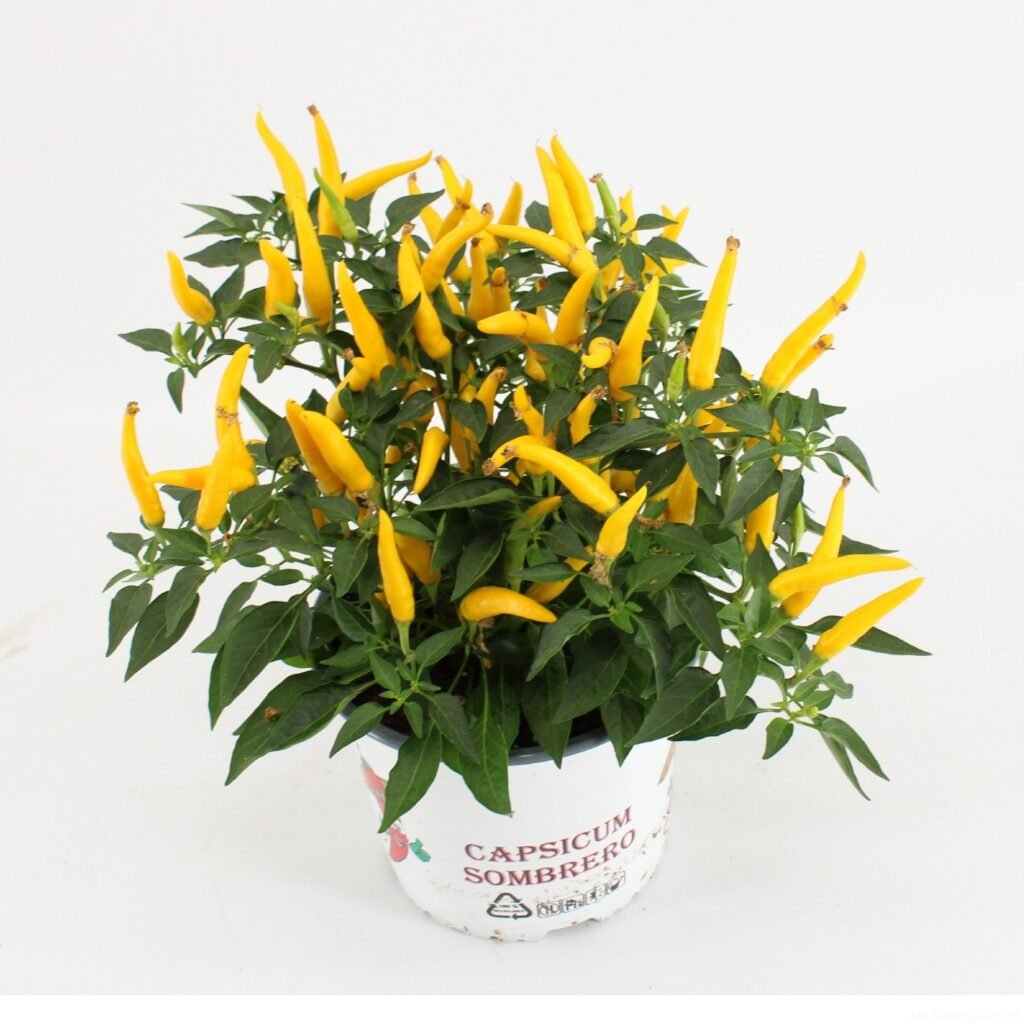
- Select your variety depending on your needs—hot, mild, long, short, or ornamental chilies. Popular varieties include Bhut Jolokia, Cayenne, Jalapeño, Bird’s Eye, and Bell chilies.
- Avoid old or damaged seeds, as they may have low germination rates.
Secret Tip: Some gardeners soak seeds in warm water for 12–24 hours before planting. This softens the seed coat and improves germination speed.
Step 2: Preparing the Soil and Containers
Healthy soil ensures strong seedlings:
- Soil Mix: Combine garden soil, compost, and sand in a 2:1:1 ratio for optimum drainage and fertility.
- Containers: Use seedling trays, small pots, or polybags. Ensure they have drainage holes to prevent waterlogging.
- pH Level: Slightly acidic soil (6.0–6.8) is ideal for chilies.
Secret Insight: Adding vermicompost or coconut husk powder to the soil enhances aeration and moisture retention, creating a perfect environment for seedlings.
Step 3: Innovative Chili Propagation Techniques
Traditionally, chilies are propagated from seeds, but there are new and effective methods to improve success and yield:
1. Direct Seed Sowing
- Plant seeds ½ inch deep in prepared soil.
- Keep soil moist but not waterlogged.
- Germination occurs in 7–14 days depending on temperature.
2. Pre-Germination Method
- Place seeds between damp paper towels in a tray.
- Cover and keep in a warm area (25–30°C).
- Transplant sprouted seeds into soil carefully.
- Ensures higher germination rates and uniform seedlings.
3. Cutting Propagation
- Use semi-hardwood cuttings from healthy chili plants.
- Dip the cut end in rooting hormone powder to encourage root development.
- Plant in a moist soil mix under shade. Roots develop in 2–3 weeks.
- Produces plants identical to the mother plant.
4. Air Layering (Advanced Method)
- Select a healthy branch and make a small wound.
- Wrap with moist sphagnum moss or coconut husk.
- Cover with plastic wrap to retain moisture.
- Roots form in 4–6 weeks; the branch can then be cut and planted.
Secret Tip: Using cutting or air layering allows propagation of high-yielding chili varieties without waiting for seed production.
Step 4: Germination and Early Seedling Care
Once seeds are planted:
- Temperature: Maintain 25–30°C for faster germination.
- Watering: Keep soil consistently moist with a fine mist.
- Sunlight: Provide indirect sunlight initially to prevent seedling shock.
- Transplanting: When seedlings develop 2–3 true leaves, transplant to larger pots or garden beds.
Secret Insight: Covering trays with transparent plastic creates a mini-greenhouse effect, speeding up germination.
Step 5: Fertilization for Healthy Chili Plants
Healthy seedlings need nutrients for vigorous growth:
Recommended Fertilizers
- Organic: Vermicompost, cow dung, compost tea.
- Chemical (optional): NPK 10:10:10 for seedlings; switch to NPK 15:15:15 during flowering.
- Micronutrients: Magnesium, calcium, and boron improve flower and fruit quality.
Secret Tip: Foliar spraying with liquid seaweed extract or diluted banana peel extract encourages strong growth and early flowering.
Step 6: Transplanting Seedlings to the Garden
Chili seedlings are ready for transplanting 4–6 weeks after germination:
- Prepare holes 12–18 inches apart in nutrient-rich, well-draining soil.
- Add organic compost at the base of the hole.
- Water seedlings before and after transplanting to reduce shock.
Pro Tip: Plant in sunny locations for 6–8 hours of direct sunlight daily for maximum fruit production.
Step 7: Pruning and Plant Shaping
Pruning chili plants encourages better airflow, reduces pests, and increases yield:
- Remove weak, yellowing, or diseased leaves regularly.
- Pinch off growing tips to encourage lateral branching.
- Thin excess flowers early to direct energy toward strong fruits.
Secret Insight: Regular pruning reduces disease pressure and ensures stronger, more productive chili plants.
Step 8: Watering and Mulching Secrets
Proper watering and soil management are key:
- Water deeply but infrequently, allowing soil to dry slightly between watering.
- Avoid overhead watering to reduce fungal diseases.
- Apply mulch with straw, dried leaves, or coconut husk around the base to retain moisture, suppress weeds, and enrich soil naturally.
Secret Tip: Mulching combined with drip irrigation creates an ideal microenvironment for chili growth.
Step 9: Pest and Disease Management
Chili plants are susceptible to:
- Aphids, whiteflies, thrips, and mites
- Fungal diseases such as powdery mildew and anthracnose
Management Tips:
- Use neem oil, garlic sprays, or organic insecticides.
- Plant companion crops like basil, marigold, or coriander to naturally repel pests.
- Ensure good air circulation around plants by spacing properly.
Secret Insight: Early pest control increases survival rates of seedlings and promotes higher yields.
Step 10: Flowering and Fruit Development
Chili plants typically flower 6–8 weeks after transplanting:
- Apply potassium-rich fertilizer during flowering to improve fruit quality.
- Regularly pinch off weak flowers to allow the plant to invest energy in producing large, healthy fruits.
- Maintain consistent watering during fruit set to prevent blossom drop.
Secret Tip: Foliar feeding with compost tea or diluted banana extract during flowering increases fruit size and number.
Step 11: Harvesting Chilies
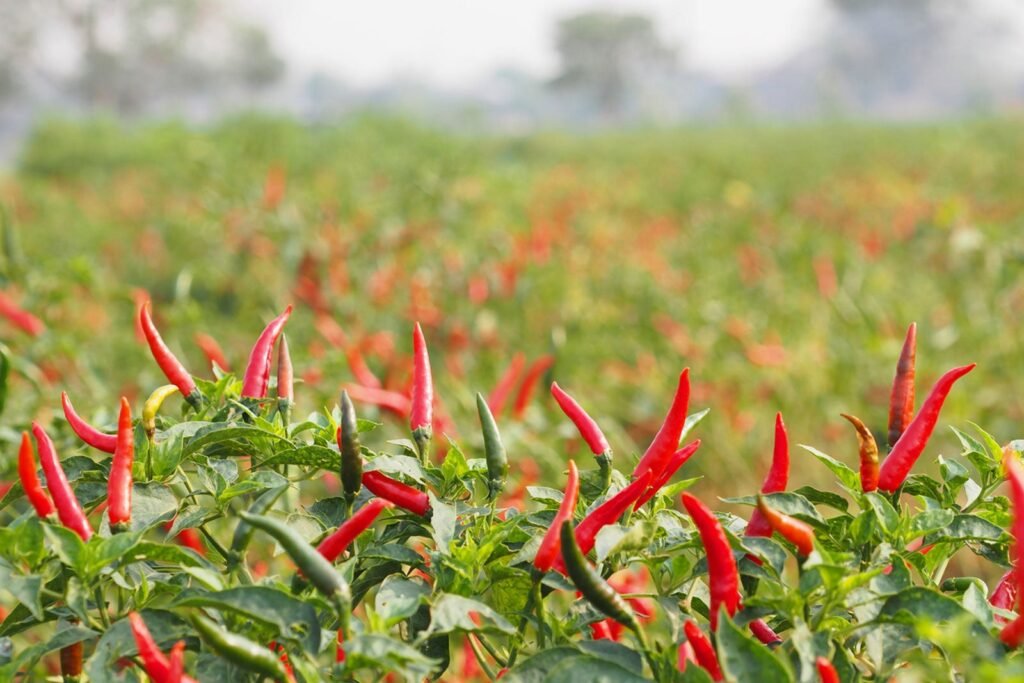
- Chilies can be harvested green or fully ripe red, depending on variety and culinary use.
- Pick fruits regularly to encourage continuous production.
- Handle carefully to avoid damaging the plant and flowers.
Secret Insight: Continuous harvesting stimulates the plant to produce more flowers and fruits, extending the harvest season.
Advanced Tips for Maximum Yield
- Succession planting: Plant seeds every 2–3 weeks to ensure continuous harvest.
- Intercropping: Grow chilies with compatible plants like tomatoes, eggplant, or herbs to optimize space and soil nutrients.
- Organic boosters: Banana peel powder, cow dung slurry, or compost tea improve growth naturally.
- Temperature management: Chilies thrive in 22–30°C; shade netting may help in extremely hot climates.
By applying these advanced techniques, gardeners can achieve higher yields, larger fruits, and healthier plants.
Conclusion
Propagating chilies using new and innovative methods can transform your garden, providing abundant harvests and stronger, disease-resistant plants. By selecting high-quality seeds, preparing the soil carefully, using modern propagation methods like cuttings and air layering, and following proper care techniques, you can ensure vibrant, high-yielding chili plants year after year.
Whether you are a beginner or an advanced gardener, these techniques allow you to experiment, improve productivity, and enjoy the fiery, flavorful fruits of your labor. Implementing these strategies guarantees that your chili garden becomes a thriving, productive, and rewarding space, offering fresh chilies for cooking, sauces, and even commercial purposes.