Kale has gained a significant reputation as a superfood, packed with essential nutrients, antioxidants, and fiber. As a hardy leafy green, kale can thrive in various conditions, making it a great candidate for indoor gardening. With the right techniques, you can successfully grow kale indoors all year round, ensuring you have a fresh supply of this nutritious vegetable. This article explores effective methods for cultivating kale indoors, the best varieties to choose, and a comprehensive FAQ section to address common concerns.
Understanding Kale: A Nutritional Powerhouse
Kale is a member of the Brassica family, which includes broccoli, cabbage, and Brussels sprouts. It is renowned for its health benefits, including:
- Rich Nutrient Profile: Kale is high in vitamins A, C, K, and B6, as well as calcium, potassium, and copper. Its high antioxidant content also contributes to improved health.
- Low-Calorie Food: Kale is low in calories but high in fiber, making it an excellent choice for those looking to maintain a healthy weight.
- Supports Heart Health: Kale contains compounds that can help lower cholesterol levels, reducing the risk of heart disease.
Given these benefits, it’s no surprise that many home gardeners wish to grow kale indoors.
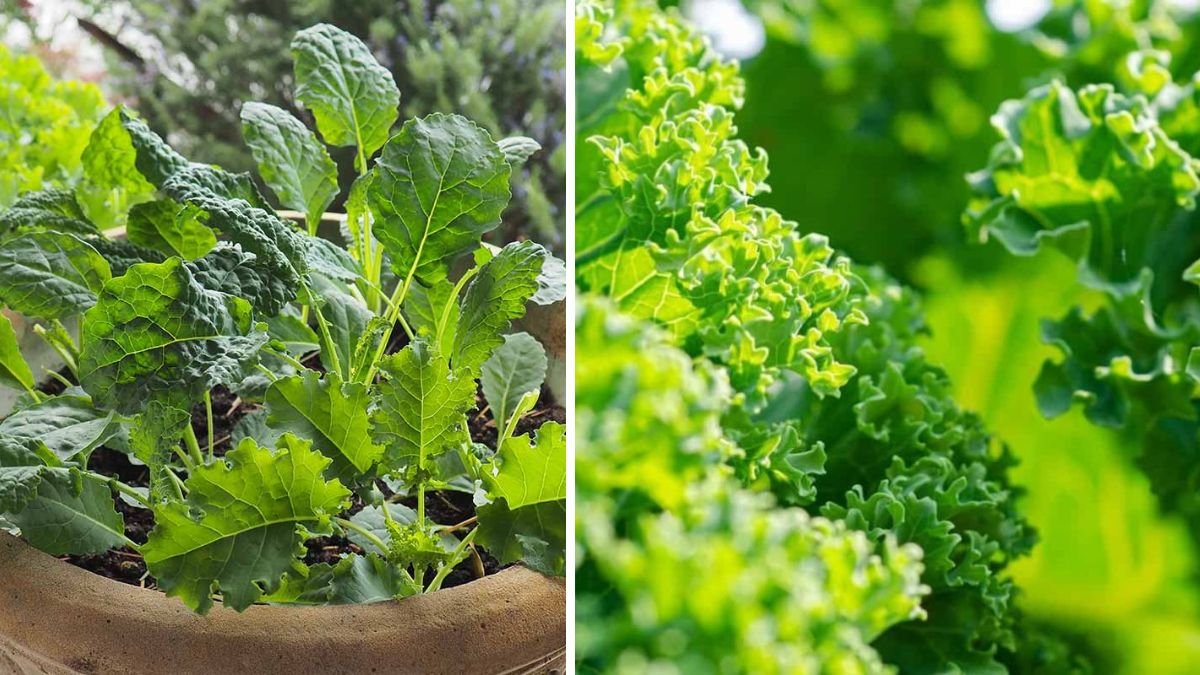
Choosing the Right Kale Varieties
Before you begin, select the right kale varieties for indoor growth. Some of the most popular options include:
- Curly Kale: This classic variety has tightly packed, curly leaves and is often used in salads and smoothies.
- Lacinato Kale: Also known as dinosaur kale, this variety has flat, tender leaves and a slightly sweet flavor, making it ideal for cooking.
- Red Russian Kale: With its vibrant leaves and beautiful stems, Red Russian kale adds color to your indoor garden while maintaining a delicious taste.
When choosing a variety, consider your taste preferences and how you plan to use the kale in your meals.
Setting Up Your Indoor Garden
Creating a suitable environment for growing kale indoors is crucial for success. Here’s how to set up your indoor garden effectively:
1. Selecting Containers
Choose containers that provide adequate drainage. Kale prefers soil that retains moisture but also drains well, so pots with drainage holes are essential. Containers should be at least 6-12 inches deep to allow the roots to grow.
2. Soil Requirements
Use high-quality, well-draining potting soil rich in organic matter. Kale thrives in a slightly acidic to neutral pH (around 6.0 to 7.0). Consider adding compost or worm castings to enrich the soil and provide essential nutrients.
3. Lighting Conditions
Kale requires plenty of light to grow effectively. Aim for a minimum of 12-16 hours of light per day. If you don’t have access to bright natural light, consider using grow lights. Full-spectrum LED grow lights are energy-efficient and emulate natural sunlight effectively.
4. Temperature and Humidity
Kale grows best in temperatures ranging from 60°F to 75°F. If your home is warmer, consider placing the plants in a cooler room or using a fan to improve air circulation. Maintaining humidity levels between 40-60% will also benefit growth.
5. Watering Practices
Water your kale consistently, ensuring that the soil remains moist but not soggy. Overwatering can lead to root rot. As a general rule, check the top inch of soil; if it feels dry, it’s time to water.
Sowing Seeds or Transplanting Seedlings
You can grow kale indoors from seeds or by transplanting seedlings. Here’s how to do both:
Sowing Seeds
- Seed Depth: Sow kale seeds about 0.5 inches deep in the prepared soil.
- Spacing: Space seeds 4-6 inches apart, as kale can grow relatively large.
- Watering: Moisten the soil after sowing to aid germination, which typically takes 7-14 days.
Transplanting Seedlings
If you prefer to start with seedlings, choose healthy young plants and transplant them into larger pots:
- Gradual Introduction: Allow seedlings to acclimate to their new environment by initially placing them in indirect light for a few hours, gradually increasing their exposure to bright light.
- Transplanting Care: Gently remove seedlings from their original containers, ensuring the root ball remains intact, and transplant them into the new pots, filling with soil and watering thoroughly.
Care and Maintenance
Maintaining your kale plants involves several key practices to ensure their health:
1. Fertilization
Kale is a heavy feeder. Use a balanced liquid fertilizer every two weeks. Look for a fertilizer high in nitrogen, as this will promote leafy growth. Always follow the manufacturer’s instructions to avoid over-fertilizing.
2. Pruning
Regularly prune your kale to promote healthy growth. Remove any yellow or damaged leaves and pinch off the top of the plant to encourage bushier growth and prevent it from bolting (going to seed).
3. Pest Management
While indoor plants are less susceptible to pests, keep an eye out for aphids, spider mites, and whiteflies. Use insecticidal soap or neem oil as a natural remedy if pests are detected.
4. Harvesting
Kale leaves can be harvested at any stage. To encourage continual growth, harvest the outer leaves first, allowing the inner leaves to thrive. Be sure to leave a portion of the plant intact, as this will help sustain its growth.
Troubleshooting Common Issues
Even with the best care, you may encounter challenges. Here are some common issues and their remedies:
- Leggy Growth: If your kale plants are stretching toward the light, they may not be getting enough. Increase light exposure by adjusting your grow lights.
- Yellow Leaves: This may indicate overwatering, nutrient deficiency, or insufficient light. Check your watering schedule and consider a quick nutrient boost.
- Slow Growth: If your kale isn’t growing as expected, check the temperature and light conditions. Kale thrives with consistency.
Seasonal Considerations
Growing kale indoors allows for year-round cultivation, but seasonal changes can affect growth:
- Winter: Kale can handle cooler temperatures but ensure consistent warmth indoors to prevent stunted growth.
- Summer: High temperatures can lead to bolting. Provide adequate ventilation and shade during the hottest parts of the day.
Incorporating Kale into Your Diet
Once you’ve successfully grown indoor kale, it’s time to enjoy its nutritional benefits. Here are some tasty ways to incorporate it into your meals:
- Salads: Toss kale with your favorite dressing and toppings for a nutritious salad.
- Smoothies: Blend kale with fruits and yogurt for a refreshing smoothie.
- Stir-fries: Add kale to stir-fried dishes for an added nutrient boost.
- Soups: Incorporate kale into hearty soups for flavor and nutritional content.
FAQs
1. How much light do kale plants need indoors?
Kale requires 12-16 hours of light daily. Use grow lights if natural sunlight is insufficient.
2. How often should I water my indoor kale?
Water when the top inch of soil is dry, typically every 5-7 days. Avoid overwatering to prevent root rot.
3. Can I grow kale in a small apartment?
Yes! Kale can be grown in small pots and containers, making it ideal for apartments. Just ensure you have enough light.
4. Will kale grow back after cutting?
Yes! Kale leaves can be harvested by cutting the outer leaves, and the plant will continue to produce new leaves as long as it is healthy.
5. How long does it take to grow kale indoors?
Kale generally takes about 50-60 days from seed to harvest, depending on the variety and conditions.
6. Is it necessary to use fertilizers?
While kale can grow without fertilizers, regular feeding with a balanced liquid fertilizer can significantly enhance growth and yield.
Conclusion
Growing kale indoors all year round is not only possible but also rewarding. With proper care, attention to detail, and the right techniques, you can enjoy fresh, nutritious kale right from your home. Whether you’re a seasoned gardener or a beginner, growing kale can be an enriching experience that brings health benefits to your dining table. Happy gardening!