Growing turnip greens indoors is a rewarding endeavor, providing fresh, nutritious greens at your fingertips all year round. These leafy greens are not only easy to grow but also packed with vitamins and minerals. Below is a comprehensive guide that covers everything you need to know to cultivate turnip greens indoors successfully.
Why Grow Turnip Greens Indoors?
Turnip greens (Brassica rapa) are a delicious and versatile addition to your diet. They can enhance salads, soups, and stir-fries, making them a worthy plant to cultivate. Here are some reasons to grow them indoors:
- Year-Round Availability: Grow fresh greens regardless of the season.
- Nutritional Benefits: Rich in vitamins A, C, and K, and full of antioxidants.
- Space Efficiency: Easy to grow in small pots, making them ideal for apartments or homes with limited space.
- Cost-Effective: Growing your own greens can save you money compared to buying them at the store.
Step-by-Step Guide to Growing Turnip Greens Indoors
Step 1: Choose the Right Container
Selecting the right container is crucial for growing turnip greens. You need a pot that is at least 6-8 inches deep and has good drainage holes. The size can vary according to the number of plants you want to grow:
- Single Plant: A 6-inch pot is sufficient.
- Multiple Plants: Use larger containers (10-12 inches) or even rectangular window boxes.
Step 2: Select the Right Soil
The soil you choose can directly affect the growth of your greens. Go for a high-quality, well-draining potting mix that includes:
- Organic compost: Improves nutrient content and stimulates growth.
- Perlite or vermiculite: Enhances drainage.
- Peat moss: Retains moisture without becoming soggy.
Step 3: Choose Seeds
When selecting seeds, look for varieties that are known for producing tender and flavorful greens, such as:
- Southern Giant Curled: Known for its bushy appearance and rich flavor.
- Japanese Turnip Greens: Tender and less bitter compared to others.
Check your local garden center or online retailers for quality seeds.
Step 4: Planting the Seeds
- Prepare the Soil: Fill your pot with a moist potting mix, leaving about an inch of space at the top. Lightly compact the soil to remove air pockets.
- Sow the Seeds: Sow the seeds 1/4 to 1/2 inch deep, spacing them about 2-3 inches apart to allow for growth.
- Cover and Water: Gently cover the seeds with soil and water lightly. Avoid overwatering, as this can lead to root rot.
Step 5: Provide the Right Conditions
Turnip greens thrive in specific growing conditions:
- Light: They require 12-14 hours of bright, indirect light daily. If natural light is insufficient, consider investing in grow lights.
- Temperature: Ideal temperatures range from 55°F to 70°F (13°C to 21°C). Turnip greens prefer cooler conditions.
- Humidity: They enjoy a humid environment, so using a humidity tray or misting the plants can be beneficial.
Step 6: Watering and Fertilization
Maintaining moisture is key:
- Watering: Water your turnip greens when the top inch of soil feels dry. Ensure that excess water drains out of the pot to prevent waterlogging.
- Fertilization: After about four weeks, introduce a balanced liquid fertilizer every 3-4 weeks to promote healthy growth.
Step 7: Thinning for Healthy Growth
As the seedlings grow, they will compete for nutrients and space. Thin them out by:
- Removing the weaker seedlings, leaving the strongest ones spaced at 4-6 inches apart to provide ample room for growth.
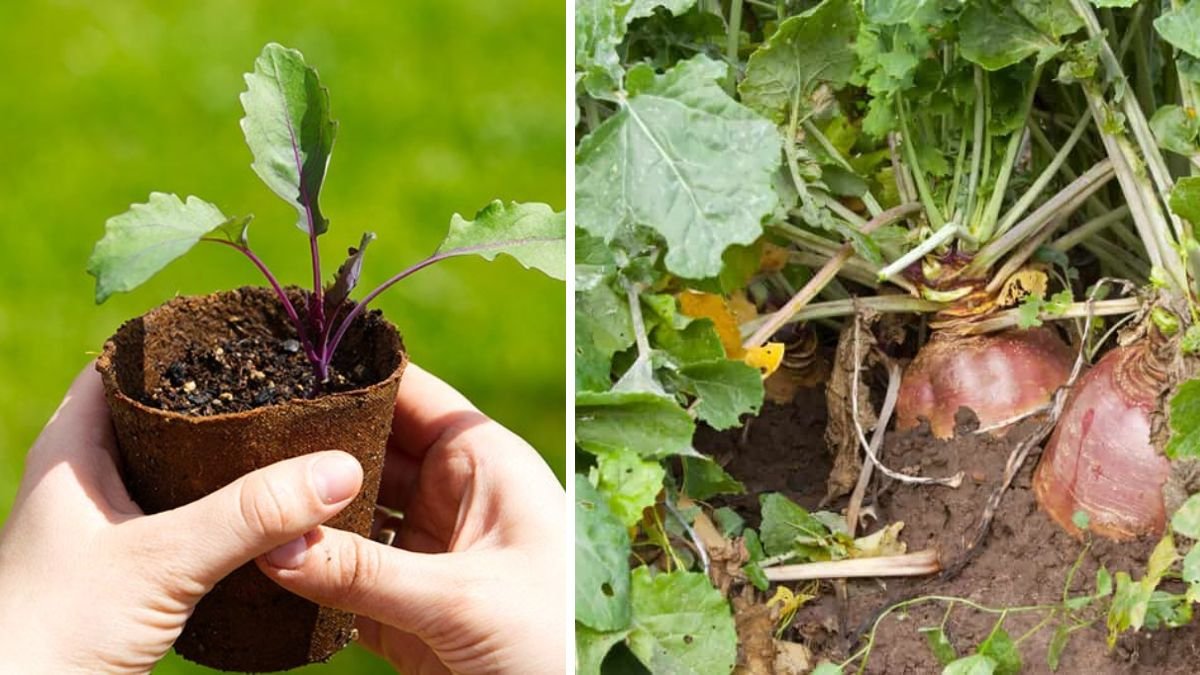
Step 8: Harvesting Turnip Greens
Turnip greens can be harvested as soon as they reach about 4-6 inches tall. Here’s how to harvest them:
- Cutting Technique: Use scissors to snip the leaves at the base of the stem, taking a few leaves from each plant rather than harvesting all at once. This allows the plants to continue growing.
- Timing: Harvest in the morning when the leaves are crisp and full of moisture for the best flavor.
Step 9: Preventing Common Pests and Diseases
Indoor gardening is not impervious to pests and diseases. Here are some tips:
- Pests: Keep an eye out for aphids and spider mites, which can be controlled with insecticidal soap or neem oil.
- Diseases: Ensure good air circulation and avoid overcrowding to prevent fungal diseases.
Step 10: Continuity of Harvest
To have a continuous supply of greens, consider:
- Succession Planting: Plant new seeds every 2-3 weeks to ensure a steady supply.
FAQs
1. How much light do turnip greens need?
Turnip greens require 12-14 hours of bright, indirect light daily. If sunlight is insufficient, consider using grow lights.
2. Can I grow turnip greens in any season?
Yes, you can grow turnip greens indoors year-round, provided you offer the right light and conditions.
3. How often should I water turnip greens?
Water the greens when the top inch of soil feels dry. This usually translates to watering every 3-5 days, but frequency can vary based on humidity and temperature.
4. What can I do if my turnip greens are growing slowly?
Slow growth can be attributed to insufficient light, poor soil quality, or overcrowding. Ensure adequate light, use high-quality potting soil, and thin out seedlings to improve growth rate.
5. Can I eat turnip greens raw?
Yes, turnip greens are delicious raw in salads. They can also be cooked or steamed to enhance their flavor and tenderness.
6. How long does it take for turnip greens to grow?
Turnip greens typically take 30-40 days to mature, depending on the variety and growing conditions.
7. Are there any specific pests I should watch for?
Aphids and spider mites are common pests. Regularly inspect your plants and treat them with insecticidal soap if necessary.
8. Can I reuse potting soil for my turnip greens?
While you can reuse potting soil, it’s best to amend it with fresh compost and fertilizers to restore nutrient levels. Consider sterilizing the old soil to eliminate pests or diseases.
Conclusion
Growing turnip greens indoors is not only feasible but also makes for a truly satisfying gardening experience. With the right conditions, care, and techniques, you can enjoy these nutritious greens year-round, enhancing your meals and your health. So pick up your seeds, prepare your pots, and start your indoor garden today!