Growing herbs indoors can be a rewarding endeavor, bringing fresh flavors and aromas right to your kitchen. With the right techniques, you can nurture a thriving indoor herb garden that thrives on natural light and optimal soil conditions. This article will guide you through the essential methods to grow herbs indoors successfully.
Importance of Growing Herbs Indoors
Growing herbs indoors not only offers culinary benefits but also improves air quality and adds a touch of greenery to your space. Here are some reasons why you might want to consider cultivating your own herbs:
- Freshness: Home-grown herbs provide unmatched flavor compared to store-bought options.
- Convenience: Having herbs on hand makes it easy to elevate your dishes.
- Cost-Effective: Growing herbs at home can save you money over time.
- Pest Management: Home-grown herbs can deter pests, naturally reducing the need for chemical pesticides.
- Accessibility: Easily accessible herbs for anyone who enjoys cooking or requires them for medicinal purposes.
Choosing the Right Herbs
Not all herbs thrive equally indoors. The following herbs are known for their adaptability and success in indoor settings:
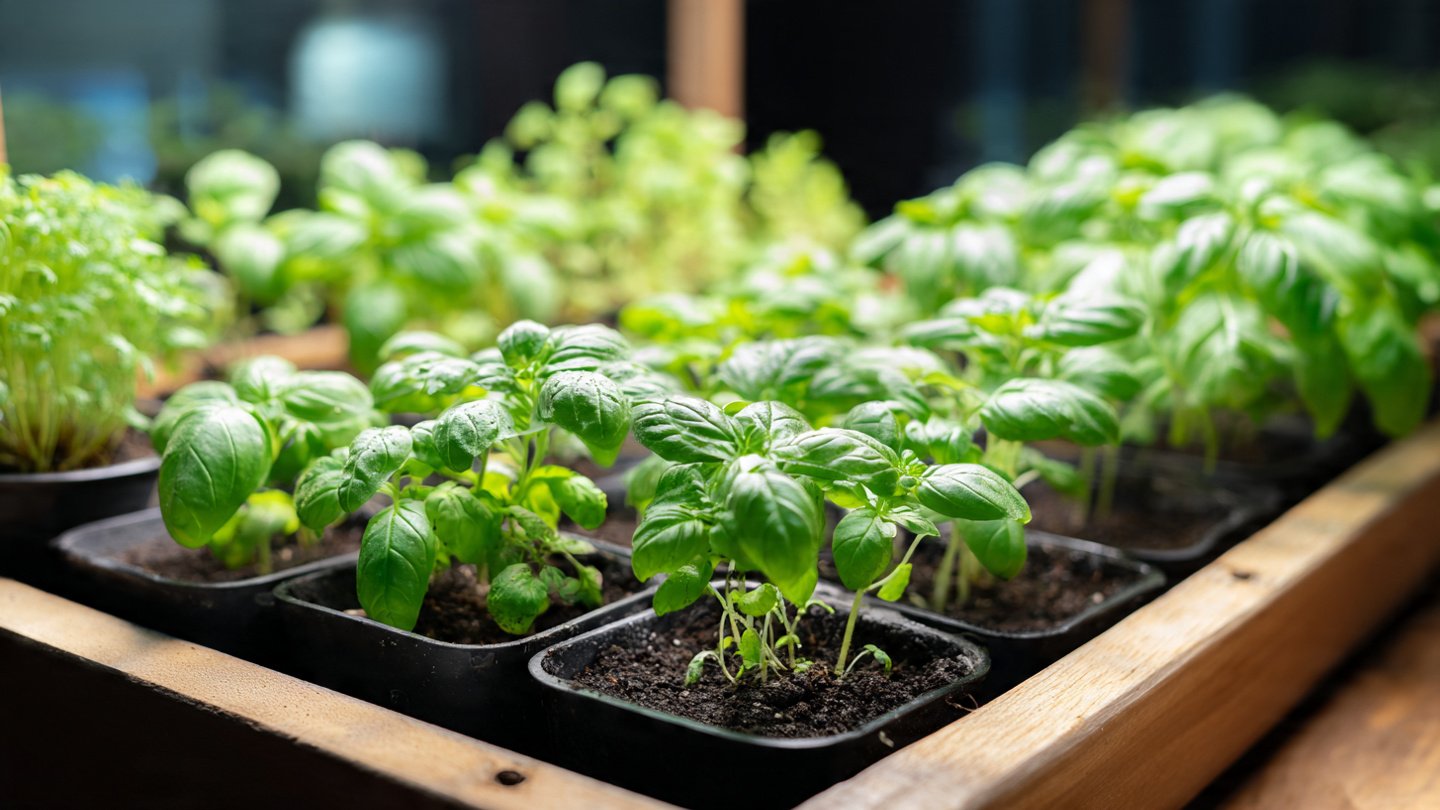
- Basil: This aromatic herb loves warmth and can flourish with sufficient light.
- Parsley: A versatile herb that can tolerate lower light conditions.
- Chives: A hardy herb that thrives indoors with proper care.
- Mint: Perfect for indoor growing; it does tend to spread, so keep it contained.
- Thyme: A hardy herb requiring moderate light and well-draining soil.
Understanding Natural Light Needs
Natural light is crucial for the growth of indoor herbs. Unlike outdoor gardens, indoor spaces may not provide sufficient light for optimal growth, particularly in winter months.
1. Light Levels
Understanding the lighting needs of your chosen herbs is vital:
- Low Light: Herbs like parsley or chives can thrive in spaces that receive indirect light for several hours a day.
- Medium Light: Herbs such as basil and thyme may require direct sunlight for about 4–6 hours daily.
- High Light: Some herbs might thrive with 6–8 hours of direct sunlight; consider placing these herbs closer to south-facing windows.
2. Window Orientation
Positioning your herbs near the right window can greatly affect their growth:
- South-Facing Windows: These windows receive the most sunlight and are ideal for sun-loving herbs.
- East-Facing Windows: They provide bright morning light, suitable for herbs that prefer moderate light.
- West-Facing Windows: These areas receive strong afternoon light, ideal for robust species like basil.
- North-Facing Windows: Generally, these windows provide low light, best suited for shade-loving herbs.
3. Supplementing Natural Light
During the cloudy or winter months, consider supplementing natural light with artificial grow lights. Here’s how:
- Choose the Right Spectrum: Full-spectrum grow lights can mimic the sun’s natural light and support both vegetative and flowering stages.
- Positioning: Place grow lights about 6–12 inches above the herbs and adjust as they grow taller.
- Duration: Aim for 12–16 hours of light daily for optimal growth, mimicking natural conditions.
Selecting and Preparing Soil
The right soil type is just as crucial as light when it comes to successfully growing herbs indoors.
1. Soil Composition
The best soil for indoor herbs should be nutrient-rich, well-draining, and slightly acidic to neutral (pH 6.0 – 7.0). A suitable mixture could include:
- Potting Soil: A high-quality potting mix serves as a great base.
- Perlite or Vermiculite: These amendments improve drainage and aeration.
- Compost: Adding compost enriches the soil with nutrients, promoting healthy growth.
2. Pot Selection
Choosing the right pots helps in managing drainage and growth. Consider the following:
- Material: Terracotta pots are excellent as they allow for breathability, while plastic pots may retain more moisture.
- Size: Select pots that are 6-8 inches in diameter for small herbs, allowing enough space for roots to spread.
- Drainage Holes: Ensure your pots have drainage holes at the bottom to prevent waterlogging.
3. Filling the Pots
Here’s how to prepare your pots:
- Layering: Start with a layer of small rocks or gravel at the bottom to enhance drainage.
- Soil Filling: Fill with your prepared soil mix, leaving an inch of space at the top.
- Moistening: Before planting, moisten the soil, ensuring it is damp but not soaked.
Planting Your Herbs
Once you’ve prepared your pots and soil, it’s time to plant your herbs.
1. Seed vs. Starter Plants
While you can start from seeds, using starter plants (nursery-bought herbs) can be more immediate and often easier for beginners.
- For Seeds: Sow seeds according to the packet instructions, usually about ¼ inch deep. Ensure they are spaced adequately.
- For Starters: Dig a small hole in the center for the root ball of the starter plant, being careful not to damage the roots.
2. Watering Techniques
Proper watering is essential for indoor herb health:
- Frequency: Water when the top inch of soil feels dry. Generally, this may be once a week, but it depends on your indoor climate and the plant’s water needs.
- Technique: Water thoroughly until you see it draining from the bottom. Avoid letting the pots sit in standing water to prevent root rot.
Maintaining Indoor Herb Health
Once your herbs are planted, it’s important to maintain their growth through consistent care.
1. Pruning and Harvesting
Regularly prune your herbs to promote bushiness and prevent flowering (which can lead to a bitter taste):
- How to Prune: Remove the top leaves, cutting just above a pair of leaves to encourage branching.
- Harvesting: Take only a small portion of leaves, ensuring enough foliage is left for continued growth.
2. Fertilization
While herbs can thrive in nutrient-rich soil, they still benefit from regular feeding:
- Organic Fertilizer: Use a diluted organic liquid fertilizer every 4-6 weeks.
- Signs of Over-Fertilization: Yellowing leaves or stunted growth may indicate that your herbs are overloaded with nutrients.
3. Pest Management
Indoor herbs can attract pests, especially aphids and spider mites. Here are some natural pest control methods:
- Insecticidal Soap: A mixture of water and a few drops of dish soap can effectively combat minor pest infestations.
- Neem Oil: This natural pesticide can help in controlling bugs without harming your herbs.
- Manual Removal: For small infestations, try removing pests by hand.
Conclusion
Growing herbs indoors using natural light and proper soil techniques is not only feasible but also fulfilling. With a little patience and attention to detail, even novice gardeners can enjoy a flourishing indoor herb garden that enhances culinary creations and beautifies their living space.
FAQs
1. Can I grow herbs indoors all year long?
Yes, you can grow herbs indoors year-round with proper care, adequate light, and temperature control.
2. How often should I water my indoor herbs?
Typically, water your herbs when the top inch of soil feels dry. This usually means watering once a week, but it can vary based on humidity and light conditions.
3. Can I use regular garden soil for indoor herbs?
It’s best to use a well-draining potting mix instead of garden soil, as it may contain pests and diseases and generally does not provide the aeration needed for container plants.
4. What are the best herbs for beginners?
Basil, parsley, and mint are some of the easiest herbs for beginners to grow indoors.
5. How do I know if my herbs are getting enough light?
If your herb plants are leggy, leaning towards the light source, or have pale leaves, they might not be receiving enough light.
6. Do I need to use any special pots for growing herbs?
While you can use various pots, it’s crucial to select pots with drainage holes to prevent water retention and root rot.
With these methods, you’ll be well on your way to creating a healthy and vibrant indoor herb garden, enhancing your cooking and home ambiance year-round!