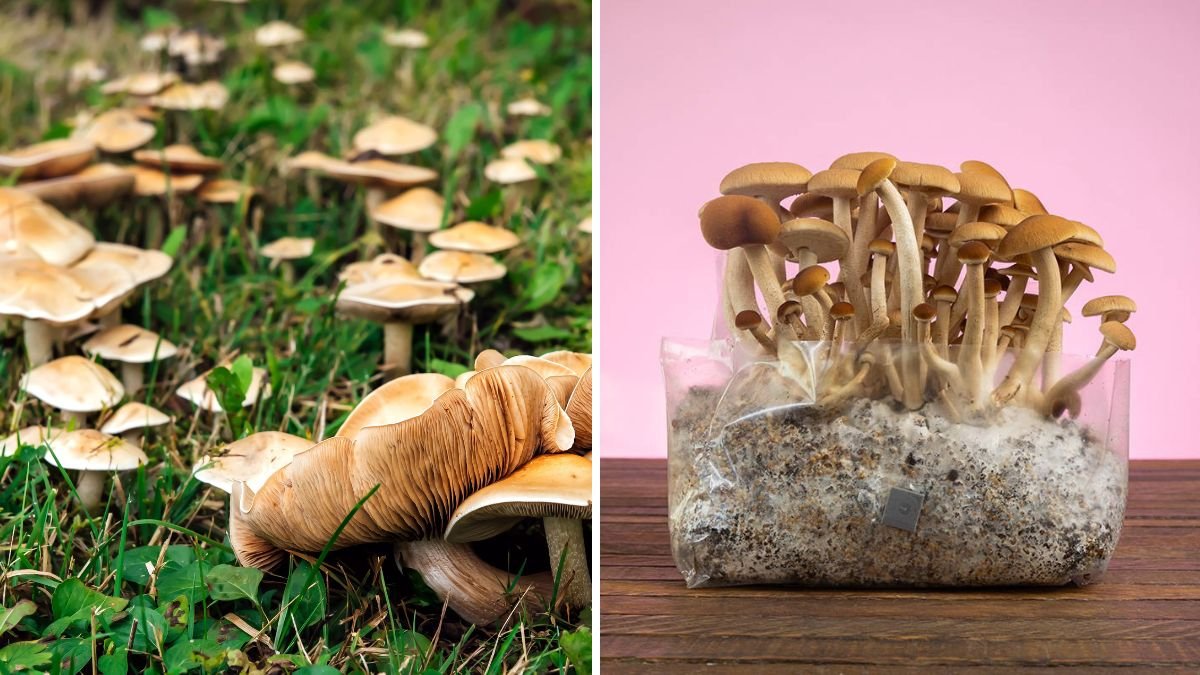
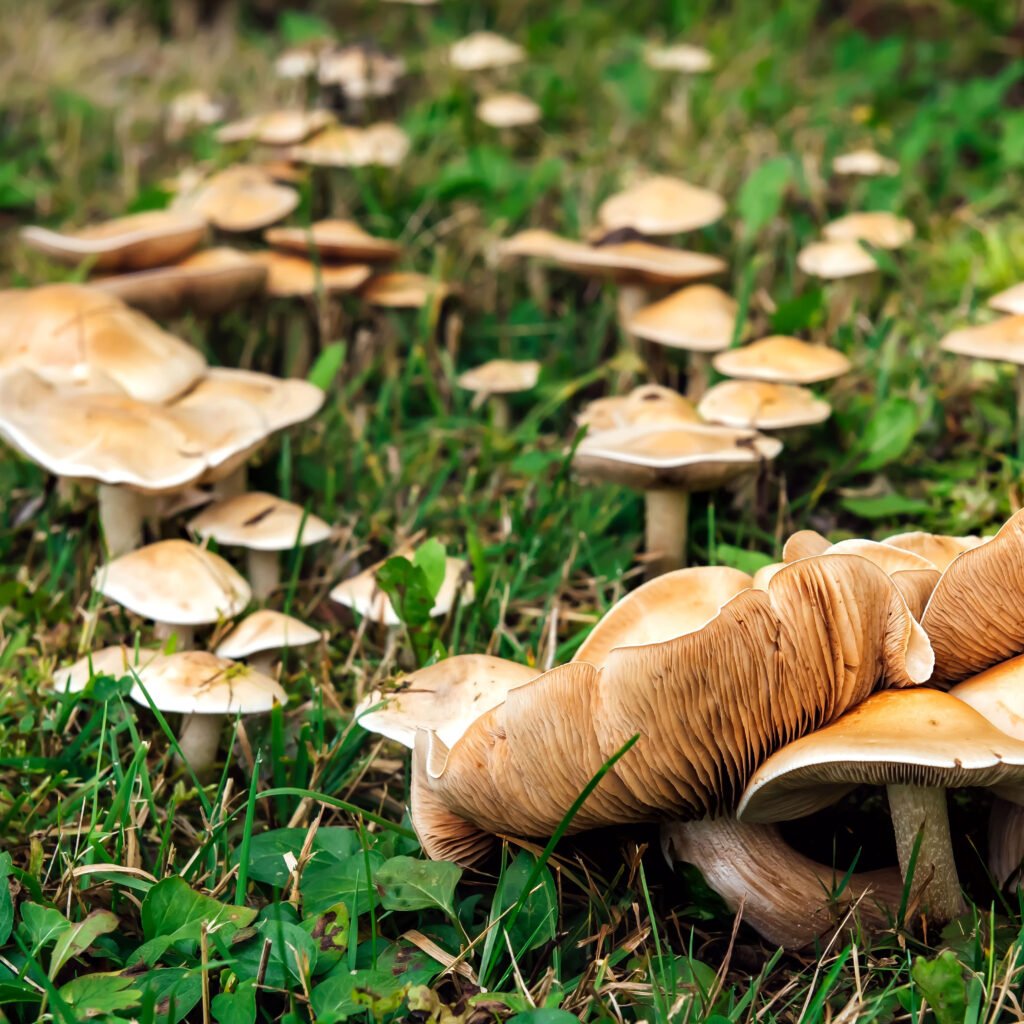
Growing mushrooms at home is one of the most rewarding—and surprisingly simple—gardening projects you can start. Unlike vegetables, mushrooms don’t need sunlight, soil, or a big space. They thrive in dark, moist, cool environments, making them perfect for apartments, small homes, and even kitchens.
Whether you love mushrooms for cooking, want a continuous supply, or wish to try a new gardening hobby, this guide will show you step-by-step how to grow delicious, organic mushrooms at home with minimal effort.
🍄 Why Grow Mushrooms at Home?
Before we dive into the steps, here’s why homegrown mushrooms are worth the effort:
1. Fresh and Organic
Store-bought mushrooms often lose flavor and nutrients quickly. Homegrown mushrooms are harvested fresh and taste richer.
2. Require Very Little Space
You can grow them in a corner, under the sink, in a cupboard, or on a shelf.
3. Low-Cost Hobby
With simple materials like straw, sawdust, coffee grounds, or mushroom kits, anyone can start growing mushrooms affordably.
4. Fast Harvest
Most mushrooms grow in 3–6 weeks, much quicker than typical garden vegetables.
5. No Sunlight Needed
Perfect for homes without balconies or outdoor space.
🍄 Choosing the Right Mushroom Variety
Not all mushrooms grow the same way. Some species are beginner-friendly, while others require more experience. Here are the best options for beginners:
1. Oyster Mushrooms
- Easiest to grow
- Thrive in various conditions
- Fast-growing
- Tolerate temperature changes
2. Button Mushrooms
- Most common kitchen mushroom
- Grow well in compost or manure
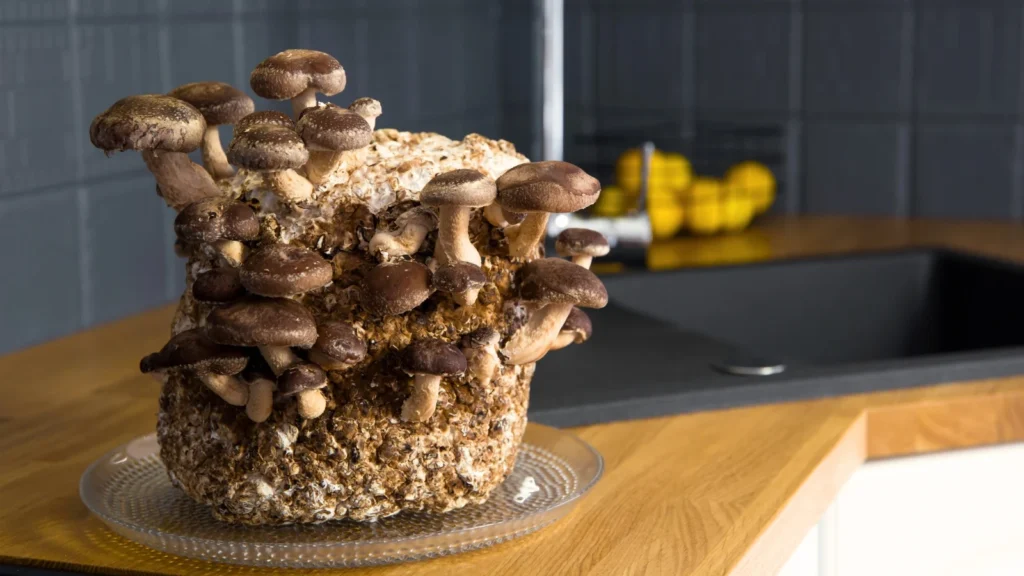
3. Shiitake Mushrooms
- Highly flavorful
- Grown on logs or sawdust
- Slightly slower but rewarding
If you’re new to mushroom cultivation, start with oyster mushrooms for the best results.
🍄 Materials You Will Need
Growing mushrooms doesn’t require fancy tools. Here’s what you need:
✔ Mushroom spawn (like seeds for mushrooms)
✔ Growing substrate (medium where mushrooms grow):
- Straw
- Sawdust
- Coffee grounds
- Cardboard
✔ Large plastic bag or container
✔ Spray bottle
✔ Gloves
✔ A dark, cool space
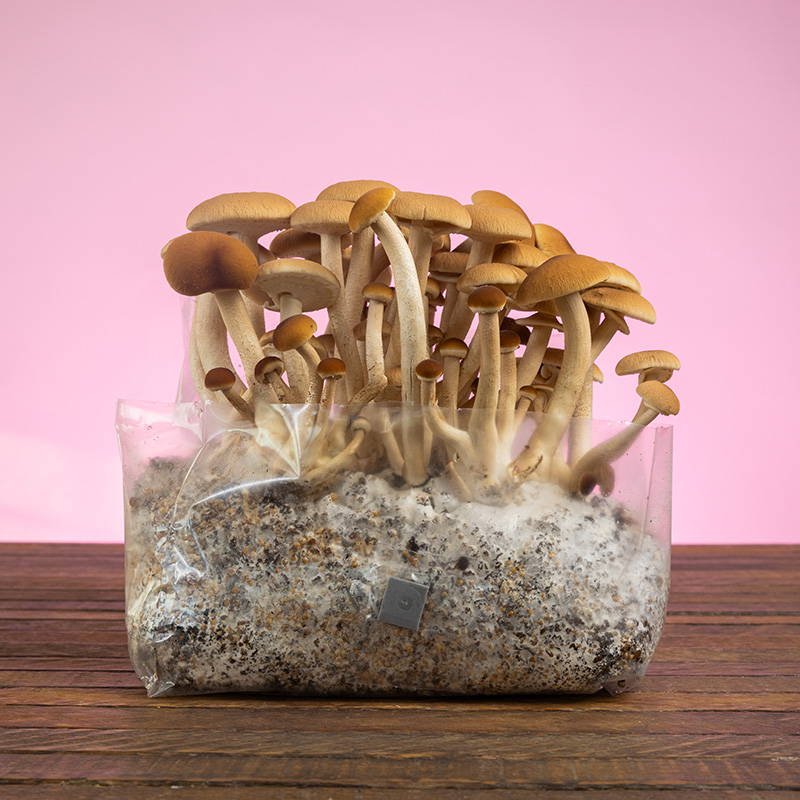
Most gardeners use a grow bag, which makes the process simple and clean.
🍄 Step-by-Step Guide: How to Grow Mushrooms at Home
Step 1: Prepare the Substrate
The substrate is the “soil” for mushrooms. They feed on it and grow from it.
Best Substrate Options:
- Pasteurized straw
- Sterilized sawdust
- Used coffee grounds
- Shredded cardboard
How to Prepare Straw (most common method):
- Cut straw into small pieces (2–4 inches).
- Heat water to 70–80°C.
- Soak the straw in hot water for 1 hour to kill bacteria.
- Drain completely and cool.
This ensures the mushroom mycelium can grow without competing with other microorganisms.
Step 2: Add the Mushroom Spawn
Once the substrate is cool and moist (not dripping), mix in the mushroom spawn.
Process:
- Put on clean gloves.
- Add a handful of spawn to a bowl of substrate.
- Mix thoroughly so the spawn spreads evenly.
- Fill the substrate into a plastic bag, bucket, or container.
If using a bag, poke 8–10 small holes around it for air exchange.
Step 3: Incubate in a Dark, Warm Space
This is the stage where the mycelium (mushroom “roots”) spread through the substrate.
Ideal Conditions:
- Temperature: 21–24°C
- Location: cupboard, drawer, basement, under sink
- Darkness: essential for colonization
What Happens Now?
Over the next 10–14 days, the substrate will turn completely white.
This means the mycelium has colonized fully and is ready to fruit.
🍄 Step 4: Move to Fruiting Conditions
Once the substrate turns white, it’s time to encourage mushrooms to grow.
Fruiting Requirements:
- Lower temperature: 16–20°C
- Indirect light (not direct sun)
- High humidity (85%–95%)
- Fresh air circulation
How to Create This Environment:
- Open the top of the bag or cut an “X” shape on the sides.
- Mist the inside daily using a spray bottle.
- Keep the surface moist but not flooded.
- Keep the setup in a cool, shaded area like a bathroom or kitchen corner.
Within 5–7 days, you’ll see tiny mushroom pins emerging.
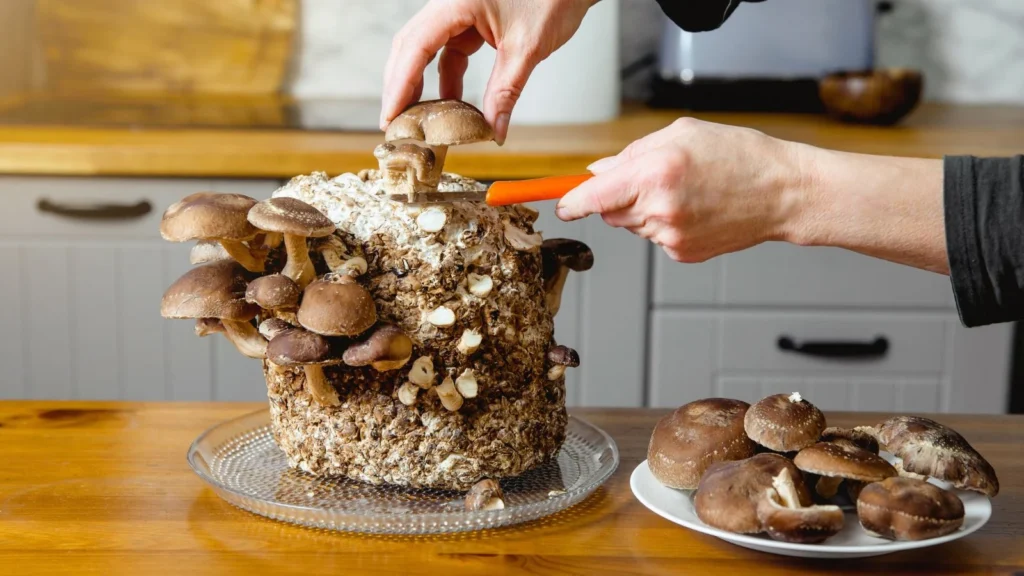
🍄 Step 5: Harvesting Your Mushrooms
Mushrooms grow very fast. Once they appear, they double in size daily.
When to Harvest:
- Mushroom caps are still slightly curled
- Before they flatten completely
- 7–14 days after fruiting begins
How to Harvest:
- Twist gently and pull
OR - Cut with a clean knife at the base
Avoid pulling out too much of the substrate.
🍄 Step 6: Enjoy Multiple Flushes
One batch of substrate can give 2–4 flushes of mushrooms.
After each flush:
- Allow the substrate to rest for 3–5 days
- Keep misting lightly
- More mushrooms will grow
When no more mushrooms appear, you can compost the used substrate—it’s excellent for garden soil.
🍄 Tips for Successful Mushroom Growing
✔ Maintain Moisture Always
Dry substrate = no mushrooms.
Moist substrate = continuous growth.
✔ Avoid Direct Sunlight
Heat and sunlight slow down mycelium growth.
✔ Use Clean Tools
Contamination can ruin your substrate.
✔ Keep Airflow Balanced
Too little air = slow growth
Too much air = substrate dries out
✔ Start Small
Experiment with one bag before scaling up.
🍄 Common Problems & Solutions
1. Mold Appears
Cause: contamination
Solution: Remove affected part, sterilize tools, keep environment clean.
2. Mushrooms Not Growing After Colonization
Cause: low humidity
Fix: spray more often, cover with a humidity tent.
3. Mushrooms Turning Yellow
Cause: insufficient fresh air
Fix: open bag slightly for more airflow.
4. Substrate Too Wet
Cause: overwatering
Fix: increase ventilation, drain excess water.
🍄 Can You Grow Mushrooms Without a Kit?
Absolutely! While kits are beginner-friendly, you can grow mushrooms using:
- Rice straw
- Coconut fiber
- Banana leaves
- Coffee grounds
All you need is spawn and a clean environment.
🍽 Cooking with Homegrown Mushrooms
Fresh mushrooms taste richer and more aromatic. Use them in:
- Stir-fries
- Soups
- Pastas
- Omelets
- Grilled dishes
You’ll immediately feel the difference compared to store-bought ones.
🌱 Final Thoughts
Growing mushrooms at home is not only simple but truly magical. Watching mycelium spread, mushrooms sprout overnight, and harvesting your own fresh produce gives you a deep sense of accomplishment. It’s a hobby that requires minimal space, minimal tools, and minimal effort—but rewards you with delicious, organic mushrooms again and again.
Whether you’re a beginner or a seasoned gardener, mushrooms are the perfect crop to add to your indoor garden. Start today, and in just a few weeks, you’ll enjoy your first homegrown harvest! 🍄🌿