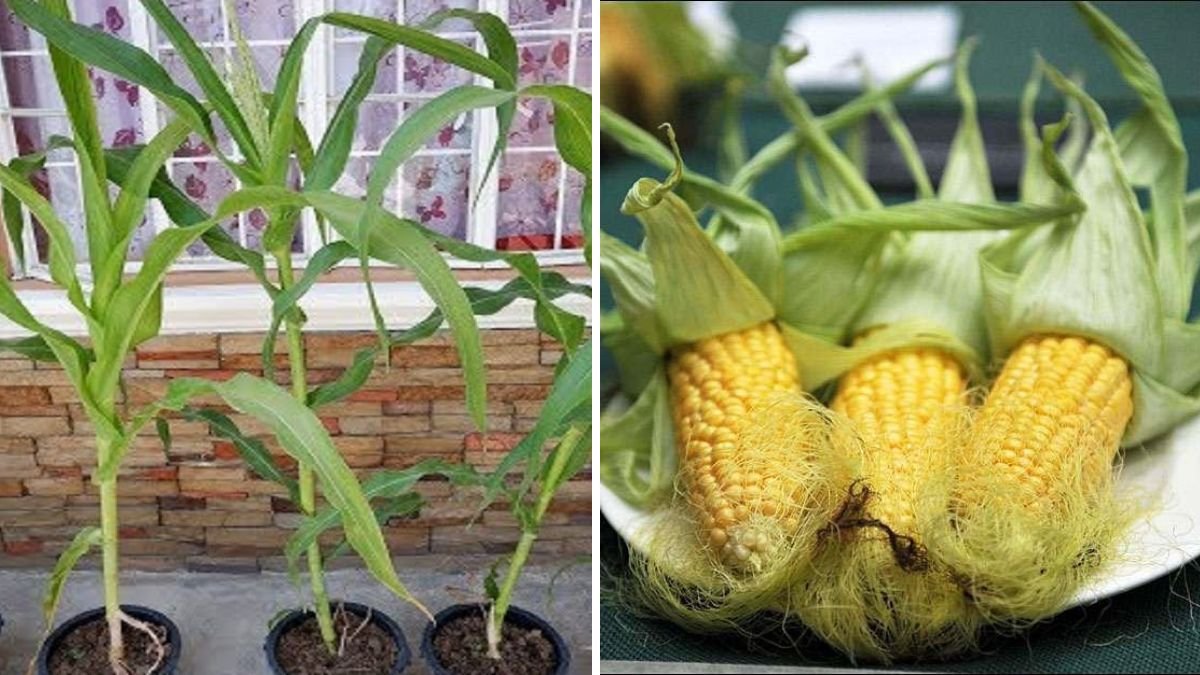
Growing your own corn at home is one of the most satisfying gardening experiences. Imagine stepping into your garden, plucking a fully grown cob, and enjoying the incredible sweetness that only freshly harvested corn can offer. The good news? You don’t need a large farm, special equipment, or even advanced gardening skills. With just a fresh cob of corn and a bit of space, you can grow healthy, productive corn plants right at home.
In this comprehensive guide, you’ll learn how to grow corn directly from a cob—yes, the one you buy at the market! With simple steps and proper care, you can enjoy a mini cornfield in your backyard, terrace, or even in containers.
🌱 Why Grow Corn at Home?
Corn is a fast-growing crop that brings satisfaction and value to home gardeners. Here’s why it’s worth growing:
- Freshness you can’t get in stores
Homegrown corn is incredibly sweet and juicy because sugars haven’t turned into starch yet. - Low-maintenance plant
Once established, corn needs minimal care beyond watering and occasional feeding. - Beautiful garden presence
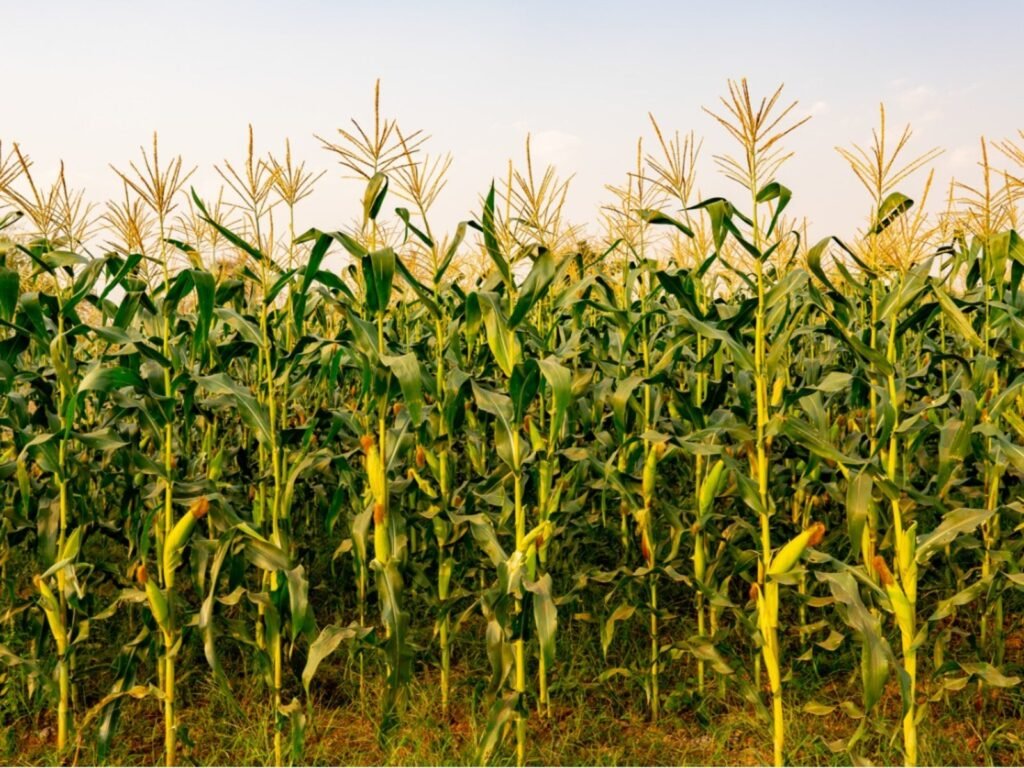
Corn plants add height, greenery, and a tropical feel to your growing space. - Great for urban gardening
Corn can be grown in containers, grow bags, or raised beds—even on balconies.
🌽 Step-by-Step Guide: How to Grow Corn from a Cob
1. Choose the Right Corn Cob
Select a fresh cob from the market, ideally one with mature, fully developed seeds. Look for:
- Firm, well-filled kernels
- Bright yellow or white color
- No mold or damaged spots
- Plump and slightly hard seeds
Avoid soft, milk-stage kernels—they won’t germinate well.
2. Remove the Seeds from the Cob
To prepare your seeds:
- Leave the cob in the sun for 1–2 days to dry slightly.
- Use your thumb to push and pop the kernels off.
- Store them in a paper bag for 24 hours to remove moisture.
This helps prevent fungal growth and improves germination.
3. Pre-Germinate the Seeds (Optional but Effective)
Boost your germination rate by following this simple method:
- Soak seeds in warm water for 8–10 hours.
- Wrap them in a damp tissue or cloth.
- Place them in a warm area for 24–48 hours.
- When tiny white roots appear, they’re ready for planting.
4. Prepare the Soil
Corn grows best in:
- Loose, well-drained soil
- Rich organic matter
- Slightly acidic to neutral pH (6.0–7.0)
Ideal Soil Mix:
- 40% garden soil
- 40% compost or cow manure
- 20% cocopeat or sand
Corn is a heavy feeder, so nutrient-rich soil is essential for good yields.
5. Plant the Seeds
Corn should always be planted in blocks, not rows. This helps with wind pollination.
Planting steps:
- Make holes 1 inch deep and 6 inches apart.
- Place one germinated seed in each hole.
- Cover with soil and water gently.
- If using containers, choose a 20–30 liter pot and plant 5–7 seeds.
6. Provide Proper Watering
Corn loves moisture but hates waterlogging. Keep the soil:
- Consistently moist for the first 2 weeks
- Water every 2–3 days after germination
- Increase watering when tassels appear (flowering stage)
Dry soil during pollination can drastically reduce kernel formation.
7. Sunlight Requirements
Corn needs full sun—at least 6–8 hours daily.
More sunlight = faster growth + sweeter corn.
8. Feed the Plants
Every 15 days, feed with:
- Liquid compost tea
- Seaweed extract
- Cow manure tea
- Balanced NPK (10-10-10) fertilizer
During early growth, nitrogen-rich fertilizers help taller, healthier plants.
9. Support Pollination
Corn pollinates through the wind. To improve production:
- Gently shake the plants when tassels release pollen.
- Grow corn in clusters—not single lines.
This increases kernel formation on each cob.
10. Watch for Pests
Common pests:
- Corn borer
- Aphids
- Armyworms
Organic controls:
- Neem oil spray every 7–10 days
- Garlic-chili spray
- Handpicking visible insects
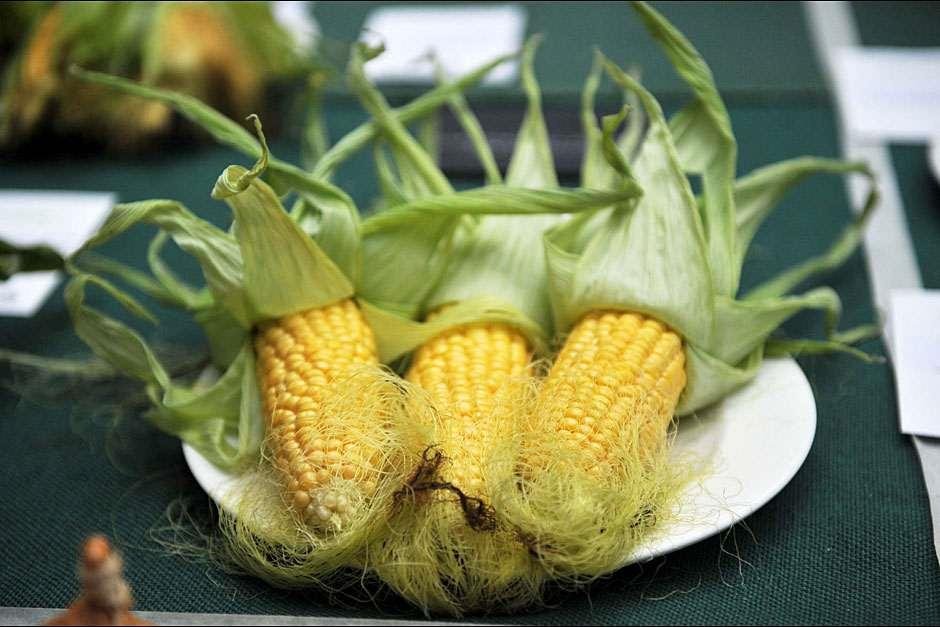
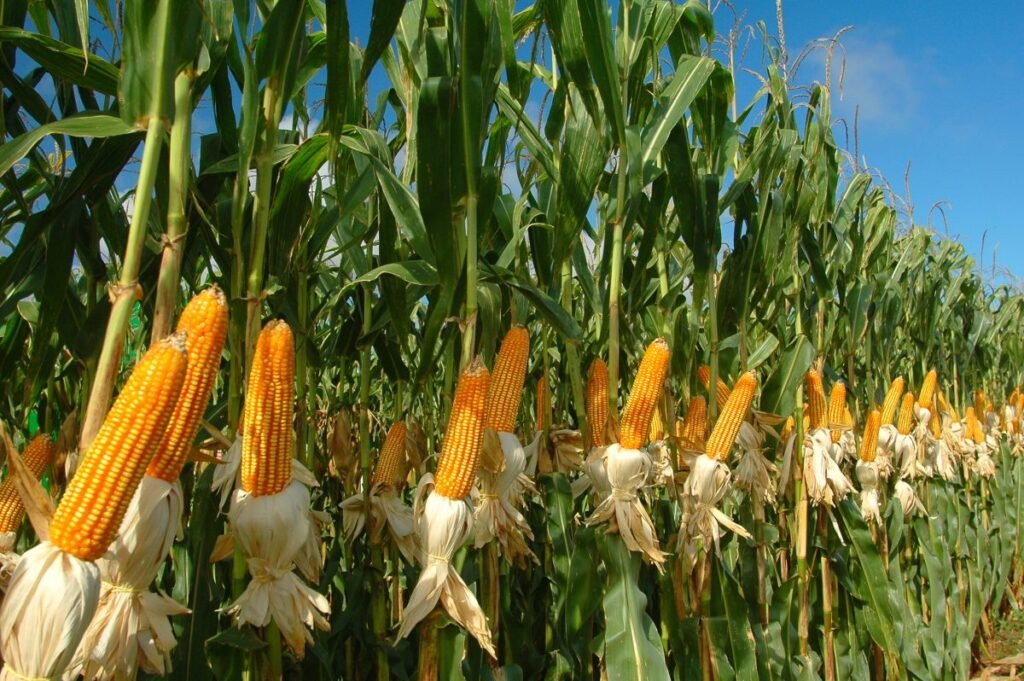
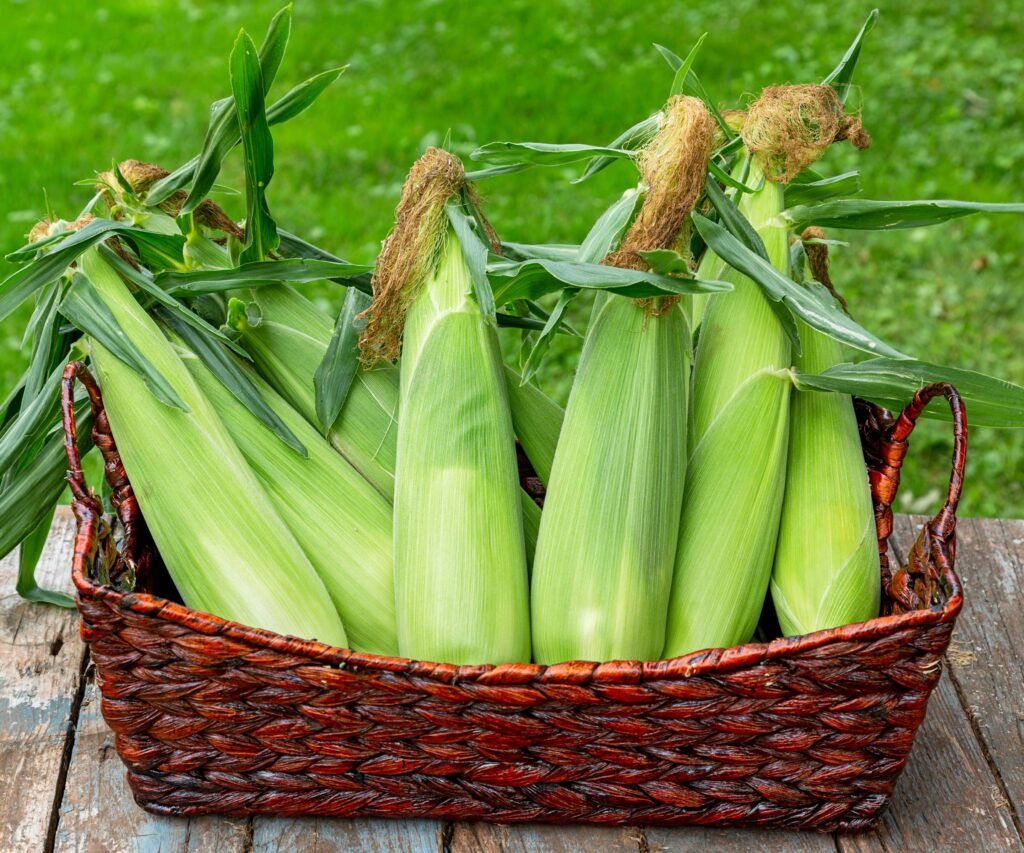
🌽 Harvesting Your Corn
Your corn will be ready to harvest 60–90 days after planting, depending on variety.
Signs of readiness:
- Silks turn brown and dry
- Kernels feel plump when pressed
- Cobs lean outward slightly
To harvest, hold the stalk with one hand and twist the cob downward with the other.
Enjoy immediately for the sweetest taste!
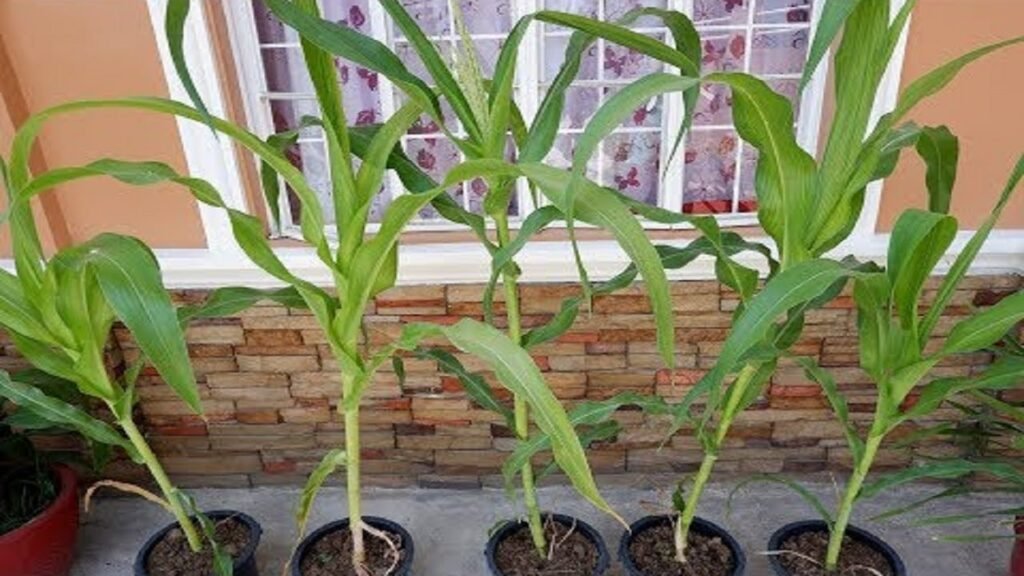
🌽 Growing Corn in Containers: Quick Guide
If you’re short on space:
- Use 20–30 liter pots
- Plant 5–7 seeds per container
- Provide support stakes
- Ensure at least 6 hours sunlight
Container-grown corn produces surprisingly good yields when fed well.
🌟 Tips for Higher Yield
- Plant in warm temperatures above 18°C
- Mulch the base to retain moisture
- Fertilize regularly during growth
- Avoid overcrowding
- Keep soil consistently moist
🌽 Final Thoughts
Growing corn from a cob is simple, fun, and incredibly rewarding. Whether you’re a beginner or an experienced gardener, this method gives you an easy way to enjoy fresh, homegrown sweet corn. With proper soil, sunlight, watering, and nutrient care, you can turn a simple cob into a thriving corn garden in just a few months.