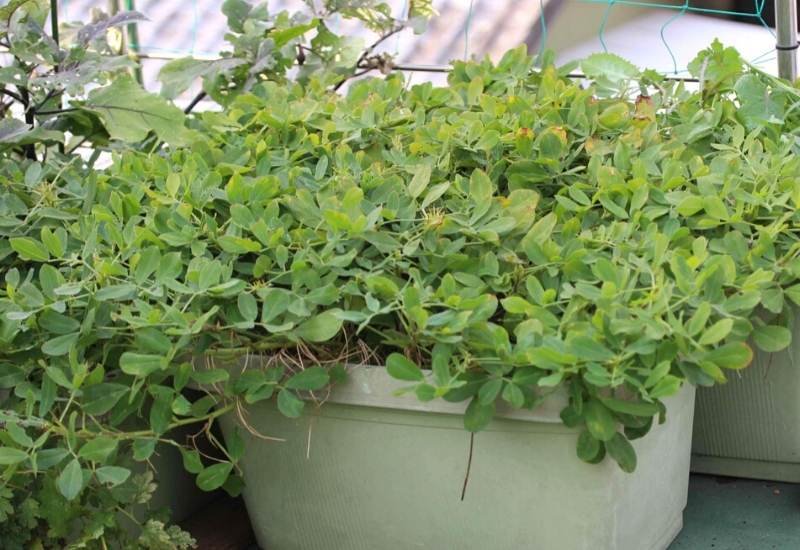
Peanuts are one of the easiest and most enjoyable crops you can grow at home—yes, even in containers! Many people assume peanuts need large farmland, but in reality, this hardy legume grows wonderfully in pots, tubs, grow bags, and buckets. With their unique growing habit and nitrogen-fixing abilities, peanuts are excellent additions to a home garden and can thrive even in small spaces.
If you’ve ever wanted to harvest your own fresh, organic peanuts, this step-by-step guide will show you exactly how to do it.
🌱 Why Grow Peanuts in Containers?
Growing peanuts in containers has several advantages:
✔ Space-Friendly
You don’t need a yard or farmland—just a sunny balcony, terrace, or small garden corner is enough.
✔ Pest Control
Container gardening reduces the risk of soil-borne pests and diseases that often affect ground-grown peanuts.
✔ Easy Soil Management
You can create the perfect loose and well-draining soil mix without worrying about clay or compacted garden soil.
✔ Cleaner Harvest
Since the plants grow above ground in controlled conditions, harvesting peanuts becomes much easier and cleaner.
🌞 Step 1: Choose the Right Peanut Variety

Peanuts come in several types, but these are best for containers:
🥜 Valencia Peanuts
- Fast-maturing
- Sweet flavor
- Ideal for smaller pots
🥜 Spanish Peanuts
- Excellent for roasting
- Compact plant size
🥜 Virginia Peanuts
- Larger pods
- Great yield in spacious containers
Choose certified seed peanuts from nurseries or organic stores.
Avoid supermarket peanuts, as they are often roasted or treated and won’t sprout.
🪴 Step 2: Select the Right Container
Peanut plants require space for root development and nut formation beneath the soil.
Best Container Sizes:
- Minimum depth: 12–14 inches
- Minimum width: 12–16 inches
- Ideal choices:
- Large buckets
- 20–30 liter grow bags
- Deep pots
- Plastic tubs
Ensure the container has good drainage holes at the bottom.
🌱 Step 3: Prepare the Perfect Soil Mix
Peanuts grow best in light, loose, sandy soil that allows pegs (flower stalks) to penetrate easily.
Recommended Soil Mix:
- 40% garden soil
- 30% river sand
- 30% compost or well-rotted cow dung
Optional boosters:
- A handful of neem cake
- A handful of vermicompost
- A tablespoon of bone meal (for better pod formation)
Avoid clay-heavy soil, as it prevents pegs from reaching the soil layer, reducing your yield.
🌿 Step 4: Planting the Seeds
How to Prepare the Peanuts:
- Remove peanuts from their shell, but do NOT remove the thin brown skin.
- Choose plump, healthy seeds.
Planting Method:
- Fill the container with your prepared soil mix.
- Make 1–2 inch deep holes.
- Plant the seeds with the pointed end facing down.
- Space seeds 4–6 inches apart.
- Cover lightly with soil.
- Water gently.
Germination Time:
5–10 days under warm conditions (>20°C / 68°F)
🌞 Step 5: Provide the Right Growing Conditions
Peanut plants love warm weather and light.
Sunlight:
6–8 hours of direct sunlight daily
Temperature:
Best growth occurs between 22°C to 35°C (72°F to 95°F).
Watering Guide:
- Keep the soil moist but never soggy.
- Water deeply when the top 1 inch feels dry.
- Reduce watering slightly after flowering.
Avoid waterlogging, as peanuts hate wet feet and may develop root rot.
🌼 Step 6: Flowering and Pegging — The Magic Phase
Peanut plants produce small yellow flowers around 25–40 days after planting.
Once pollinated, the flowers form pegs, which bend down and push into the soil.
Peanuts form underground at the tips of these pegs.
To support this phase:
- Keep soil loose and soft.
- Add an extra thin layer of sandy soil around the base to help pegs penetrate.
- Avoid disturbing the soil during this period.
🌿 Step 7: Fertilizing the Plants
Peanuts are nitrogen-fixing plants, so they don’t need heavy nitrogen fertilizers.
Best Fertilizers:
- Vermicompost (monthly)
- Wood ash (for potassium)
- Banana peel liquid fertilizer
- Fish amino acid (optional)
Avoid:
High-nitrogen fertilizers, as they produce excessive leaves but fewer peanuts.
🛡 Step 8: Pest and Disease Prevention
Container peanuts experience fewer issues but watch out for:
Common Pests:
- Aphids
- Thrips
- Leaf miners
- Whiteflies
Natural Solutions:
- Neem oil spray (weekly)
- Garlic-chili spray
- Soap solution (mild)
Diseases:
- Fungal issues from overwatering
- Leaf spot diseases
Prevention:
- Maintain good airflow
- Water at the base, not on leaves
- Avoid overcrowding
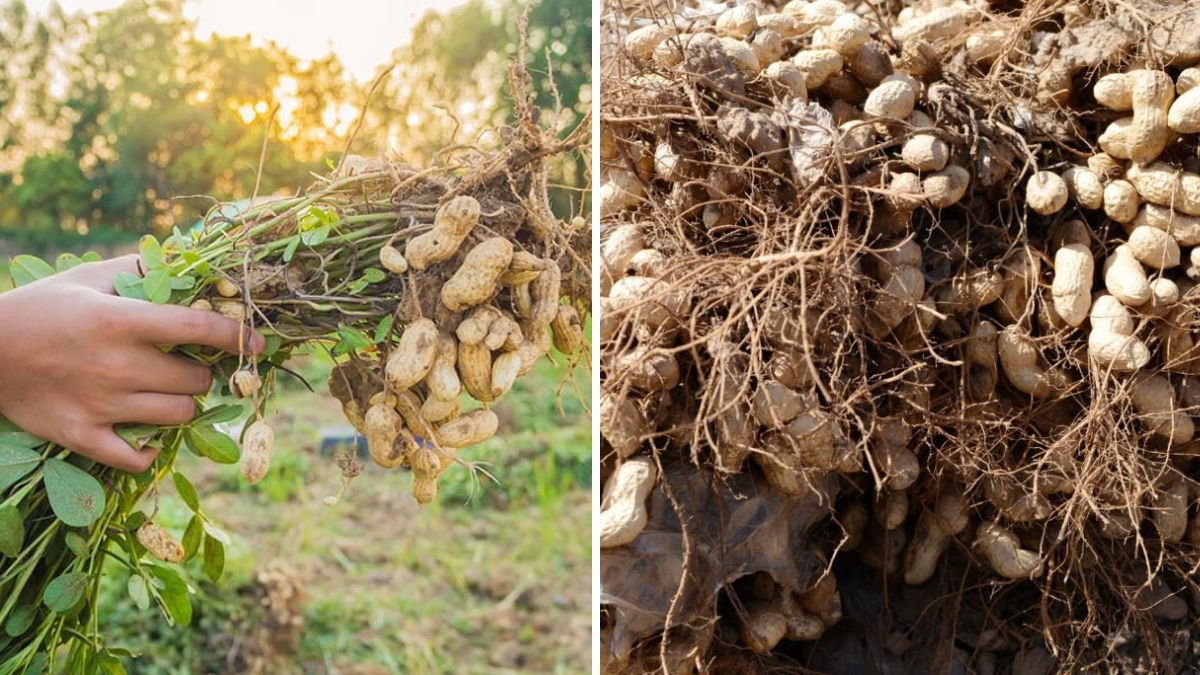
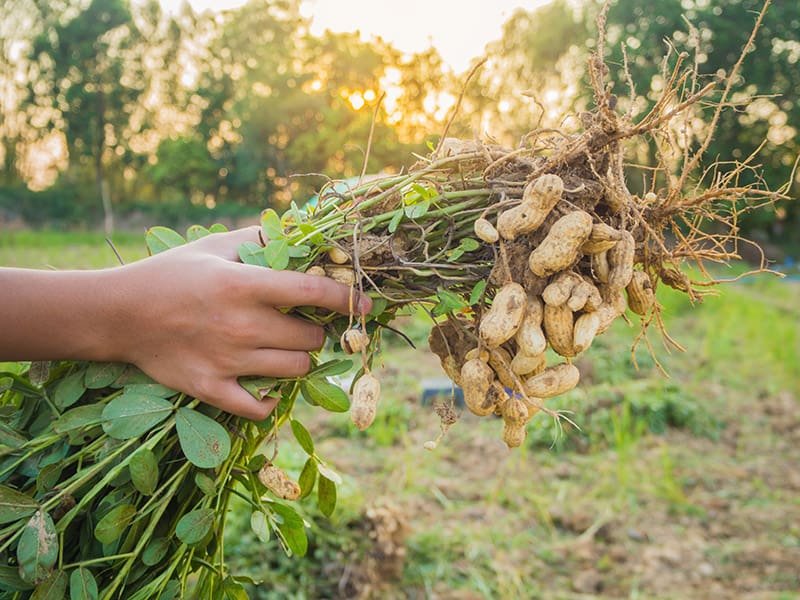
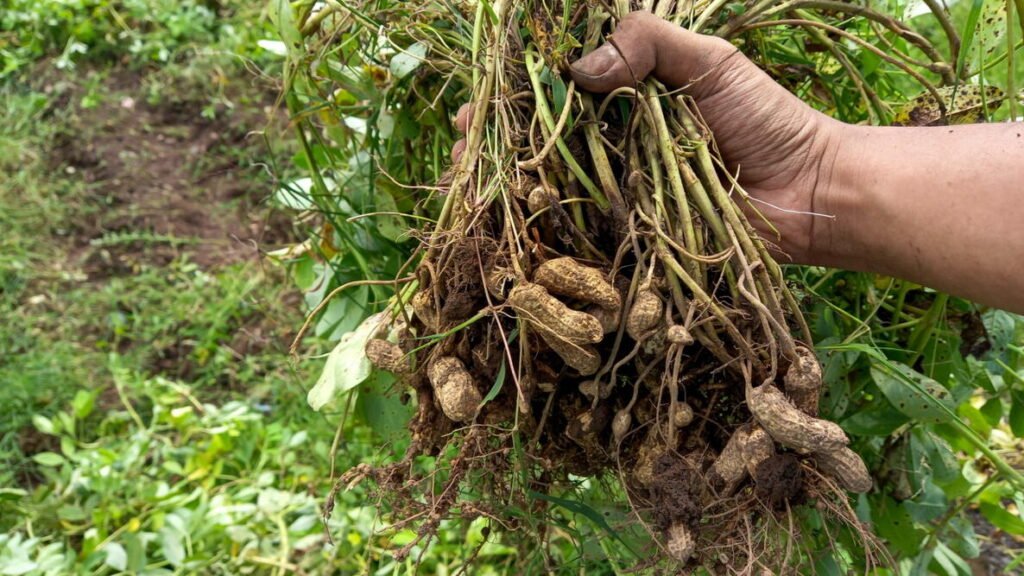
⏳ Step 9: Harvesting Your Peanuts
Peanuts are usually ready for harvest 90–120 days after planting.
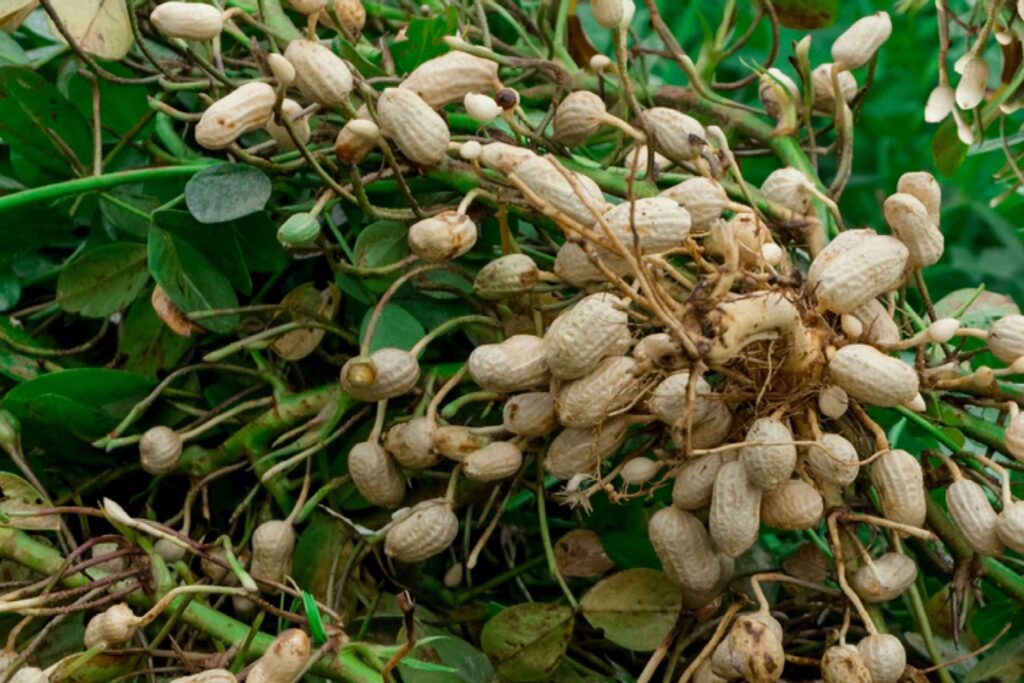
How to Know They’re Ready:
- Leaves turn yellow and begin to dry.
- The plant looks mature and bushy.
- Gently dig around to check pod size.
Harvesting Steps:
- Gently loosen soil with your hand.
- Pull the plant from the base.
- Shake off loose soil.
- Remove peanuts from roots.
🌬 Step 10: Drying and Storing Your Peanuts
Freshly harvested peanuts are moist and need drying.
Drying Method:
- Spread peanuts in a sunny, airy place for 4–6 days.
- Turn them regularly.
- Once shells are crisp, store them.
Storage Tips:
- Keep in airtight containers.
- Store in cool, dry places.
- Avoid humidity to prevent mold.
🌟 Bonus Tips for Bigger, Better Peanut Harvests
✔ Add gypsum powder when flowering starts for stronger pods
✔ Rotate your potting mix with legumes and non-legumes
✔ Don’t disturb plants during pegging
✔ Add mulch to keep soil temperature stable
✔ Use large containers for higher yields
🥜 Final Thoughts
Growing peanuts in containers is not only simple and space-efficient but also incredibly rewarding. With the right soil, sunlight, and care, your peanut plants will thrive and produce a generous harvest right from your balcony or terrace.
Whether you’re a beginner gardener or an enthusiast looking to try something new, peanuts are one of the most fun crops you can grow at home.
So grab a pot, plant some seeds, and enjoy your own homegrown, organic peanuts!