Growing your own food can be one of the most rewarding experiences. Not only is it a great way to ensure that you’re consuming fresh, organic produce, but it also contributes to a more sustainable lifestyle. Celery, known for its crisp texture and refreshing taste, is a great addition to any garden. In this comprehensive guide, we’ll explore how to successfully grow celery from stalks, covering everything from preparation to planting, care, and harvesting.
Understanding Celery
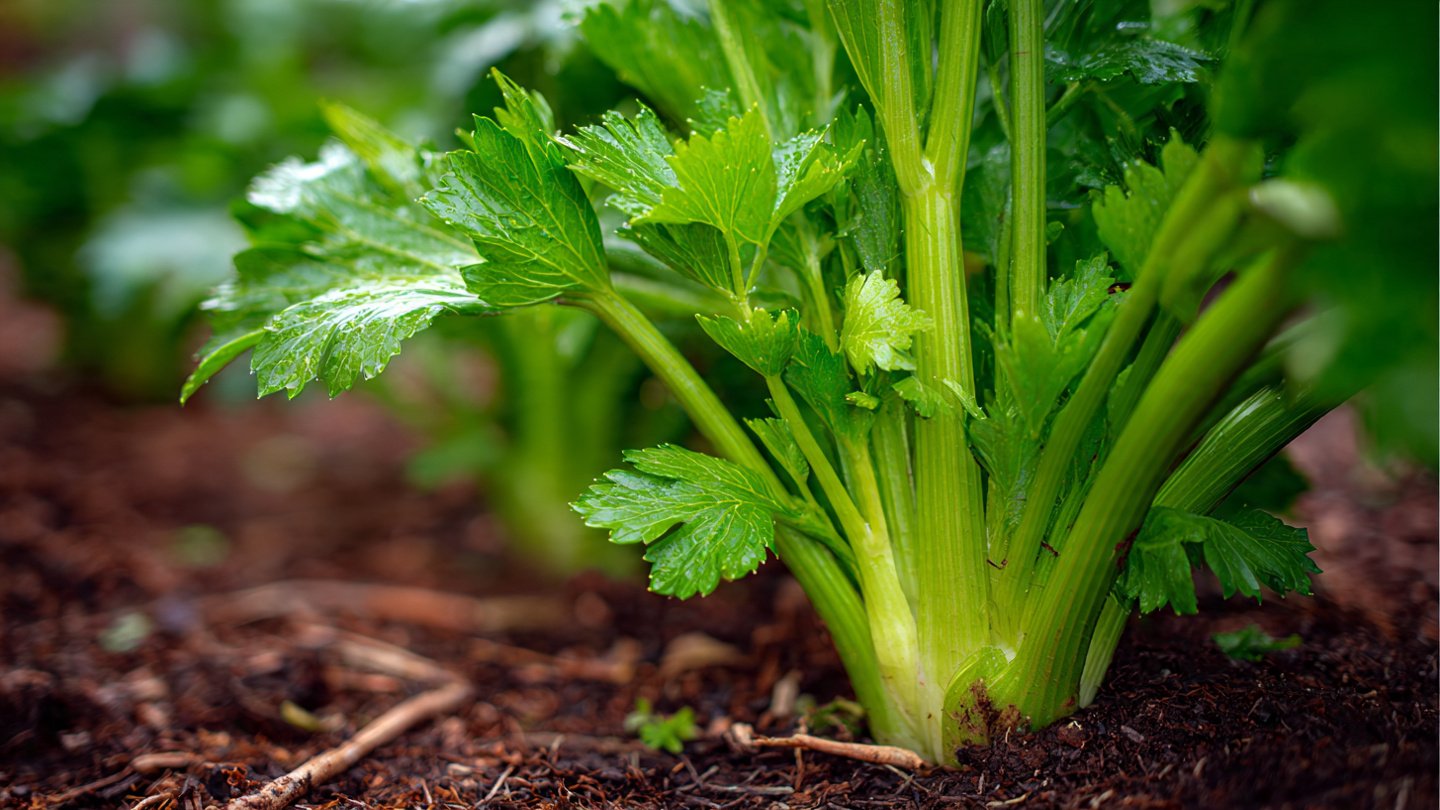
Celery (Apium graveolens) is a biennial horticultural plant in the family Apiaceae. It’s primarily grown as an annual for its edible stalks, which are often used in salads, soups, and as snacks. Celery prefers a cool climate and nutrient-rich soil, making it an ideal option for spring and fall gardens.
Benefits of Growing Celery
- Nutritional Value: Celery is low in calories yet high in vitamins (A, C, and K) and minerals.
- Versatile Use: It can be eaten raw, cooked, or juiced.
- Sustainability: Growing celery at home reduces carbon footprint and dependence on store-bought produce.
- Cost-Effectiveness: A stalk of celery at the grocery store can be expensive, but growing your own is cheaper in the long run.
Preparing to Grow Celery
Selecting Your Stalks
To begin growing celery from stalks, you’ll need to select fresh celery from your local grocery store or farmer’s market. Choose stalks that are firm and vibrant green. Avoid any that show signs of wilting or browning.
Materials You’ll Need
- Fresh celery stalks
- A shallow container for water
- Potting soil
- Seed trays or small pots
- Garden tools (trowel, watering can, etc.)
- Fertilizer (preferably organic)
Step-by-Step Guide to Growing Celery from Stalks
1. Propagation
Water Method:
- Cut the Stalks: Take a fresh bunch of celery and cut about 2-3 inches from the root end.
- Fill a Container with Water: Use a shallow container and fill it with enough water to submerge the root end of the celery stalk.
- Place the Stalks: Place the cut end of the celery stalks in the water. You can stand them up or lay them flat.
- Sunlight and Water: Place the container in a sunny windowsill. Change the water every few days to keep it fresh.
- Growth Observation: In about 5-7 days, you’ll see roots developing from the bottom, and new leaves growing from the top.
2. Transplanting
Once the roots are about 2-3 inches long and new leaves have emerged, it’s time to transplant.
- Choose Your Pots: Select small pots or seed trays filled with nutrient-rich potting soil.
- Make a Hole: Create a small hole in the soil with your finger or a stick.
- Insert the Celery Stalk: Carefully place the rooted celery stalk in the hole, making sure to cover the roots with soil.
- Water: Water the newly planted stalks thoroughly to help settle the soil around the roots.
3. Choosing the Right Location
Celery thrives in full sunlight but requires some shade, especially during the hottest part of the day. A location with dappled sunlight or partial shade is often ideal.
4. Watering and Care
- Watering: Celery needs consistent moisture. Water them regularly, ensuring the soil is always damp but not waterlogged. Aim for at least 1-2 inches of water per week.
- Fertilizing: Use an organic fertilizer every couple of weeks. Since celery is a heavy feeder, this will support healthy growth.
- Weeding: Keep the area surrounding your celery free from weeds to reduce competition for nutrients.
5. Pest and Disease Management
Celery can be susceptible to pests like aphids and diseases like blight. To manage these issues:
- Regular Checks: Inspect your plants regularly for any signs of pests or diseases.
- Natural Remedies: Use neem oil or insecticidal soap for pest control.
- Companion Planting: Consider planting herbs like basil and sage nearby that can deter pests naturally.
6. Harvesting Celery
Celery is typically ready to be harvested in about 3-4 months after transplanting. Here’s how to tell when it’s time to harvest:
- Stalk Size: The stalks should be at least 8-10 inches tall.
- Firmness: The stalks should feel firm and crisp when gently squeezed.
- Color: A deep green color generally indicates readiness.
Harvesting Technique
- Cutting: Use a sharp knife to cut the stalks close to the base of the plant.
- Regrowth: After cutting, celery may regrow for a second harvest, so leave a couple of inches of the base intact.
Tips for Growing Celery Successfully
- Start Early: If you want to plant celery outdoors, start seeds indoors 10-12 weeks before the last frost.
- Mulch: Consider adding a layer of mulch around your celery plants to help retain moisture.
- Crop Rotation: Rotate your crops each year to minimize disease risk.
- Succession Planting: Plant celery in succession every few weeks to ensure a continuous harvest.
FAQs
Q1: Can I grow celery in containers?
Yes, celery can be successfully grown in containers. Ensure that the container has enough depth and drainage holes to accommodate the celery roots.
Q2: How often should I water my celery?
Celery requires consistent moisture. Water it about 1-2 inches per week, ensuring the soil remains damp.
Q3: Can I use store-bought celery for planting?
Absolutely! You can propagate celery stalks from store-bought celery. Just make sure to choose fresh stalks.
Q4: How do I prevent pests from attacking my celery?
You can use natural deterrents like neem oil or insecticidal soap. Companion planting with herbs can also help deter pests.
Q5: What are the best growing conditions for celery?
Celery grows best in cooler temperatures (around 60–70°F) and requires well-draining, nutrient-rich soil. Dappled sunlight is ideal.
Q6: How long can I store harvested celery?
Freshly harvested celery can be stored in the refrigerator for about 1-2 weeks. To keep it fresh longer, consider keeping it in water, similar to storing flowers.
Conclusion
Growing celery from stalks is not just a fun gardening project; it’s an opportunity to enjoy fresh, organic produce from your own home. With a little patience and care, you can cultivate healthy plants that provide tasty, nutrient-rich stalks for your kitchen. Embrace the sustainability that comes from growing your food and enjoy the satisfaction of knowing exactly where your meals come from. Happy gardening!