Ginger is one of the most valuable kitchen staples in the world, renowned for its flavor, aroma, and health benefits. From boosting immunity to aiding digestion, fresh ginger is an essential ingredient in countless dishes and remedies. But buying fresh ginger regularly can be expensive, and store-bought ginger often lacks the freshness and quality of homegrown produce.
What if you could grow a bountiful supply of ginger at home using nothing more than old bags, soil, and a little care? Yes, it’s that simple. This innovative, space-saving method allows even small-space gardeners to enjoy many tubers of fresh ginger year-round, without a traditional garden bed.
In this article, we’ll explore a step-by-step guide to growing ginger in recycled bags, including tips for soil preparation, planting, care, and harvesting.
🌿 Why Grow Ginger at Home?
Homegrown ginger offers numerous advantages:
- Freshness: Pick ginger straight from your own container for maximum flavor.
- Cost-effective: Grow multiple tubers from a single piece of ginger.
- Space-saving: No garden? No problem—just use a balcony, terrace, or countertop.
- Health benefits: Homegrown ginger is chemical-free and more nutritious.
- Eco-friendly: Recycling old bags reduces waste while producing food.
Growing ginger at home can be both practical and sustainable, and the bag method makes it incredibly easy.
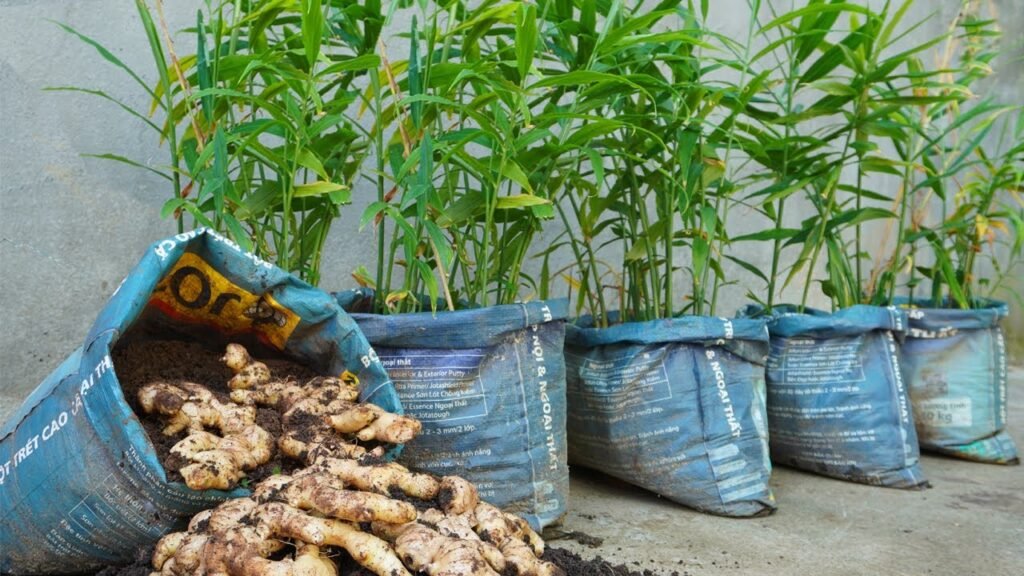
🪴 Step 1: Choosing the Right Bag
The type of bag you use is crucial for success:
- Use thick, durable bags such as old jute, burlap, or strong plastic bags.
- Ensure the bag is clean and free of chemicals that could harm plants.
- The bag should be large enough to accommodate ginger rhizomes and soil—a 12–18 inch tall and wide bag works well.
- Punch drainage holes at the bottom to prevent waterlogging.
Recycling old bags is not only sustainable but also cost-effective, turning waste into a productive gardening solution.
🌱 Step 2: Preparing Ginger Rhizomes
Healthy ginger rhizomes are the foundation of a good harvest:
- Select fresh, plump rhizomes with visible growth buds or “eyes.”
- Soak the rhizomes in lukewarm water for 12–24 hours to encourage sprouting.
- Cut large rhizomes into pieces, ensuring each piece has at least 1–2 buds.
Prepared rhizomes ensure strong, vigorous shoots and multiple tubers.
🪴 Step 3: Preparing the Soil Mix
Ginger thrives in fertile, well-draining soil.
Recommended soil mix:
- 2 parts garden soil
- 1 part compost or well-rotted manure
- 1 part sand or perlite for drainage
Mix thoroughly and fill the recycled bag halfway with soil. This mixture ensures nutrient availability, aeration, and drainage.
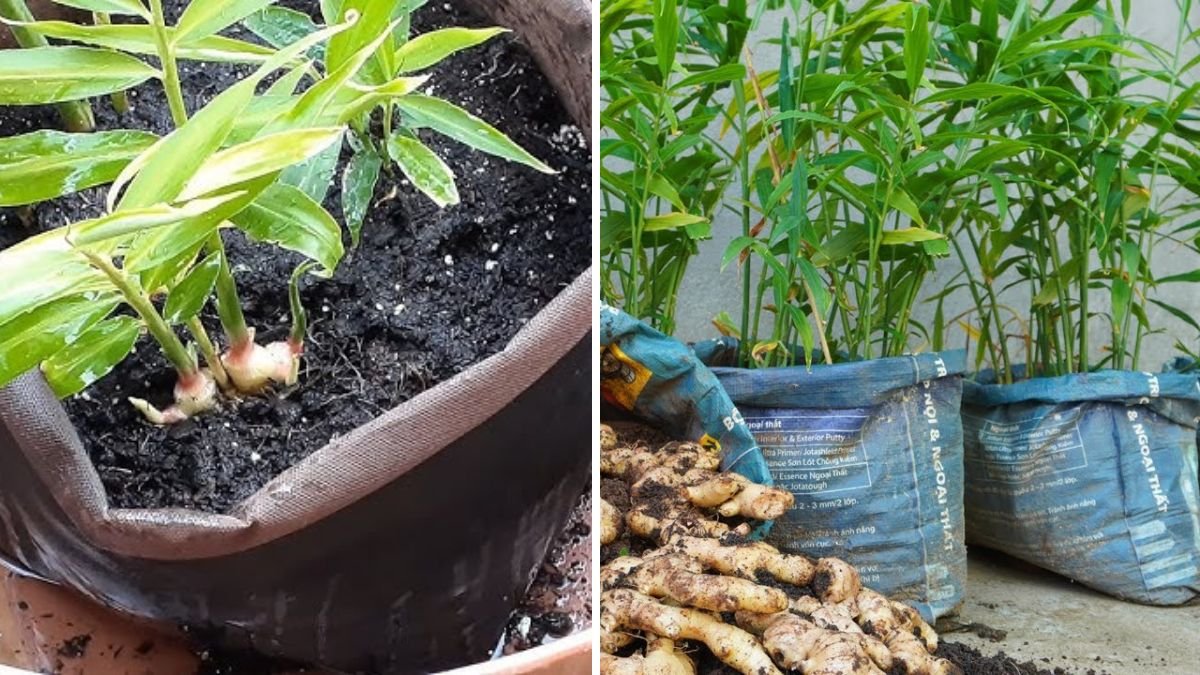
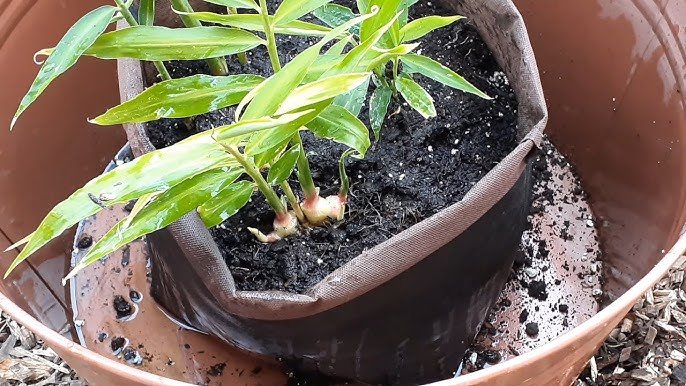
🌿 Step 4: Planting Ginger in Bags
Planting ginger correctly is key to bountiful tuber production:
- Place the rhizomes on the soil surface with buds facing upward.
- Cover them with 2–3 inches of soil.
- Space multiple pieces 4–6 inches apart if planting several rhizomes in one bag.
- Lightly press the soil to ensure good contact between rhizome and soil.
Tip: Keep the bag in a warm, shaded area initially to encourage sprouting.
💧 Step 5: Watering and Moisture Control
Ginger requires consistent moisture, but overwatering can harm the roots:
- Water lightly after planting, then keep soil moist but not soggy.
- Once shoots appear, water 2–3 times a week, adjusting for weather and container drainage.
- Mulch the soil with dried leaves or straw to retain moisture and regulate temperature.
Proper moisture promotes vigorous shoots and healthy tuber development.
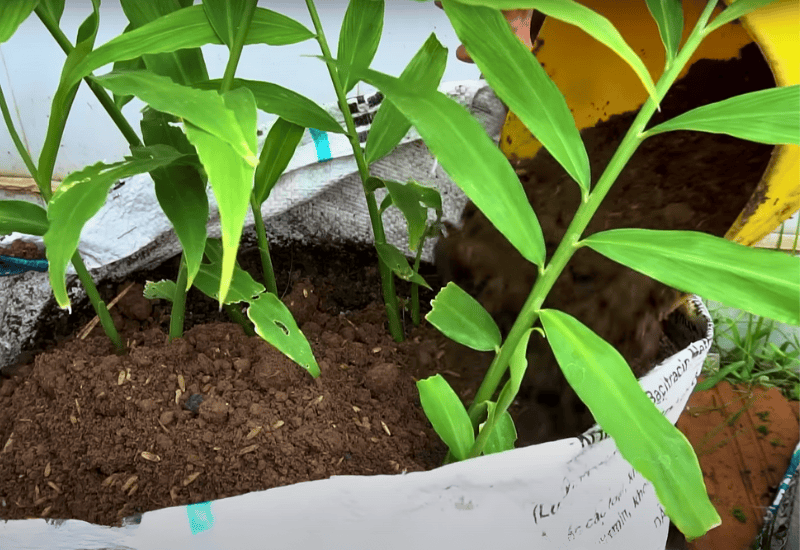
🌞 Step 6: Sunlight Requirements
Ginger grows best in partial sunlight:
- Place the bag in a spot that receives 4–6 hours of indirect sunlight daily.
- Avoid harsh, direct midday sun, which can scorch the leaves.
- Rotate the bag occasionally for even growth.
Correct sunlight encourages strong shoots and larger, sweeter rhizomes.
🌿 Step 7: Fertilizing for Big, Healthy Tubers
Fertilizing ensures your ginger produces multiple, robust tubers:
- Apply organic compost every 3–4 weeks.
- Use a balanced liquid fertilizer (N-P-K 10-10-10) during early growth.
- Switch to potassium-rich fertilizer once shoots are established to boost tuber formation.
- Avoid excessive nitrogen after shoots appear, which can promote leaves over rhizome growth.
Fertilized plants yield more, larger, and more flavorful ginger.
✂️ Step 8: Pruning and Care
Although ginger is low-maintenance, occasional care improves yield:
- Remove yellowing or damaged leaves to prevent disease.
- Thin shoots if overcrowding occurs to allow strong rhizomes to develop.
- Monitor for pests like aphids or mites; treat naturally using neem oil or mild soap solutions.
Careful maintenance ensures a healthy, productive ginger crop.
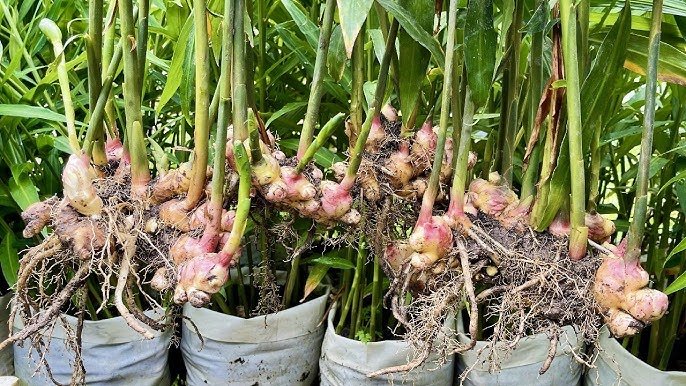
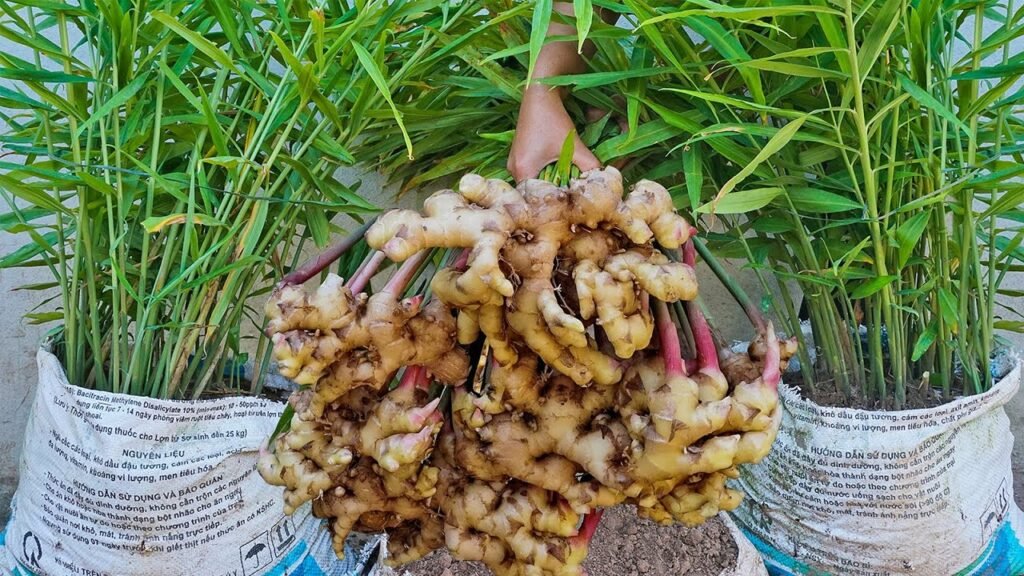
🕒 Step 9: Harvesting Ginger
Ginger can be harvested young for tender shoots or mature for large tubers:
- Young ginger: Harvest 2–3 months after planting, when shoots are tender.
- Mature ginger: Wait 8–10 months for larger rhizomes with stronger flavor.
- Gently dig the soil around the rhizomes, keeping them intact.
- Save a few pieces with buds for replanting in the next cycle.
Harvesting correctly ensures continuous supply and maximum yield.
🌟 Step 10: Advantages of Growing Ginger in Recycled Bags
- Space-saving: Perfect for balconies, terraces, or small patios.
- Cost-effective: Recycle old bags and grow multiple tubers from one rhizome.
- Chemical-free: You control the soil and fertilizer for safe, healthy produce.
- Easy maintenance: No heavy digging, low risk of pests, and simple watering.
- Sustainable: Reduces plastic waste and promotes eco-friendly gardening.
This method combines innovation, sustainability, and productivity.
💡 Step 11: Tips for Maximum Yield
- Use high-quality, fresh rhizomes.
- Keep soil loose and well-draining.
- Provide partial sunlight and maintain consistent moisture.
- Fertilize regularly with organic nutrients.
- Harvest carefully and save a portion for replanting.
Following these tips guarantees multiple, large, and flavorful ginger tubers from just a few recycled bags.
🏡 Step 12: Conclusion – Your Easy, Productive Ginger Garden
Growing ginger at home using recycled bags is too easy, cost-effective, and rewarding. Even without a traditional garden, anyone can enjoy a continuous supply of fresh, aromatic ginger for cooking and health.
From selecting rhizomes and preparing soil to planting, watering, and harvesting, this simple method allows gardeners of all skill levels to produce many tubers in a small space.
Start today, reuse your old bags, and create a homegrown ginger paradise—delicious, productive, and sustainable. Once you see the results, you’ll never buy ginger from the store again!