Propagating fruit trees can be an incredibly rewarding endeavor, especially when it comes to plums. Not only is plum propagation a cost-effective way to grow your orchard, but it also allows you to replicate desirable traits from existing trees. This ultimate guide will walk you through the entire process of propagating plums from cuttings, ensuring you achieve optimal fruit production.
Why Choose Plum Propagation by Cuttings?
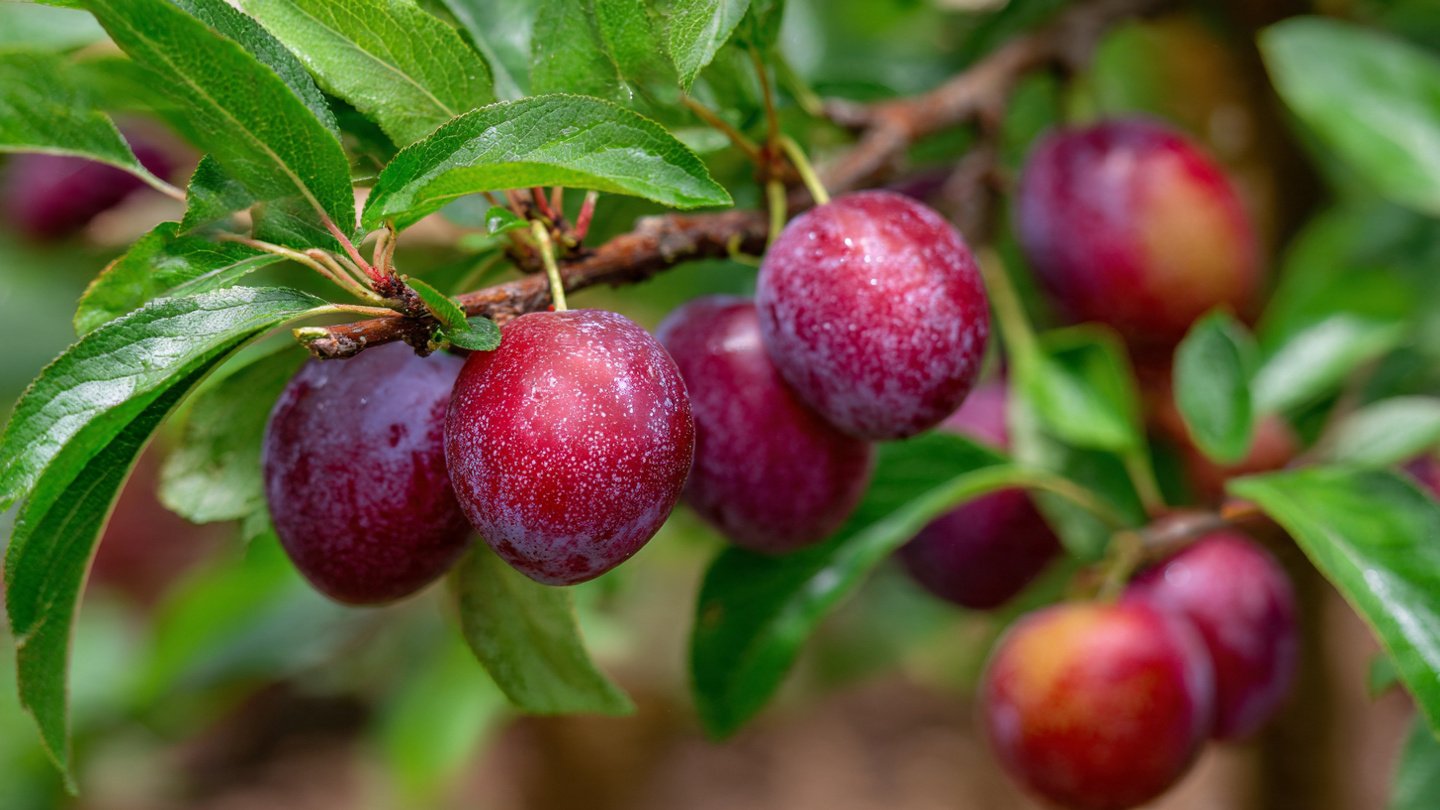
Plum trees (Prunus domestica) are popular not just for their delicious fruit but also for their ornamental value. Propagating plums from cuttings has several advantages:
-
Cost-Effectiveness: Growing your own trees from cuttings saves you money compared to purchasing saplings from a nursery.
-
Genetic Consistency: Cuttings retain the genetic makeup of the parent tree, ensuring that the new trees will share desirable traits, such as fruit quality and disease resistance.
-
Faster Maturity: Cuttings generally mature faster than trees grown from seed, leading to quicker fruit production.
-
Ease of Caring: Established plum varieties are often well-adapted to local soil and climate conditions, making them easier to grow.
When to Take Cuttings
Timing is crucial when propagating plums from cuttings. Generally, the best times to take cuttings are:
-
Spring (April to June): This is the most favorable time, as the tree is actively growing and the cuttings have a higher chance of rooting.
-
Summer (July to August): Semi-hardwood cuttings can also be taken during this period, when the wood is partially mature.
Types of Cuttings
Understanding the type of cuttings you can take will help you select the best option for your propagation efforts:
-
Softwood Cuttings: Taken in spring from new growth, these cuttings are green and flexible. They root well but require more care.
-
Semi-Hardwood Cuttings: These are taken in summer from partially mature wood. They are less forgiving but still provide decent success rates.
-
Hardwood Cuttings: Taken in late fall or winter from dormant wood, these cuttings are sturdy but may have lower rooting success.
How to Take Cuttings
Step-by-Step Process
-
Select Parent Tree: Choose a healthy, established plum tree known for its high-quality fruit.
-
Identify Healthy Branches: Look for young, healthy branches. Avoid any that show signs of disease or damage.
-
Cut the Branch: Using a sharp, sterilized pair of pruning shears, take cuttings about 6 to 8 inches long. Make a clean cut just below a node.
-
Remove Lower Leaves: Strip the leaves from the lower half of the cutting to prevent them from rotting in the propagation medium.
Preparing the Cuttings
-
Wound the Cutting: Make a small cut at the bottom of the cutting to increase the surface area for rooting.
-
Use Rooting Hormone: Dip the cut end in a rooting hormone to help encourage root development.
Choosing the Right Growing Medium
Selecting the right growing medium is essential for successful rooting.
-
Ingredients: Use a mix of perlite, peat moss, and vermiculite. This ensures good drainage while retaining moisture.
-
pH Level: Aim for a soil pH between 6.0 and 6.8 for optimal growth.
-
Sterilization: Sterilize your potting mix to reduce the risk of fungus and bacteria.
Planting the Cuttings
-
Containers: Use small pots or trays with drainage holes. Fill them with your prepared growing medium.
-
Planting Depth: Insert the cuttings about 2-3 inches deep into the medium. Space them at least 4-6 inches apart.
-
Watering: Water the cuttings gently but thoroughly. Ensure the medium is moist but not waterlogged.
Creating the Ideal Environment
Temperature and Humidity
Plum cuttings require a warm and humid environment for optimal root growth.
-
Temperature: Maintain a temperature of around 70-75°F (21-24°C).
-
Humidity: To retain moisture, cover the pots or trays with a clear plastic bag or a humidity dome. Ventilate them periodically to prevent mold growth.
Light Requirements
-
Indirect Light: Place the cuttings in bright, indirect sunlight. Avoid direct sunlight, which can scorch them.
-
Duration: Ensure they receive at least 12-16 hours of light daily.
Monitoring Growth
Timeframe for Root Development
Rooting usually takes 4 to 8 weeks, depending on the cutting type and environmental conditions. Monitor your cuttings regularly for signs of growth.
Signs of Successful Rooting
-
New Growth: Look for new leaf growth as an indication that roots are beginning to develop.
-
Resistance: Pull gently on the cuttings; resistance usually indicates root establishment.
Transplanting Cuttings
Once your cuttings have developed a healthy root system, it’s time to transplant them into larger pots or an outdoor garden.
-
Timing: Wait until the risk of frost has passed.
-
Preparing for Transplanting: Gradually acclimate your cuttings to outdoor conditions over a week.
-
Planting: Make holes in the garden or container soil and place the cuttings. Water them thoroughly after planting.
Care After Planting
-
Watering: Keep the soil consistently moist for the first few weeks, then gradually reduce watering as the plants establish.
-
Fertilizing: Once established, feed with a balanced fertilizer to promote growth.
-
Pruning: As the plants grow, prune them to encourage a strong structure and improve air circulation.
-
Pest and Disease Management: Regularly inspect your trees for pests and diseases, and address any issues promptly.
Optimal Conditions for Fruit Production
To achieve optimal fruit production, consider the following:
-
Soil Quality: Ensure your soil is rich in organic matter and well-drained.
-
Sunlight: Plum trees require full sun for at least 6-8 hours daily.
-
Watering: Regular watering is crucial, especially during flowering and fruit set.
-
Pollination: Ensure that you have different varieties for cross-pollination, as many plum varieties are not self-fertile.
-
Pruning for Production: Proper pruning techniques will facilitate airflow and promote higher fruit yield.
FAQs
Q: How long does it take for plum cuttings to root?
A: Rooting can take between 4 to 8 weeks, depending on the cutting type and environmental conditions.
Q: Can I propagate plums from seeds?
A: Yes, but seeds will not guarantee the same fruit quality as the parent plant, as they do not maintain genetic consistency.
Q: What is the best time to take plum cuttings?
A: Spring (April to June) is the best time, but semi-hardwood cuttings can also be taken in summer.
Q: Can I use store-bought cuttings for propagation?
A: It’s not recommended to use store-bought cuttings, as they may not be adapted to your local environment or may carry diseases.
Q: What tools will I need for propagating plum cuttings?
A: Essential tools include sharp pruning shears, pots or trays, a moisture-retaining medium, and rooting hormone.
Q: Do plum trees require specific soil conditions?
A: Yes, plums prefer well-drained, nutrient-rich soil with a pH between 6.0 and 6.8.
Q: How often should I water my cuttings?
A: Keep the cuttings moist but not waterlogged. Water them thoroughly after planting and adjust as they establish.
Q: What can I do to prevent disease in my cuttings?
A: Use sterilized equipment and soil, provide good airflow, and regularly check for pests and diseases.
Conclusion
Propagation by cuttings can be an excellent method for growing your plum trees, ensuring you enjoy the benefits of fruitful harvests while replicating your favorite varieties. Follow this guide carefully, and with patience and attention to detail, you’ll be well on your way to cultivating healthy, productive plum trees that will delight you with their bountiful fruit in the years to come. Happy planting!