Chrysanthemums, commonly known as mums, are a beloved flowering plant famous for their vibrant blooms and stunning variety. They add a delightful touch to any indoor space with their colors spanning from bright yellows to deep burgundies. While you can certainly purchase these plants from nurseries or garden centers, growing chrysanthemums from cuttings is not only a rewarding experience but also a cost-effective way to expand your indoor garden. In this article, we’ll delve into the best methods to grow chrysanthemums from cuttings indoors, ensuring successful propagation and flourishing plants.
Understanding Chrysanthemums
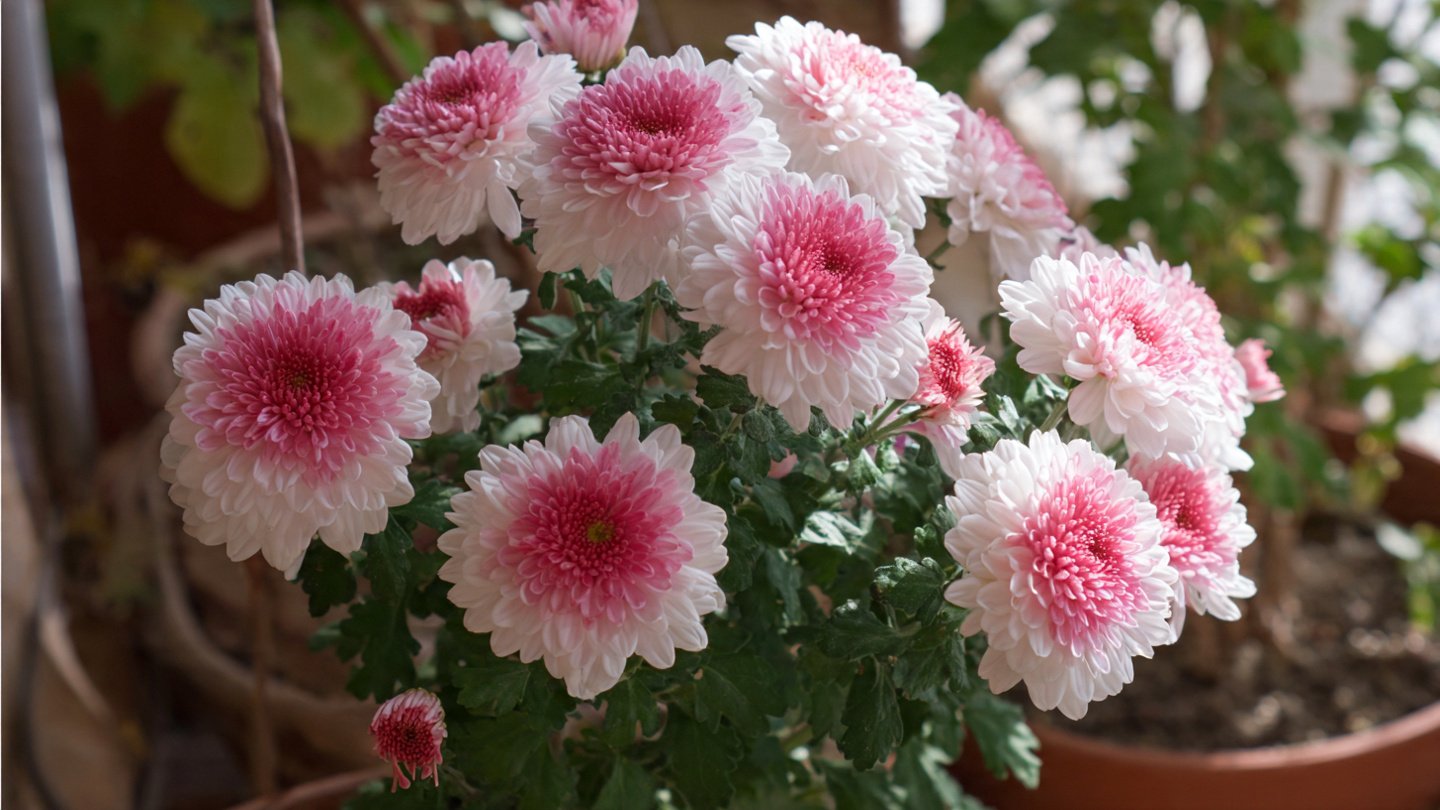
Before diving into the propagation process, it is essential to understand what chrysanthemums are. Native to Asia and northeastern Europe, these perennial plants belong to the aster family (Asteraceae). They are particularly popular during the fall due to their late blooming period. Chrysanthemums are hardy and versatile, thriving in various climates and conditions.
They come in numerous varieties, each with unique characteristics. Depending on the cultivar, their growing habits, flower forms—such as daisy-like or pompon shapes—and colors can differ widely. Understanding the specific type you wish to propagate will guide you in the proper care and expectations during the growing process.
Preparing for Propagation
Materials Needed
Before you start propagate chrysanthemums from cuttings, gather the necessary materials:
- Healthy Chrysanthemum Plant: Ensure you have a vigorous parent plant to take your cuttings from.
- Pruning Shears: Sharp, clean shears will help prevent disease transmission.
- Rooting Medium: A well-draining mix such as perlite, vermiculite, or a combination of soil and sand.
- Containers: Small pots or trays with drainage holes work well for starting cuttings.
- Humidity Dome or Plastic Wrap: To retain moisture during the rooting phase.
- Water: Ensure you have fresh water for the cuttings.
Choosing the Right Time for Cuttings
Ideally, take cuttings in the spring or early summer when the parent plant is actively growing. This is the season when new growth appears, and the plant’s energy is highest, enhancing rooting success.
Taking Cuttings
-
Select the Right Stem: Look for healthy stems with at least two to three sets of leaves. Avoid any stems that appear weak, diseased, or damaged.
-
Make the Cut: Using your clean pruning shears, cut the stem at a 45-degree angle about 4–6 inches from the tip. This angle increases the surface area for absorbing water.
-
Remove Lower Leaves: Carefully remove the leaves from the bottom two-thirds of the stem cut. Leave approximately two to three sets of leaves at the top to ensure photosynthesis can continue.
-
Use Rooting Hormone (Optional): For better success, you may dip the cut end into rooting hormone, which can stimulate root growth and increase the chances of propagation.
Planting the Cuttings
-
Prepare the Containers: Fill your pots or trays with the rooting medium, ensuring they are well-drained. Lightly moisten the medium before planting the cuttings.
-
Insert the Cuttings: Make a small hole with your finger or a pencil in the medium and insert the cuttings, ensuring that the cut end is buried about two inches deep. Firm the soil around the base to secure it in place.
-
Water Gently: After inserting the cuttings, water gently to eliminate air pockets while being cautious not to saturate the medium.
-
Create a Humid Environment: To promote rooting, cover your containers with a humidity dome or plastic wrap, creating a mini greenhouse effect. Ensure there are small holes for air circulation to prevent mold growth.
Caring for Your Cuttings
Location
Place your pots or trays in a location with indirect sunlight. An east or west-facing window is ideal, as direct afternoon sun could scorch the delicate cuttings.
Temperature and Humidity
Chrysanthemum cuttings thrive in a warm environment, ideally between 65°F to 75°F (18°C to 24°C). Maintain high humidity levels around the cuttings, which can be achieved through misting with water once or twice a day. Check regularly for moisture in the medium; it should be damp but not soggy.
Monitoring Growth
After a few weeks, your cuttings should begin to root. You can test this by gently tugging on the stems; if you feel resistance, roots are developing. Be patient, as rooting can take anywhere from two to six weeks.
Transplanting Your New Mums
Once your cuttings have established a healthy root system, it’s time to transplant them into larger pots or directly into your indoor garden.
-
Transplanting to Larger Pots: Choose pots that are at least 6–8 inches in diameter. Fill them with well-draining potting soil and make a small hole for each cutting.
-
Acclimate to New Environment: Gradually expose the new plants to more light and slightly lower humidity to help them acclimatize. This process, known as “hardening off,” prepares your plants for life outside their humidity-covered environment.
-
Watering and Fertilizing: Water your transplanted chrysanthemums thoroughly and allow the excess water to drain. After about a month, apply a balanced, water-soluble fertilizer, diluted to half strength, to support growth and blooming.
Common Issues and Solutions
Growing chrysanthemums from cuttings can be relatively straightforward, but some issues might arise:
Yellowing Leaves
If the leaves turn yellow, it could be a sign of overwatering or insufficient nutrients. Adjust your watering schedule and consider fertilizing with a balanced feed.
Wilting
Wilting can indicate underwatering or root rot. Ensure the cuttings are receiving consistent moisture without sitting in waterlogged soil.
Pests
Watch for common pests such as aphids or spider mites. If you notice any infestations, treat your plants with insecticidal soap or neem oil.
Conclusion
Growing chrysanthemums from cuttings indoors can be a fulfilling gardening project that yields beautiful blooms. By following the steps outlined—selecting healthy cuttings, providing proper care, and nurturing your new plants—you can enjoy vibrant flowers that last throughout the growing season and beyond. Not only does this method allow for the expansion of your indoor garden, but it also offers an opportunity to engage with nature and understand the fascinating process of plant propagation.
With patience, attention, and a little love, your indoor chrysanthemum garden will flourish, brightening up your space with their captivating colors and delightful presence. So gather your materials and start your chrysanthemum propagation journey today, and soon you’ll have a thriving collection of these wonderful blooms to enjoy!