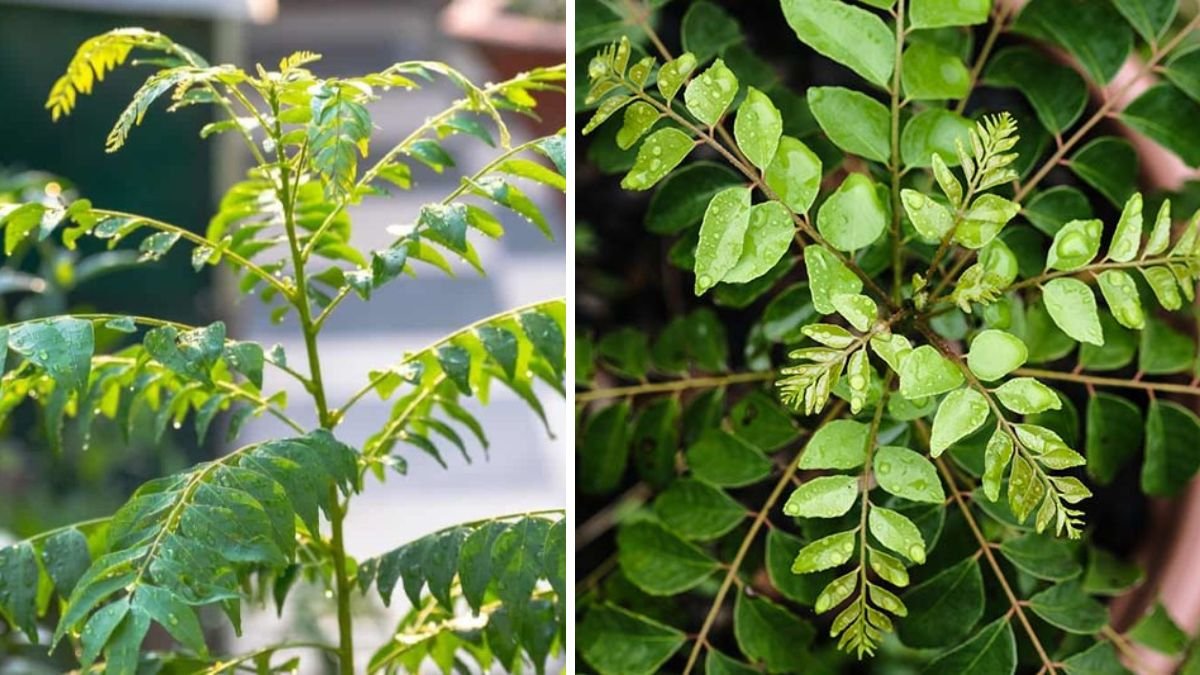
Curry leaf trees (Murraya koenigii) are cherished not only for their aromatic leaves that enhance the flavor of countless dishes, especially in Indian cuisine, but also for their vibrant, lush foliage. Growing a curry leaf tree from a mature stem is a rewarding endeavor that allows you to enjoy fresh curry leaves year-round. This article will guide you through simple steps and essential tips to successfully cultivate a thriving curry leaf tree.
Understanding the Curry Leaf Tree
Before diving into the steps for growing your curry leaf tree, let’s understand a bit about its characteristics:
- Botanical Family: The curry leaf tree belongs to the Rutaceae family.
- Growth Habit: It can grow up to 6-10 feet tall when cultivated in the right conditions.
- Climate: It thrives in warm climates and is sensitive to frost.
Benefits of Growing a Curry Leaf Tree
- Culinary Uses: Fresh curry leaves provide a distinct flavor in various dishes, from curries to chutneys.
- Medicinal Properties: The leaves possess antioxidant, anti-inflammatory, and digestive properties.
- Aesthetic Appeal: The tree adds beauty to gardens with its glossy green leaves.
Step-by-Step Guide to Growing Your Curry Leaf Tree
Step 1: Harvesting a Mature Stem
To grow a curry leaf tree from a mature stem, follow these steps:
Selecting the Right Stem
- Maturity: Ensure the stem is mature and semi-woody, about 6-8 inches long.
- Healthy Cuttings: Choose a stem with healthy leaves and no signs of disease or pest damage. The best time to take cuttings is in spring when the tree is actively growing.
Cutting the Stem
- Using sterilized pruning shears, make a clean cut at an angle to the stem below a leaf node or a node that bears leaves. This encourages new growth.
Step 2: Preparing the Stem for Planting
Removing Lower Leaves
- Gently strip off the lower leaves – this helps prevent rot when placed in soil.
Treatment with Rooting Hormone
- Though optional, dipping the cut end of the stem in rooting hormone can enhance root development.
Step 3: Planting the Stem
Choosing the Right Soil
- Soil Type: Use well-draining potting soil or a mix of sand, perlite, and peat.
- pH Level: Aim for a slightly acidic to neutral pH (6.0 – 7.0).
Planting the Stem
- Take a small pot (4-6 inches) with drainage holes.
- Fill it with the chosen soil mix, making a small hole in the center.
- Insert the prepared stem into the hole, ensuring that at least two nodes are below the soil surface.
- Firm the soil around the stem to provide stability.
Step 4: Watering and Initial Care
Watering
- Initial Watering: Water the soil thoroughly until it drains from the bottom.
- Subsequent Watering: Keep the soil moist (not soggy) for the first few weeks. Once roots develop, allow the soil to dry slightly between waterings.
Humidity and Light
- Light Requirements: Place the pot in a warm area with bright, indirect sunlight. If possible, a south-facing window works well.
- Humidity Levels: If the air is too dry, consider misting the leaves to maintain humidity.
Step 5: Transplanting the Seedling
Once your curry leaf stem has developed roots (after 4-6 weeks), you’ll notice new growth. This is a sign that it’s time to transplant:
- Choose a larger pot (at least 12 inches wide) or a spot in your garden that offers full sun.
- Fill the new pot or garden bed with well-draining soil.
- Carefully remove the young plant from its initial pot, taking care not to damage the roots.
- Plant it in the new pot or location, ensuring it sits at the same depth as before.
- Water thoroughly after transplanting.
Step 6: Ongoing Care and Maintenance
Fertilizing
- Type of Fertilizer: Use a balanced, slow-release fertilizer once every six weeks during the growing season (spring and summer).
- Organic Options: Compost or well-rotted manure can provide nutrients.
Pruning
- Regularly prune the curry leaf tree to encourage bushier growth and remove any damaged or diseased leaves. The best time to prune is in early spring.
Pest Control
- Monitor for pests like aphids and spider mites. Use neem oil or insecticidal soap to treat any infestations organically.
Step 7: Overwintering the Curry Leaf Tree
If you live in a cooler climate, take the following precautions during winter:
- Indoors: Bring the tree indoors before the frost sets in. Ensure it receives ample light and keep it in a warm area.
- Temperature: Maintain a temperature between 60-75°F (15-24°C) to prevent shock.
Frequently Asked Questions (FAQs)
Q1: How long does it take for a curry leaf tree to grow from a stem cutting?
Typically, it takes about 4-6 weeks for cuttings to root. However, full growth may take a few years, depending on environmental conditions.
Q2: Can I grow a curry leaf tree in a pot?
Yes, curry leaf trees adapt well to pot culture. Just ensure the pot is large enough to accommodate growth and has drainage holes.
Q3: How often should I water my curry leaf tree?
Water when the top inch of soil feels dry. Ensure the pot drains well to avoid waterlogging, which can lead to root rot.
Q4: What should I do if my curry leaf tree is not growing?
Check for adequate sunlight, proper watering, and nutrient levels in the soil. Pests or diseases may also hinder growth, so examine the plant carefully.
Q5: Can I grow curry leaves indoors?
Yes, as long as you provide sufficient light (ideally, 6-8 hours of bright light) and maintain humidity.
Q6: How do I propagate curry leaf trees from seeds?
To propagate from seeds, soak seeds in water for a day, then plant them in a pot with well-draining soil. Keep the soil moist, and provide warmth for germination.
Q7: Are there any common pests I should watch out for?
Yes, some common pests include aphids, scale, and spider mites. Regularly inspect your plants and use organic pesticide methods as needed.
Conclusion
Growing a curry leaf tree from a mature stem is a simple and rewarding endeavor, perfect for home cooks and gardening enthusiasts alike. By following these straightforward steps and paying attention to the plant’s needs, you can create a thriving tree that enhances your culinary experiences and adds beauty to your garden. Happy gardening!