Green garlic—also known as young garlic, spring garlic, or “hara lehsun”—is one of the easiest and most nutritious crops you can grow at home. Loved for its mild flavor, tender texture, and powerful health benefits, green garlic is considered a superfood because it contains antioxidants, vitamins, and plant compounds that boost immunity, aid digestion, and reduce inflammation.
The best part?
You don’t need a farm or even a garden to grow it.
Whether you have a backyard, balcony, or kitchen windowsill, green garlic grows fast and easily in containers, pots, or leftover garlic bulbs you already have in your kitchen.
This complete guide will show you exactly how to grow fresh, organic green garlic right at home.
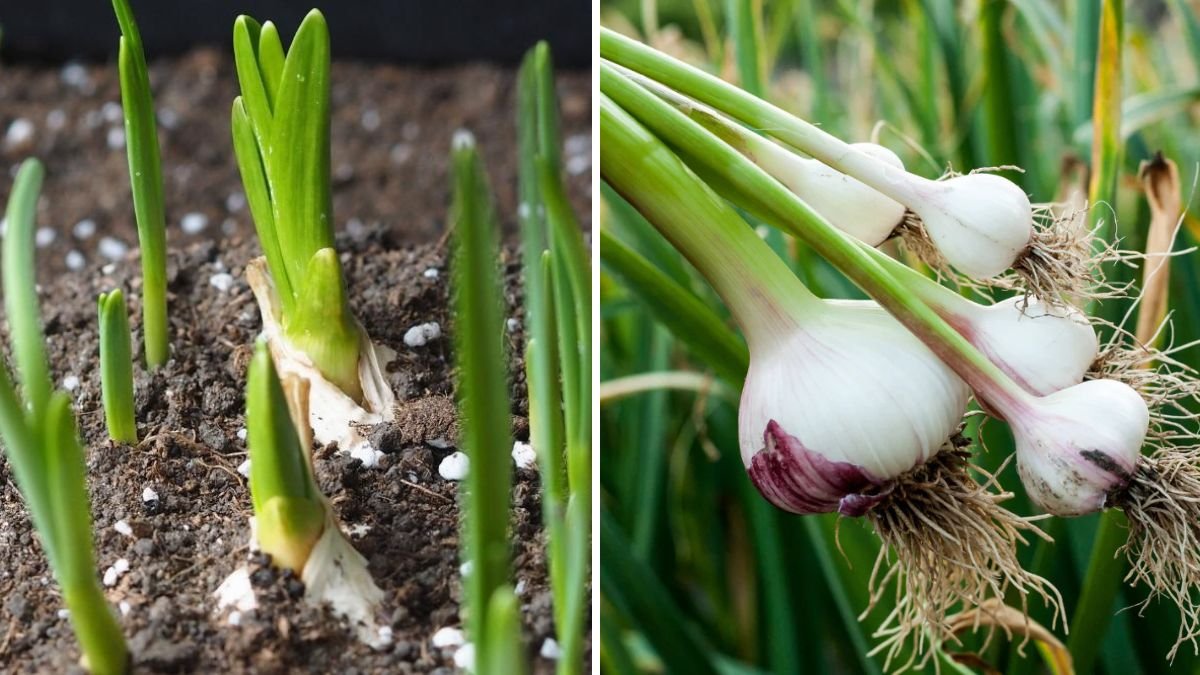
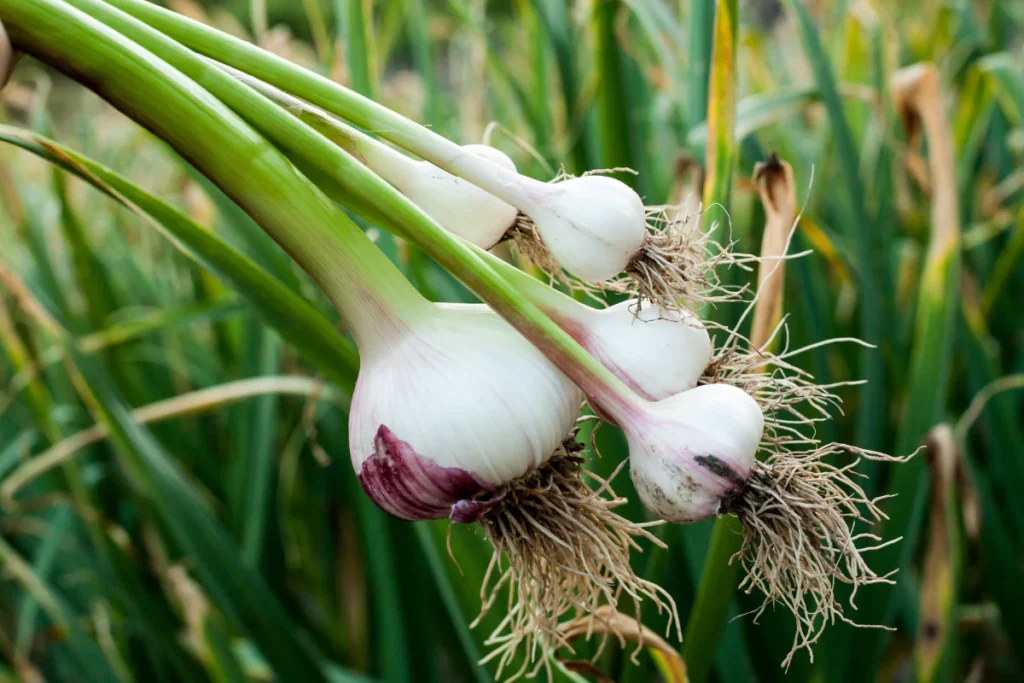
🌱 What Is Green Garlic?
Green garlic is simply garlic harvested before the bulb fully forms. It looks like a cross between a spring onion and a garlic shoot. The entire plant—stems, leaves, and immature bulbs—is edible.
Why Green Garlic Is a Superfood
- Rich in vitamin C, B6, and antioxidants
- Contains allicin, which boosts immunity
- Supports heart health
- Helps reduce inflammation
- Aids digestion
- Adds flavor to soups, curries, stir-fries, and salads
Because it grows quickly (just 2–4 weeks), it’s a perfect choice for beginners and busy gardeners.
🌿 Step 1: Choose the Right Garlic for Planting
You can grow green garlic from:
✔ Store-bought garlic bulbs
– Choose firm, healthy, chemical-free bulbs
– Avoid peeled or damaged cloves
✔ Organic garlic
– Gives better results
– Sprouts faster
✔ Seeds or garlic “sets” from nurseries
– Disease-free and reliable
Tip: Avoid garlic from cold-storage because it may not sprout well.
🪴 Step 2: Choose the Right Container
Green garlic doesn’t need deep soil because it’s harvested young. Containers of any size work, such as:
✔ Pots
✔ Grow bags
✔ Buckets
✔ Tubs
✔ Recycled bottles
✔ Styrofoam boxes
Minimum container depth:
6–8 inches
Drainage is essential:
Make sure your pot has holes so excess water can escape.
🌱 Step 3: Prepare the Ideal Soil Mix
Garlic grows best in loose, fertile, well-draining soil.
Perfect Soil Mix Recipe:
- 40% garden soil
- 30% compost or vermicompost
- 20% coco peat
- 10% sand
Optional Add-ons:
- A handful of neem cake powder (prevents fungal infection)
- A handful of cow dung compost (boosts growth)
- A teaspoon of bone meal (for strong shoots)
Avoid clay-heavy soil as garlic roots need soft soil to grow quickly.
🧄 Step 4: Planting the Garlic Cloves
How to Prepare Cloves:
- Separate the garlic cloves gently
- Don’t remove the papery skin
- Use large, healthy cloves for stronger plants
Planting Method:
- Fill the container with soil, leaving 1 inch at the top.
- Make small holes 2–3 cm deep.
- Place one clove per hole with the pointed end facing upward.
- Leave 2–3 inches of spacing between cloves.
- Cover lightly with soil.
- Water gently.
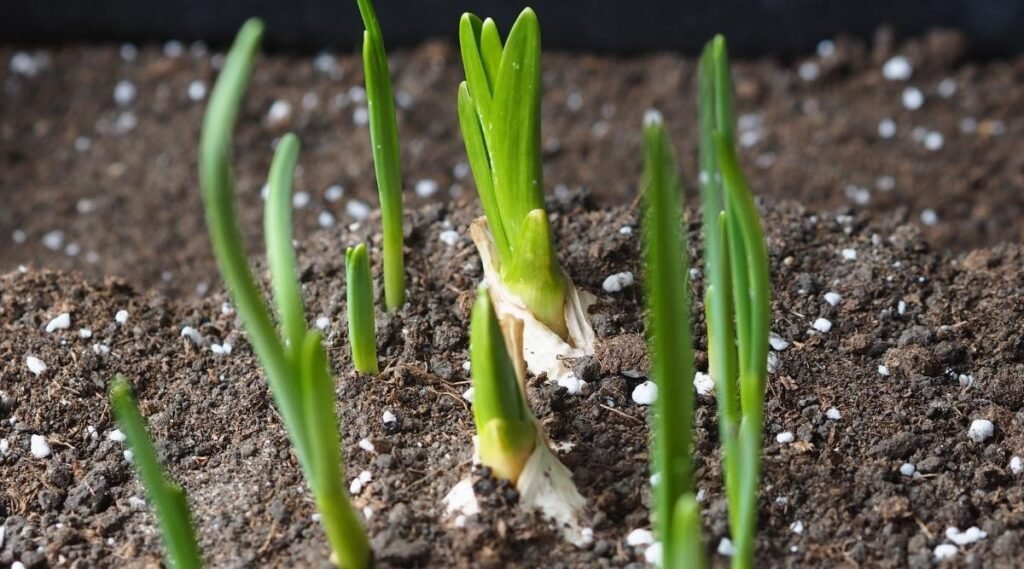
🌞 Step 5: Provide the Best Growing Conditions
Sunlight:
Green garlic needs 4–6 hours of sunlight daily.
If indoors, place it near a sunny window.
Temperature:
It grows best between 15°C to 25°C.
Watering:
- Keep the soil evenly moist
- Water every 2–3 days
- Avoid waterlogging
Humidity:
Mild humidity helps faster shoot growth.
🌱 Step 6: Care and Maintenance
Green garlic requires very little care, making it ideal for beginners.
✔ Fertilizing
Feed once every 10–12 days with any of the following:
- Vermicompost tea
- Compost mixed into the soil
- Seaweed liquid fertilizer
- Cow dung liquid fertilizer
✔ Mulching
Add a thin layer of dry leaves or coco peat to retain moisture.
✔ Pest Control
Usually pest-free, but occasionally you may see:
- Aphids
- Thrips
Use neem oil spray (5 ml per liter of water), once every 10 days.
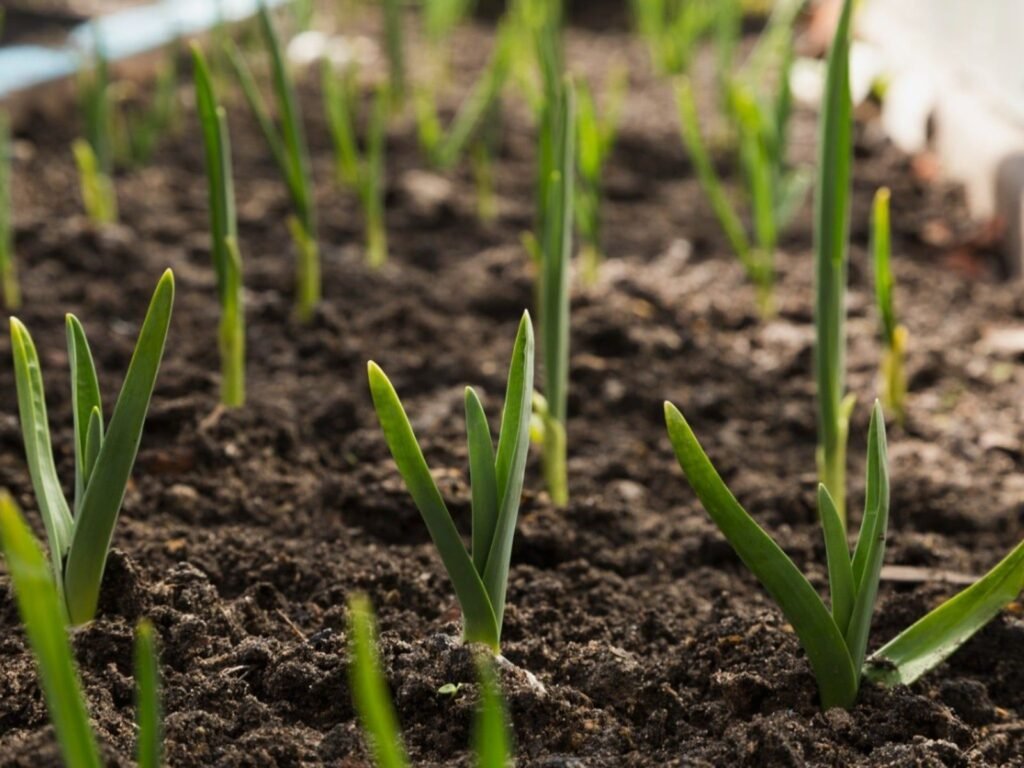
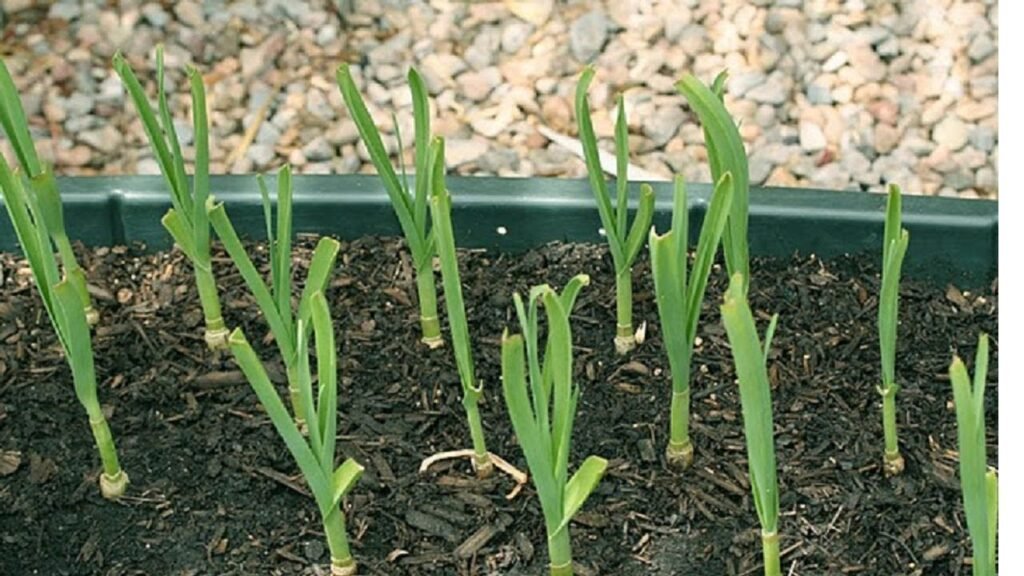
🌿 Step 7: Harvesting Your Green Garlic
This is the best part!
Harvest Time:
15–30 days after planting
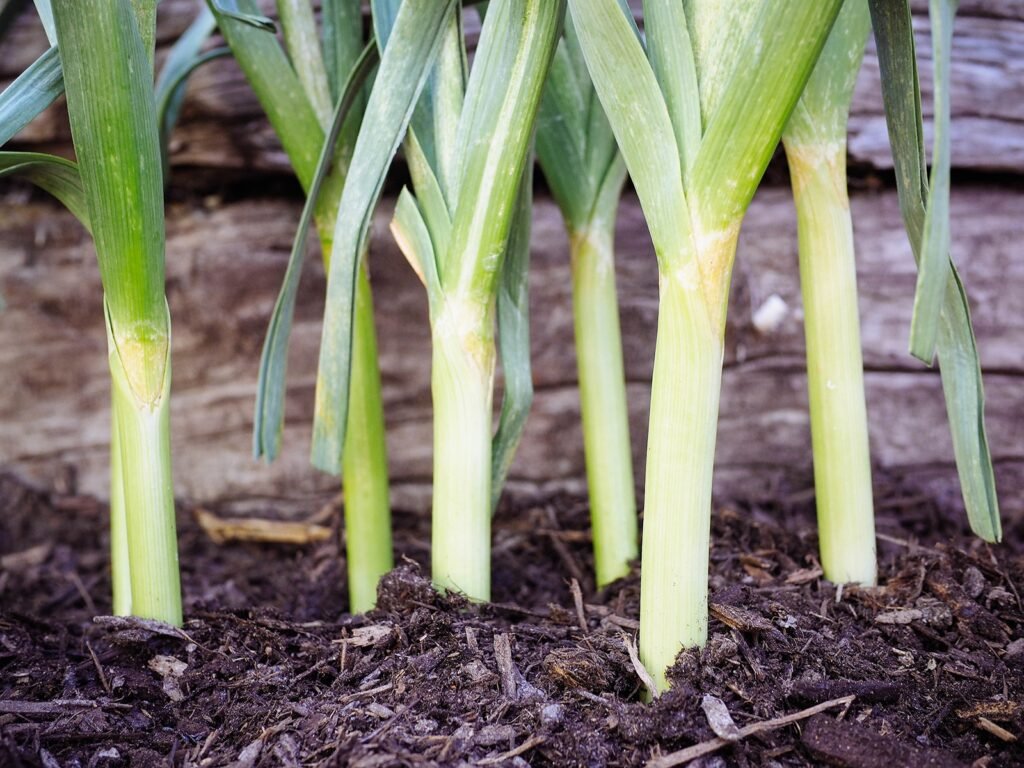
You will see tall, bright green shoots. The stems should be at least 6–8 inches tall.
How to Harvest:
- Hold the green shoot at the base
- Gently pull it out along with the young bulb
- Shake off excess soil
- Trim roots and wash
You can harvest all at once or cut only the greens and let the plant regrow.
Tip: Cutting leaves instead of pulling the plant gives you multiple harvests.
🍽 Step 8: Using Green Garlic in Cooking
Green garlic is tender, aromatic, and milder than mature garlic. You can use it in:
✔ Dal, sabzi, and curry
✔ Paratha or roti dough
✔ Soups and broths
✔ Stir-fries
✔ Garlic butter
✔ Dips and chutneys
✔ Salads
✔ Pulao or fried rice
The flavor is fresh, earthy, and delicious.
🧄 Step 9: Regrowing Green Garlic Again and Again
The best part of growing green garlic is that you can:
✔ Replant new cloves every 2 weeks
✔ Cut and harvest multiple times
✔ Grow year-round in most climates
Green garlic is a perfect continuous-harvest plant for home gardeners.
🌟 Benefits of Growing Green Garlic at Home
Growing your own green garlic gives you:
✔ 100% pesticide-free produce
✔ Better taste and freshness
✔ Fast, easy, low-maintenance crop
✔ Multiple harvests
✔ Superfood nutrition right in your kitchen
✔ Money-saving alternative to buying greens
✔ A rewarding gardening experience
🌱 Pro Tips for Bigger, Healthier Green Garlic
- Use larger cloves for stronger shoots.
- Maintain consistent moisture, especially in the first week.
- Keep the container in bright light.
- Add compost every 2 weeks for continued growth.
- Avoid overcrowding—proper spacing ensures healthy plants.
- Trim leaves regularly to encourage new growth.
🏡 Final Thoughts: Grow Your Own Superfood with Ease
Growing green garlic at home is one of the simplest and most rewarding gardening activities. With minimal effort and almost no space required, you can enjoy fresh, aromatic, nutrient-rich green garlic whenever you want.
Whether you are a beginner, a busy professional, or a passionate home gardener, green garlic is a perfect crop to grow all year round.
So take a few garlic cloves from your kitchen, plant them today, and start your journey of enjoying your own homegrown superfood!