Introduction to Six-Week Mango Seed Growth
Growing a mango tree from seed within six weeks is possible with correct care. Many gardeners give up early due to slow progress. Understanding the growth stages helps maintain patience. This guide explains easy steps clearly. From seed preparation to visible growth, every stage matters. Mango seedlings show noticeable change within weeks. Time-lapse growth reveals exciting development. Beginners can follow this method easily.
Understanding Mango Seed Germination Speed
Germination speed depends on seed freshness and preparation. Removing the husk accelerates growth. Warm temperatures boost sprouting. Moisture activates internal enzymes. Poor conditions slow development. Understanding these factors improves results. Speed comes from correct care. Nature responds quickly when conditions are right.
Selecting the Right Mango Seed
Choose seeds from ripe mangoes. Fresh seeds germinate best. Avoid dried or old seeds. Clean immediately after extraction. Healthy seeds appear firm and bright. Seed quality affects growth speed. Good selection prevents disappointment. Start with the best seed.
Preparing the Seed for Fast Growth
Remove the outer husk carefully. Soak the inner seed briefly. This hydrates the seed. Avoid long soaking. Preparation activates growth enzymes. This step reduces waiting time. Proper handling prevents damage. Prepared seeds sprout faster.
Soil Mix for Rapid Development
Use loose and fertile soil. Mix compost, sand, and garden soil. Drainage is essential. Soil should retain light moisture. Heavy soil slows roots. Healthy soil supports fast growth. Organic matter improves nutrition. Soil quality matters greatly.
Correct Planting Method
Plant the seed horizontally. Cover lightly with soil. Water gently after planting. Do not press soil tightly. Correct orientation supports sprouting. Place pot in warm area. Proper planting prevents rot. Accuracy improves results.
Week One Growth Observation
During first week, roots start forming. No visible growth appears above soil. Internal activity increases. Keep soil moist. Avoid disturbance. Warmth is essential. Patience is required. Invisible growth is happening.
Week Two Sprouting Stage
Shoots begin emerging around second week. Thick stem appears first. Seed may remain attached. Growth becomes visible. Avoid moving the pot. Gentle care supports roots. Excitement begins. Progress confirms success.
Week Three Leaf Development
Leaves begin opening. Green color becomes visible. Photosynthesis starts actively. Gradual sunlight exposure strengthens leaves. Avoid harsh sun. Growth becomes steady. Roots expand underground. Balance is important.
Week Four Stem Strengthening
Stem thickens noticeably. Leaves increase in size. Plant becomes sturdier. Root system develops deeper. Watering must be balanced. Avoid fertilizer still. Natural growth continues. Stability improves.
Week Five Visible Height Increase
Plant height increases visibly. Leaves become waxy. Growth speed improves. Sunlight requirement increases. Introduce morning sunlight. Avoid overwatering. Health is visible. Confidence grows.
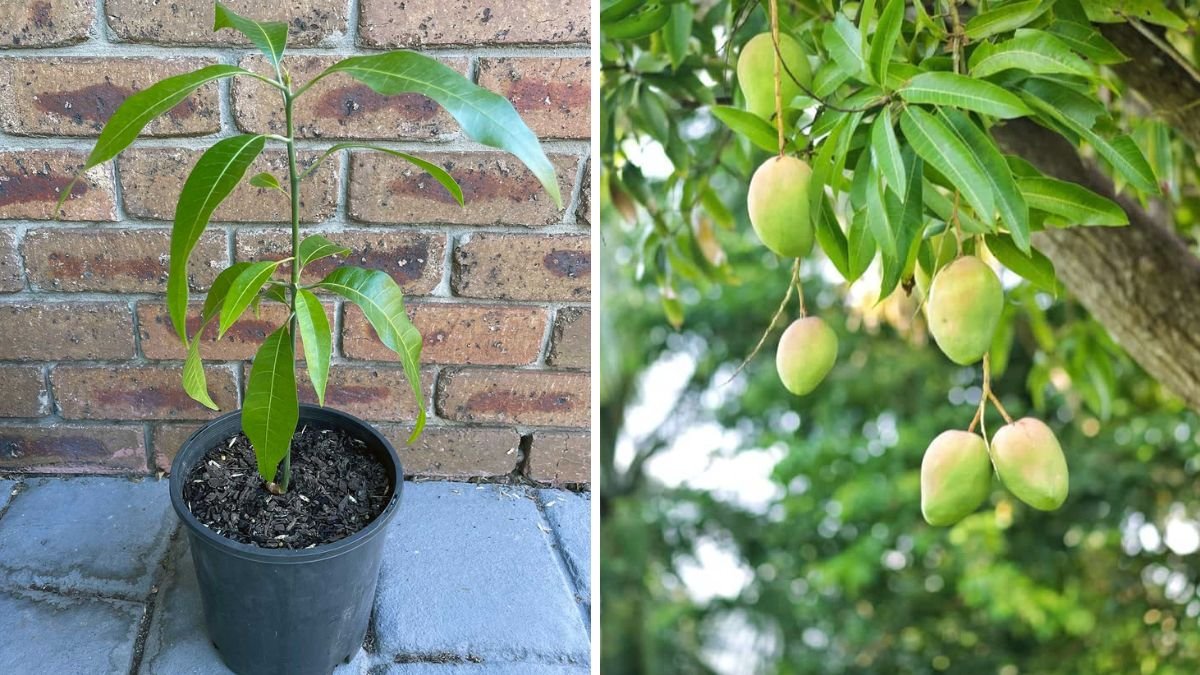
Week Six Established Seedling Stage
By six weeks, seedling is well-established. Multiple leaves appear. Roots fill container partially. Light organic feeding may begin. Growth slows slightly. Foundation is strong. Plant is ready for next stage. Six-week goal achieved.
Sunlight Management During Six Weeks
Gradual sunlight exposure is key. Avoid sudden full sun. Morning light is best. Indoor seedlings need bright windows. Balanced light prevents stress. Leaves strengthen gradually. Sun management affects growth. Observe leaf response.
Watering Strategy for Six Weeks
Maintain consistent moisture. Avoid soggy soil. Check soil before watering. Drain excess water. Water gently. Consistency prevents shock. Balance supports root health. Water management ensures success.
Fertilizer Timing and Type
Do not fertilize early. Seed provides nutrition initially. After six weeks, light compost is safe. Avoid chemicals. Overfeeding damages roots. Gentle feeding supports growth. Organic methods work best. Timing matters.
Transplanting After Six Weeks
Transplant only if roots are strong. Choose larger pot. Use fresh soil mix. Handle carefully. Water after transplanting. Avoid direct sun initially. Proper transplanting prevents shock. Growth resumes soon.
Common Mistakes to Avoid
Overwatering causes rot. Poor drainage damages roots. Excess sunlight burns leaves. Early fertilization harms seedlings. Cold exposure slows growth. Impatience leads to errors. Awareness prevents problems. Observation is key.
Table: Six-Week Mango Growth Timeline
| Week | Growth Stage |
|---|---|
| Week one | Root development |
| Week two | Shoot emergence |
| Week three | Leaf opening |
| Week four | Stem strengthening |
| Week five to six | Seedling establishment |
Benefits of Time-Lapse Growing
Visible progress motivates gardeners. Learning becomes enjoyable. Growth stages become clear. Mistakes are noticed early. Confidence improves. Gardening skills develop. Observation builds experience. Time-lapse teaches patience.
Long-Term Care After Six Weeks
Continue balanced watering. Increase sunlight gradually. Feed organically. Prune later if needed. Protect from cold. Monitor pests. Long-term care ensures success. Growth continues steadily.
Conclusion
Growing a mango tree from seed in six weeks is achievable with proper care. Removing the husk, using good soil, and maintaining warmth speeds growth. Patience and consistency are essential. Avoid common mistakes. Enjoy watching growth stages. Mango seed growing is rewarding. Start your six-week mango journey today.