Bay leaves, with their aromatic fragrance and culinary uses, can make a stylish addition to your home garden. They thrive in indoor conditions and can be easily cultivated in decorative pots. This guide will walk you through the steps of growing bay leaves in a pot, ensuring you enjoy the benefits of this herb while enhancing your home decor.
Understanding Bay Leaves
Bay leaves come from the bay laurel tree (Laurus nobilis), which is native to the Mediterranean region. They are known for their distinct scent and are commonly used in soups, stews, and various other dishes. Besides their culinary uses, bay leaves are also appreciated for their ornamental qualities, making them a popular choice for indoor gardening.
Choosing the Right Pot
When it comes to cultivating bay leaves, selecting the right pot is crucial. Here are some factors to consider:
- Size: Choose a pot that is at least 12 inches in diameter. Bay laurel plants grow into small trees and need enough root space.
- Material: Clay pots are ideal as they allow for good drainage and air circulation. However, ceramic pots can also work well as long as they have drainage holes.
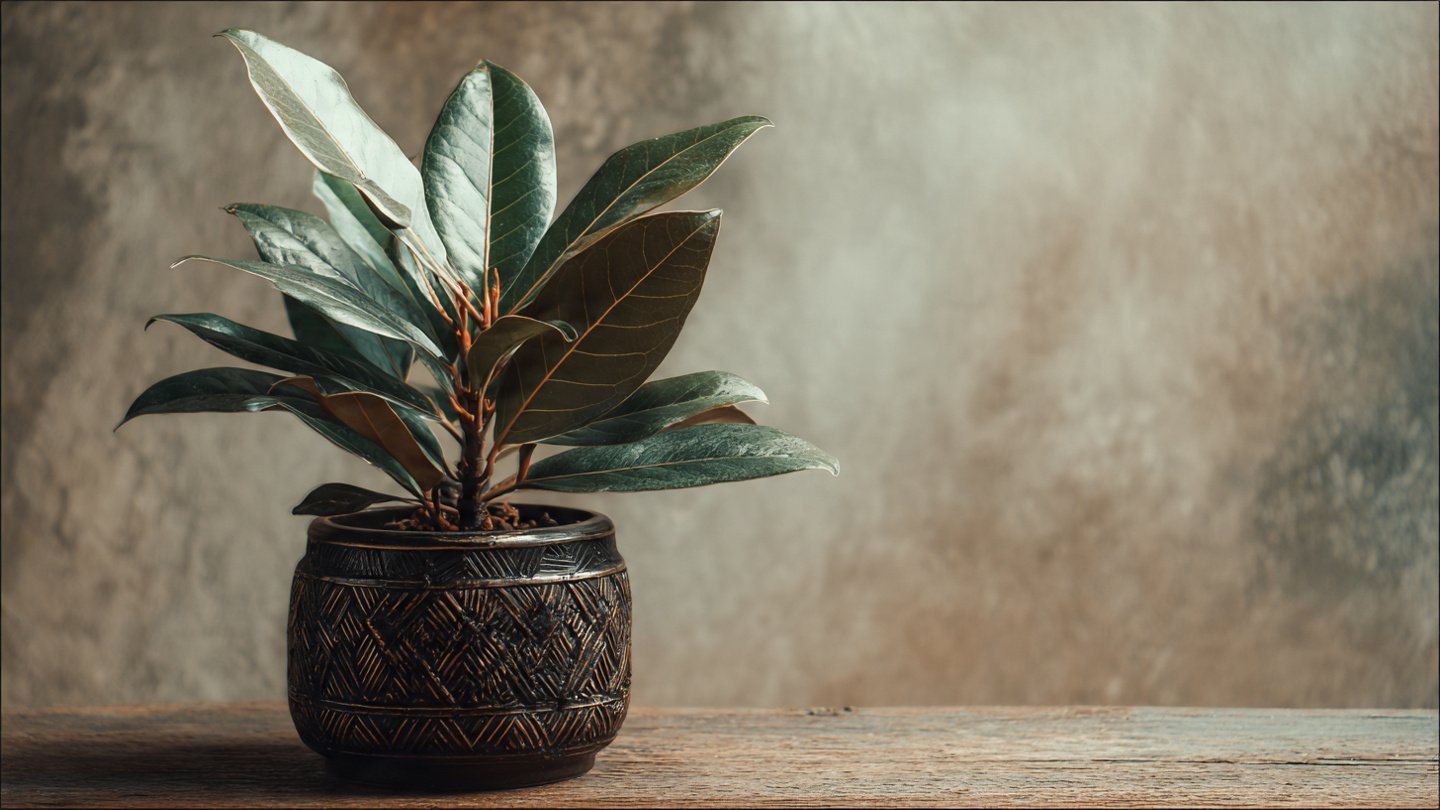
- Design: Select a decorative pot that complements your home design. The aesthetic will enhance your indoor space while serving a practical purpose.
Soil Requirements
Bay laurel prefers well-draining soil that retains some moisture. Follow these guidelines to create the right soil mix:
- Type: A potting mix designed for herbs or vegetables is ideal. You can also mix regular potting soil with perlite or coarse sand for better drainage.
- pH Level: Aim for slightly acidic to neutral soil (pH 6.0 to 7.0) for optimal growth.
- Organic Matter: Adding compost can enhance the nutrient content of the soil, promoting healthy growth.
Planting Bay Leaves
Now that you have your pot and soil ready, it’s time to plant your bay leaves. Here’s how:
From Seeds
- Seed Preparation: Soak bay seeds in water for 24 hours to improve germination rates.
- Sowing: Plant the seeds about 1 inch deep in the soil. Space them at least 3 inches apart.
- Watering: Lightly water the soil after planting but avoid soaking it.
From Cuttings
- Cutting Selection: Select a healthy 6 to 8-inch cutting from an established bay tree. The cutting should have several leaves.
- Rooting Hormone: Dip the cut end in rooting hormone to encourage root development.
- Planting: Insert the cutting into the soil, ensuring the cut end is buried at least an inch deep.
- Watering: Water gently and cover the pot with a plastic bag or a clear dome to maintain humidity.
Watering and Fertilization
Caring for your bay plant involves understanding its watering and fertilization needs:
- Watering: Water the plant when the top two inches of soil feel dry. Avoid waterlogging, as bay laurel is vulnerable to root rot.
- Fertilizing: Feed your bay plant with a balanced, water-soluble fertilizer every four to six weeks during the growing season (spring and summer).
Light and Temperature Requirements
Bay leaves thrive in bright, indirect sunlight. Here are some tips to provide the right environment:
- Light: A south or west-facing window is ideal. If natural light is limited, consider using grow lights.
- Temperature: Keep the plant in a temperature range of 60°F to 75°F (15°C to 24°C). Bay leaves are sensitive to frost, so protect them during colder months.
Pruning and Maintenance
Regular maintenance, including pruning, is essential for a healthy bay plant:
- Pruning: Trim dead or yellowing leaves and shape the plant as needed to encourage bushy growth.
- Repotting: Repot your bay plant every couple of years or when it becomes root-bound. Choose a slightly larger pot to allow for growth.
- Pest Management: Inspect your plant regularly for pests like spider mites or aphids. Use insecticidal soap or neem oil if necessary.
Harvesting Bay Leaves
Once your bay tree has matured (typically 2-3 years), you can start harvesting the leaves:
- Timing: Pick leaves in the morning after the dew has evaporated, as this is when their essential oils are most concentrated.
- Technique: Use clean, sharp scissors to snip off leaves without damaging the stem. Harvesting regularly encourages new growth.
- Storage: Dried bay leaves can be stored in an airtight container away from light or used fresh in your culinary dishes.
Conclusion
Cultivating bay leaves in a decorative pot is not only a fantastic way to enhance your culinary repertoire; it also adds a touch of greenery to your home. Following the guidelines outlined in this article, you can successfully grow a beautiful bay laurel plant that will provide you with fresh leaves for years to come. With the right care, your decorative pot can become a centerpiece, combining functionality with aesthetics.
FAQs
1. How long does it take for bay leaves to grow?
Bay laurel plants can take about 2-3 years to mature enough for harvesting leaves. However, they grow slowly, especially in the first year.
2. Can I grow bay leaves indoors?
Yes! Bay leaves can thrive indoors as long as they receive sufficient light and are kept in suitable temperature conditions.
3. Are there any specific pests that target bay leaves?
Common pests include spider mites and aphids. Regular inspections and appropriate treatments can help manage these pests effectively.
4. Can I prune my bay plant?
Absolutely! Pruning is encouraged to remove dead leaves and shape the plant for bushier growth.
5. What should I do if my plant starts to look unhealthy?
Check for signs of overwatering, pests, or insufficient light. Adjusting care practices or relocating the plant may help revitalize it.