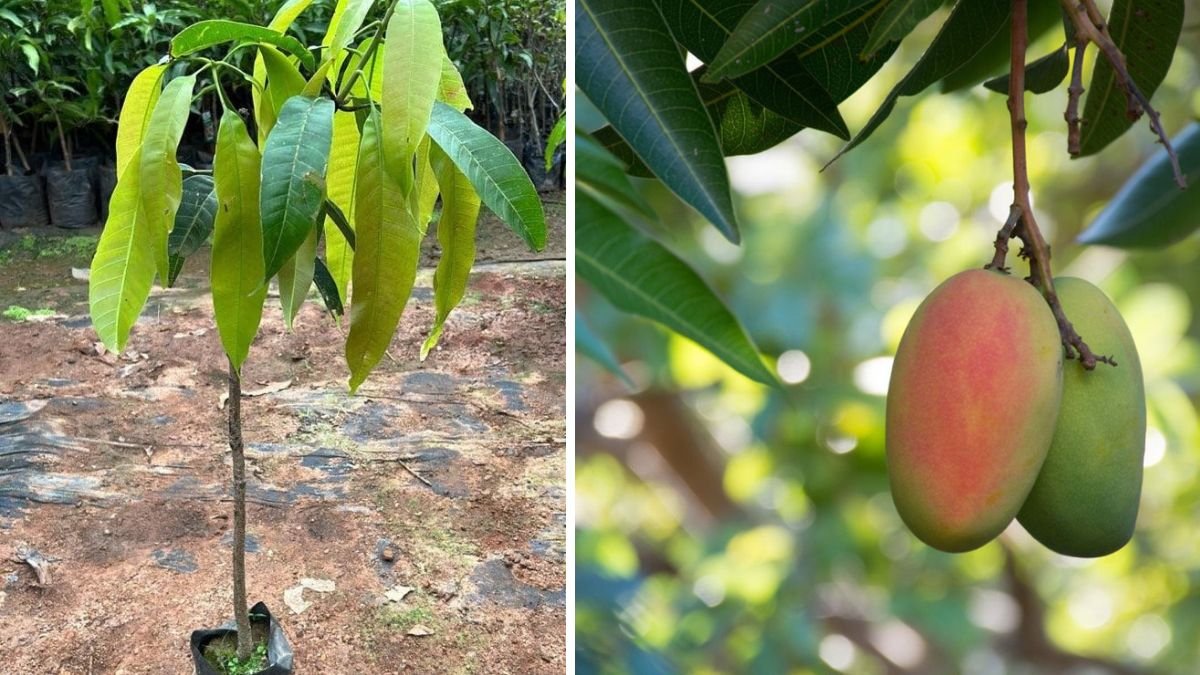
Mango trees are beloved for their luscious fruits, fragrant blooms, and beautiful foliage. For gardening enthusiasts, propagating mango trees through cuttings can be an exciting project. It allows one to not only grow new trees but also preserve the unique characteristics of a favored variety. For beginners, rooting a mango branch at home can seem daunting, but it’s quite feasible with the right techniques and tips. This guide will walk you through an easy method to successfully root mango branches and provide answers to common questions.
Understanding Mango Propagation
Propagation refers to the process of creating new plants from existing ones. While mango trees can be propagated by seeds, rooting a branch (or cutting) is often preferred for several reasons:
- Genetic Consistency: The new plant will have the same genetic makeup as the parent, ensuring fruit quality and growth characteristics.
- Speed: Cuttings can often root and grow faster than seeds, resulting in quicker fruit production.
- Varietal Preservation: If you have a favorite mango variety, vegetative propagation ensures you maintain that specific type.
Selecting the Right Mango Branch
Before diving into the rooting process, selecting the right branch is crucial. Here’s what to consider:
-
Ideal Time: The best time for taking cuttings is during the active growing season. In most regions, this is in the spring or early summer.
-
Branch Selection: Look for healthy, semi-hardwood branches that are 6 to 12 inches long. They should be free from diseases or pests and should have several leaves.
-
Healthy Parent Tree: Ensure the parent tree is healthy, as this impacts the future growth of the new plant.
Tools and Materials Needed
To successfully root a mango branch at home, you’ll need the following:
- Sharp Pruning Shears or Scissors: For clean cuts to minimize damage.
- Rooting Hormone: This can significantly enhance rooting success. It’s available in powdered or liquid form.
- Planting Medium: A well-draining mix, such as a combination of peat moss and perlite or sand.
- Containers: Small pots or propagation trays are suitable for starting your cuttings.
- Plastic Bag or Dome: To maintain humidity around the cuttings.
The Step-by-Step Process
Step 1: Taking the Cutting
-
Prepare Your Tools: Sterilize your pruning shears to avoid any disease transmission.
-
Make the Cut: Scrape a diagonal cut at the end of the branch just below a leaf node. Aim for a cutting about 6 to 12 inches long.
-
Remove Excess Leaves: Trim the cutting to leave two or three healthy leaves at the top, allowing the cutting to focus on root development.
Step 2: Applying Rooting Hormone
- Dip in Rooting Hormone: Lightly dip the cut end of the branch into the rooting hormone. Ensure that only the cut part is covered. If using powder, tap off any excess.
Step 3: Preparing the Planting Medium
-
Mix the Medium: Combine equal parts of peat moss and perlite (or sand) to create a light, well-draining mix.
-
Fill Containers: Fill your pots or trays with the planting medium, leaving about an inch of space at the top.
Step 4: Planting the Cutting
-
Make a Hole: In the center of the medium, make a small hole using your finger or a stick.
-
Insert the Cutting: Gently place the cutting into the hole, ensuring that the cut end is buried about 2 to 3 inches deep.
-
Firm the Medium: Lightly pack the planting medium around the cutting to eliminate air pockets.
Step 5: Providing Optimal Conditions
-
Watering: Water the cutting thoroughly to ensure the medium is moist but not soggy.
-
Humidity: Cover the container with a plastic bag or a propagation dome to maintain high humidity levels. Make sure the plastic does not touch the leaves.
-
Location: Place the container in a warm location with indirect sunlight.
-
Ventilation: Every few days, lift the plastic covering to allow air circulation and to prevent mold growth.
Step 6: Monitoring Growth
-
Inspecting Roots: After about 4-6 weeks, gently tug on the cutting. If you feel resistance, it means roots are forming.
-
Transplanting: Once the roots are at least a few inches long, you can transplant the cutting into a larger pot with standard potting soil.
Step 7: Acclimatization
-
Hardening Off: Gradually acclimate the young tree to outside conditions by placing it outdoors for a few hours each day over a week, increasing exposure time gradually.
-
Transplanting to Garden: When the tree is well-established and weather conditions allow, transplant your young mango plant into the garden or a larger pot.
Common Challenges
-
Mold Growth: This can occur in high humidity. Ensure regular air circulation and use a sterile medium to minimize risk.
-
Cutting Failure: If the cutting does not root within the expected time, it could be due to poor selection or suboptimal environmental conditions.
-
Pests: Keep an eye out for common pests, and treat with organic insecticides if necessary.
FAQs
Q1: How long does it take for a mango cutting to root?
It generally takes about 4 to 6 weeks for mango cuttings to develop roots. Factors like temperature and humidity levels can speed up or slow down this process.
Q2: Can I use a branch from any mango tree?
Yes, you can root a branch from any healthy mango tree. However, ensure that the cutting is from a variety you desire, as its characteristics will carry over to the new plant.
Q3: Do I need to use rooting hormone?
While rooting hormone can enhance rooting success, it is not strictly necessary. Some cuttings may root without it, though success rates can vary.
Q4: How often should I water the cutting?
Keep the planting medium consistently moist—not soggy. Check it regularly, and water when the top inch feels dry.
Q5: When can I expect my mango tree to bear fruit?
Mango trees generally begin to bear fruit 3 to 5 years after planting, depending on the variety and growing conditions.
Q6: Should I fertilize my mango cutting?
Fertilization is advisable once the cutting is well-established and transplanted into a larger pot or garden. Use a balanced, slow-release fertilizer.
Q7: What lighting conditions are best for my mango cutting?
Mango cuttings thrive in bright, indirect sunlight. Avoid direct sunlight during this early growth phase to prevent leaf burn.
Conclusion
Rooting a mango branch at home is an accessible and rewarding project for beginners. With the right techniques, tools, and a little patience, you can cultivate your own mango trees and enjoy the fruits of your labor. Whether you’re looking to enhance your garden or enjoy homegrown mangoes, this guide provides you with a solid foundation for success. Happy gardening!