Growing raspberries in your garden can be a rewarding experience, offering delicious fruits that are perfect for jams, desserts, and fresh eating. One of the most straightforward methods to cultivate these delicious berries is by propagating them from cuttings. This article will guide you through the easy method of growing raspberries from cuttings, providing tips and tricks to ensure success, as well as answering frequently asked questions.
Understanding Raspberries
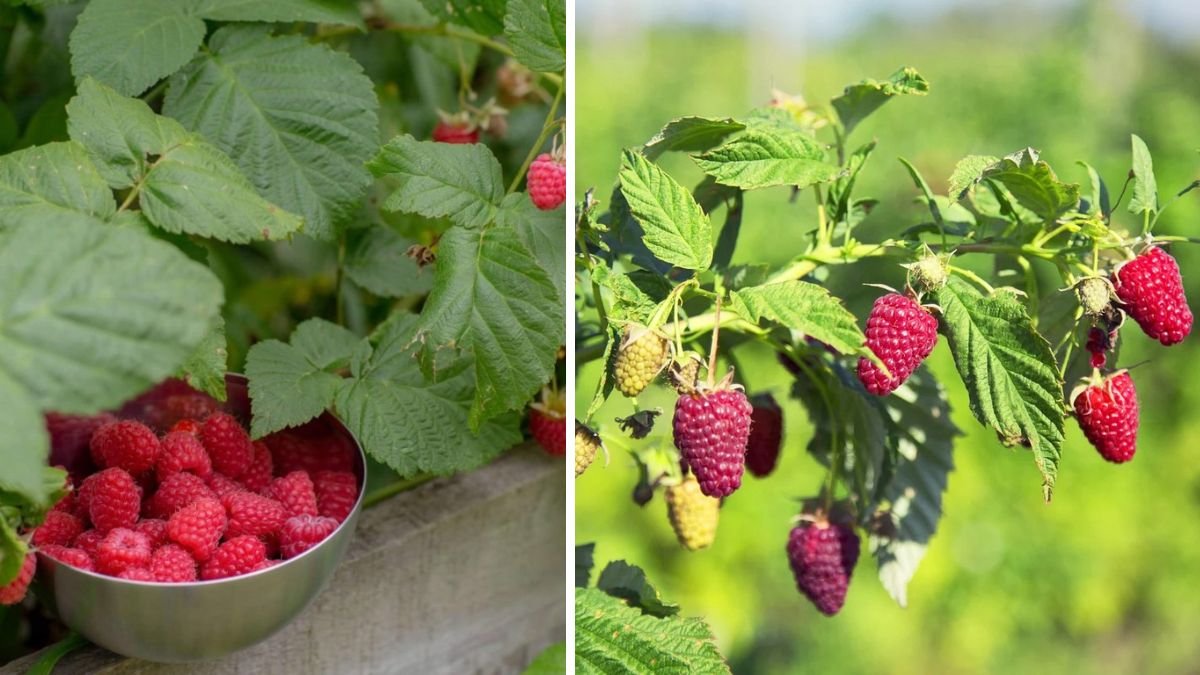
Raspberries (Rubus idaeus) are perennial plants that thrive in temperate climates with well-draining soil, adequate sunlight, and consistent moisture. These plants can produce berries in various colors, including red, black, yellow, and purple. Raspberries typically come in two main types:
- Summer-Bearing: Produces fruit once a year in June or July.
- Ever-Bearing: Produces two crops, one in summer and another in fall.
Advantages of Growing Raspberries from Cuttings
- Cost-Effective: Instead of purchasing expensive plants, growing raspberries from cuttings can save you money.
- Adaptability: Raspberries grown from cuttings often adapt better to your specific garden conditions.
- Simplicity: This method is easier than starting from seeds or purchasing established plants.
Supplies You’ll Need
Before starting, ensure you have the following supplies:
- Healthy Raspberry Plant: Choose a healthy parent plant from which to take your cuttings.
- Pruning Shears: For clean cutting.
- Rooting Hormone: Optional, but can increase success rates.
- Pots or Seed Trays: To hold the cuttings.
- Potting Soil: Lightweight and well-draining.
- Plastic Bag or Dome: To maintain humidity.
Step-by-Step Guide to Growing Raspberries from Cuttings
1. Choosing the Right Time
The best time to take cuttings is during the late winter or early spring when the plant is still dormant. However, you can also take cuttings in the fall after the harvest.
2. Taking Cuttings
-
Select a Healthy Cane: Choose a healthy, disease-free shoot from the parent plant that is at least one year old. Look for canes that are robust and free from signs of damage or disease.
-
Make the Cut: Use clean, sharp pruning shears to cut a section of the cane about 6-8 inches long. Ensure that the cutting has at least 2-3 nodes (the small bumps where leaves grow).
-
Prepare the Cutting: Remove any leaves from the bottom half of the cutting to avoid rot.
3. Preparing the Planting Medium
-
Potting Soil: Use a lightweight potting mix that drains well. A mix of peat moss, perlite, and compost works well.
-
Filling Pots: Fill your pots or seed trays with the prepared soil, leaving about an inch of space at the top.
4. Planting Cuttings
-
Dipping in Rooting Hormone: While optional, dipping the cut end of the cutting in rooting hormone can promote root development.
-
Inserting the Cuttings: Make a small hole in the potting mix with your finger or a stick and insert the cutting about 2-3 inches deep. Gently press the soil around the cutting to hold it in place.
-
Watering: Water the cutting gently to settle the soil around it.
5. Creating a Humid Environment
-
Covering: To maintain a humid environment, cover the pots with a plastic bag or a dome. Ensure there’s some airflow to prevent mold.
-
Light: Place the pots in a location that receives bright, indirect sunlight. Avoid direct sunlight, which can overheat the cuttings.
6. Watering and Care
-
Moisture: Keep the soil consistently moist but not soaked. Overwatering can lead to rot.
-
Monitoring: Check your cuttings regularly for signs of growth. Small leaves or buds indicate that roots are developing.
7. Transplanting Outdoors
Once the cuttings have developed a strong root system (usually after 6-8 weeks), you can transplant them outdoors:
-
Choosing a Location: Find a sunny spot with well-drained soil. Raspberries prefer slightly acidic soil with a pH of 5.5 to 6.5.
-
Preparing the Site: Clear the area of weeds and debris. Amend the soil with compost if necessary.
-
Planting: Dig a hole slightly larger than the root ball of your cutting. Place the cutting in the hole and cover it with soil, ensuring the base is level with the ground surface.
-
Watering: Water thoroughly after planting. Continue to provide consistent moisture as the plants establish.
Maintenance Tips for Healthy Raspberry Plants
1. Watering
Raspberries require about an inch of water per week, especially during dry spells. Drip irrigation is a great method to deliver consistent moisture without overhead watering.
2. Fertilizing
Fertilize your raspberry plants in spring with a balanced fertilizer. Organic options like compost or well-rotted manure can provide essential nutrients without chemical additives.
3. Pruning
Pruning is essential for maintaining healthy raspberry plants. Remove dead or damaged canes, and thin out crowded areas to improve air circulation.
4. Mulching
Applying mulch around the base of your raspberry plants can help conserve moisture, suppress weeds, and maintain soil temperature.
5. Pest and Disease Management
Keep an eye out for common pests such as aphids, spider mites, and raspberry beetles. Fungal diseases like powdery mildew can also occur. Use organic pesticides or fungicides as needed, and practice good sanitation in your garden.
Harvesting Your Raspberries
Raspberries are usually ready for harvest when they are fully colored, plump, and easily come off the stem. They can be gathered in the early morning or late afternoon for the best quality.
Frequently Asked Questions (FAQs)
Q1: Can I grow raspberries in containers?
A1: Yes, raspberries can be grown in containers. Choose a large pot (at least 5 gallons) and ensure it has drainage holes.
Q2: Do I need more than one raspberry plant for pollination?
A2: No, most raspberry varieties are self-pollinating, meaning a single plant can produce fruit. However, planting multiple varieties can enhance your crop.
Q3: How long do raspberry cuttings take to develop roots?
A3: Raspberry cuttings typically take around 6-8 weeks to develop a strong root system.
Q4: Can I propagate raspberries from store-bought fruit?
A4: It’s best to propagate from healthy, disease-free plants rather than store-bought fruit, as they may not produce or could lead to disease issues.
Q5: When is the best time to plant raspberry cuttings outdoors?
A5: The ideal time for transplanting raspberry cuttings outdoors is in spring after the last frost, or in the fall before the first frost.
Q6: How can I ensure a good yield of raspberries?
A6: Ensure proper care through consistent watering, annual pruning, and fertilizing during the growing season to maximize yields.
Conclusion
Growing raspberries from cuttings is a simple and fulfilling project that can yield delicious fruits for years to come. By following the steps outlined above, you can create a thriving raspberry patch in your garden. With proper care, you’ll soon be on your way to enjoying the sweet taste of homegrown raspberries! Happy gardening!