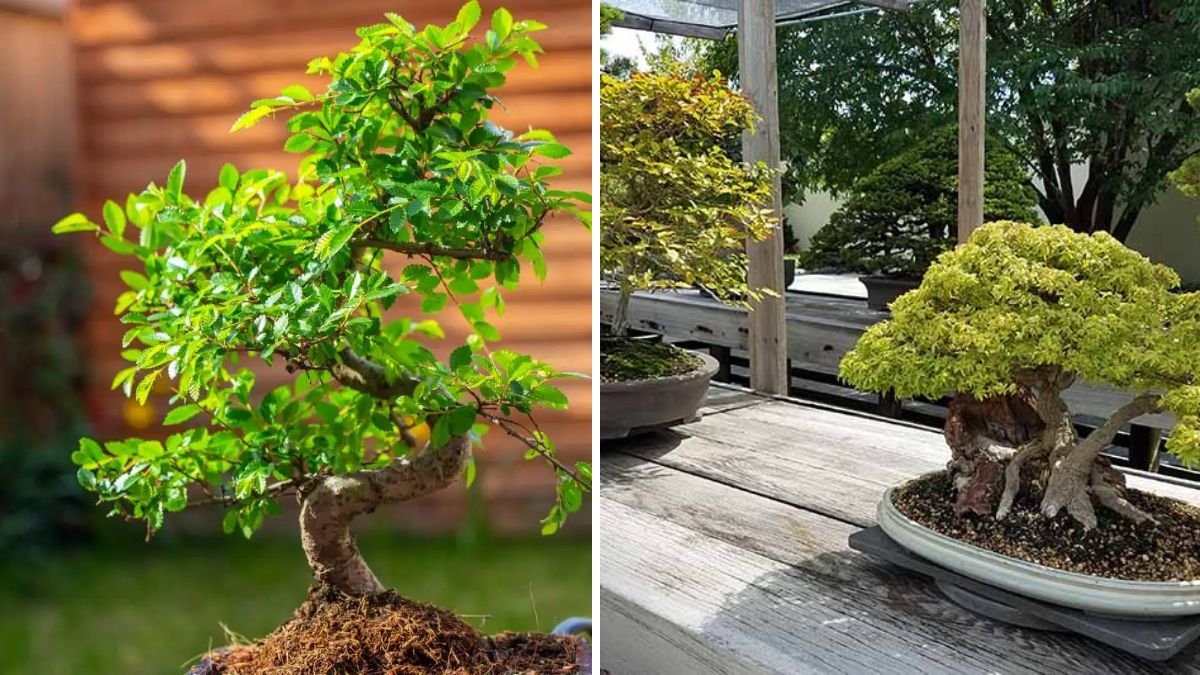
Bonsai trees are living art—miniature versions of giant trees shaped with patience, technique, and creativity. While many people think bonsai cultivation is complicated, the truth is that one of the most powerful techniques—grafting—can be surprisingly easy, even for beginners. With simple tools, the right timing, and a bit of guidance, you can successfully graft bonsai trees and create beautiful shapes, unique branches, and healthier, more vigorous plants.
Whether you want to add new varieties, improve your bonsai’s structure, or transform a simple plant into a masterpiece, this guide will walk you through easy bonsai grafting methods and show you how to grow your own stunning miniature trees at home.
1. What Is Bonsai Grafting and Why Use It?
Grafting is a technique where you join two different plant parts—usually a rootstock and a scion—so they grow as one. In bonsai cultivation, grafting can:
Enhance Aesthetics
- Add branches where none exist
- Improve overall shape
- Create symmetry
Save Time
Instead of waiting years for new branches to grow naturally, grafting speeds up the process.
Increase Strength and Health
Using a vigorous rootstock helps weak or rare varieties grow better.
Create Unique Bonsai Styles
From multi-colored foliage bonsai to unusual branch placements, grafting opens endless artistic possibilities.
If you want to level-up your bonsai journey, grafting is a must-learn technique.
2. Choosing the Right Bonsai Plants for Grafting
Not all species graft well. For beginners, it’s best to choose forgiving, fast-growing varieties.
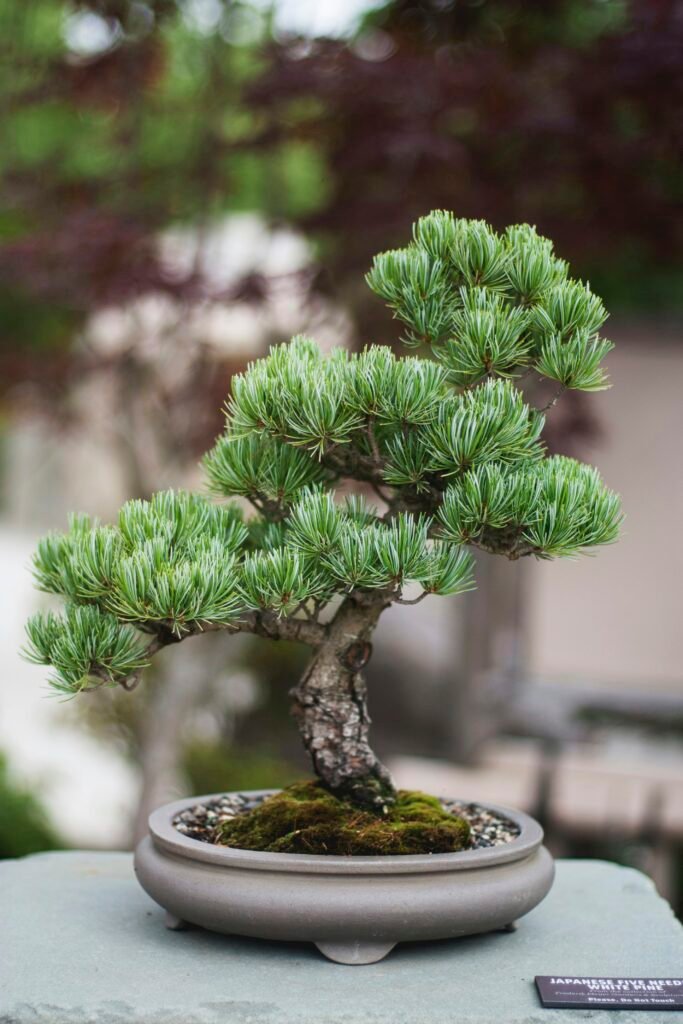
Best Bonsai Species for Easy Grafting:
- Ficus (most beginner-friendly)
- Juniper
- Pine
- Maple
- Cherry
- Jade Plant
- Azalea
Rootstock Selection
Choose:
- A strong, disease-free plant
- 1–2 years old
- With a thick, healthy stem
Scion Selection
Pick:
- Healthy young shoots
- 5–10 cm long
- With 2–4 buds
A good match between rootstock and scion increases success dramatically.
3. Best Time for Grafting Bonsai Trees
Timing is crucial. The ideal grafting period varies based on species, but generally:
Best Grafting Season:
- Late winter to early spring
When sap begins to flow and growth resumes.
For Evergreen Bonsai:
- Late spring or early summer
For Ficus Bonsai:
- Almost any time (except winter)
Working during active growing season ensures faster healing and stronger union.
4. Preparing Tools and Materials
Good tools make grafting clean and efficient.
Tools You Need:
- Sharp grafting knife or blade
- Grafting tape or budding tape
- Pruning shears
- Alcohol for sterilizing
- Rubber bands (optional)
- Cut paste or sealing wax
Clean tools prevent infection and increase grafting success.
5. Easy Bonsai Grafting Techniques for Beginners

Here are the simplest and most effective grafting techniques suitable for bonsai:
Technique 1: Cleft Grafting (Best for Thick Trunks)
Cleft grafting is ideal when you want to add new branches to a bonsai trunk.
How to Do It:
- Cut the rootstock trunk or branch straight across.
- Make a vertical slit (2–3 cm) down the center.
- Prepare the scion by shaping its base into a wedge.
- Insert the wedge into the slit so the cambium layers touch.
- Wrap with grafting tape tightly.
- Seal exposed areas with grafting paste.
Why It Works
- Strong union
- Great for adding branches on older bonsai
- High success rate
Technique 2: Side Grafting (Perfect for Adding Branches)
Side grafting helps you create new branches exactly where you want them.
How to Do It:
- Choose a spot on the trunk or branch.
- Make a slanted cut into the bark (not too deep).
- Shape the scion base to fit the cut.
- Insert scion securely.
- Wrap tightly with grafting tape.
Benefits:
- Allows precise placement
- Minimal damage to tree
- Ideal for styling adjustments
Technique 3: Approach Grafting (Most Beginner-Friendly)
Approach grafting is nearly foolproof because both the rootstock and scion remain attached to their own root systems throughout the process.
How to Do It:
- Place scion (a potted plant) next to the bonsai trunk.
- Remove bark from both plants to expose cambium.
- Join them together and secure with tape or clips.
- Wait 4–8 weeks for the union to form.
- Cut scion from its original plant once attached.
Benefits:
- Very high success rate
- Great for adding new branches to difficult species
- Perfect for beginners
Technique 4: Whip and Tongue Grafting (For Expert Shaping)
This method creates a very strong union and is ideal for young bonsai plants.
How to Do It:
- Make matching diagonal cuts on both scion and rootstock.
- Add a small tongue-like notch in each cut.
- Join them like puzzle pieces.
- Wrap firmly with tape.
This technique is slightly advanced but produces seamless results.
6. Aftercare: Ensuring Your Graft Succeeds
Temperature & Humidity
Keep the bonsai in a warm, shaded spot to reduce stress. Avoid direct sunlight for the first 2–3 weeks.
Watering
- Keep soil moist (not soggy).
- Reduce watering immediately after grafting.
Protection
- Wrap graft area properly to avoid drying.
- Keep away from heavy winds.
- Avoid touching or disturbing the graft.
Check for Signs of Success
Look for:
- New bud swelling
- Fresh leaves
- Strong union forming
- Scion staying green
If the scion dries out or turns brown, the graft has failed.
7. Shaping Your Bonsai After Successful Grafting
Once the grafted branch begins growing, you can shape it using traditional bonsai techniques:
Wiring
Helps you bend and position branches.
Pruning
Encourages miniature foliage and compact growth.
Pinching
Keeps shape refined and balanced.
Defoliation
Used for species like ficus to reduce leaf size and improve density.
Grafting helps you build the foundation—shaping brings the design to life.
8. Common Mistakes to Avoid
To ensure maximum success:
❌ Do not use a dull blade
❌ Avoid grafting in cold or extreme heat
❌ Don’t allow scion to dry out
❌ Don’t wrap too loosely or too tightly
❌ Never expose graft to full sun too early
❌ Don’t water excessively after grafting
Correct technique + patience = perfect bonsai graft.
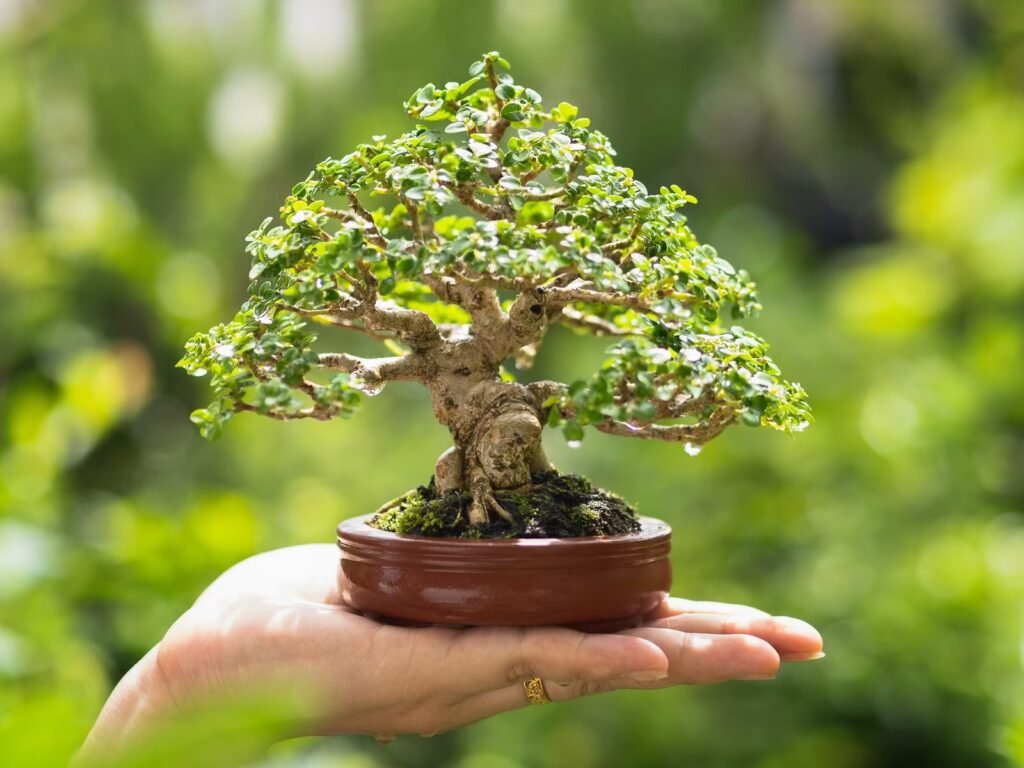
9. Benefits of Growing Your Own Grafted Bonsai
Growing bonsai is not just gardening—it’s a meditative, creative journey.
Why You’ll Love Grafting Bonsai:
- Faster shaping
- Stronger plants
- Unlimited design possibilities
- Ability to fix flaws
- The joy of creating a living artwork
Grafting allows you to take control of your bonsai’s future, creating exactly the design you envision.
Final Thoughts
Bonsai grafting may seem intimidating, but once you understand the process, it becomes one of the most enjoyable and rewarding parts of bonsai cultivation. Whether you’re adding a missing branch, improving structure, or creating a unique design, grafting gives you the power to shape your miniature tree with precision and creativity.
With simple tools, the right timing, and the techniques explained above, anyone can successfully graft bonsai trees—even complete beginners.
Start experimenting today, and watch your bonsai garden transform into a collection of stunning, personalized masterpieces! 🌳✨