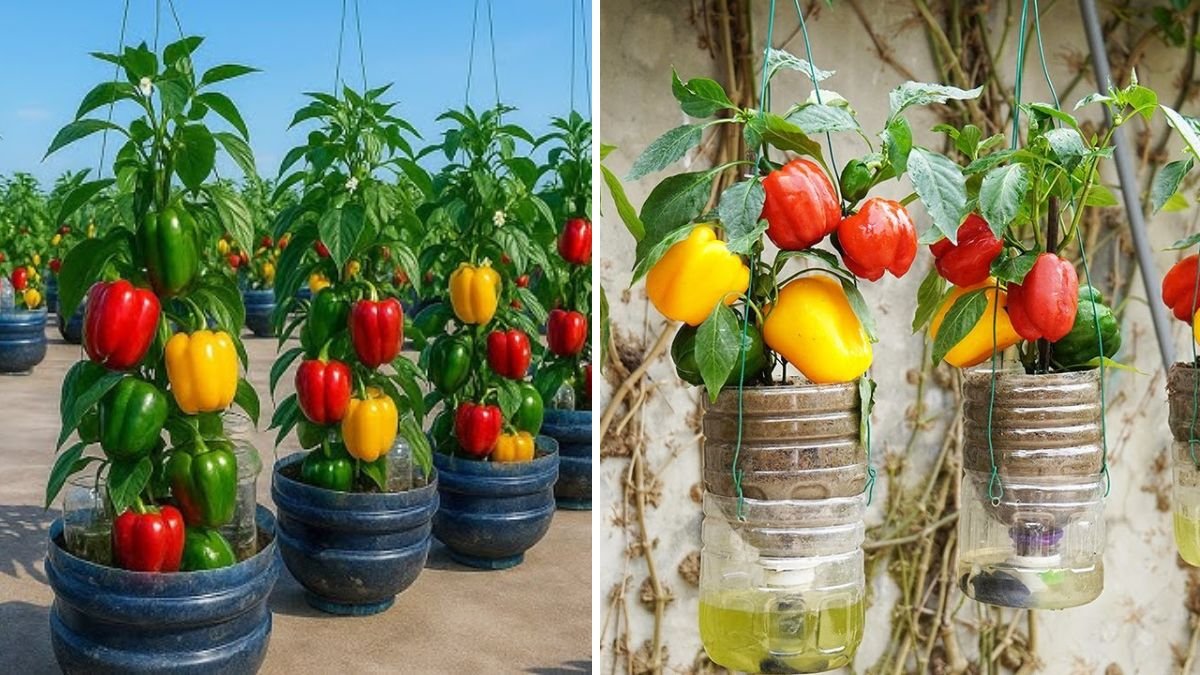
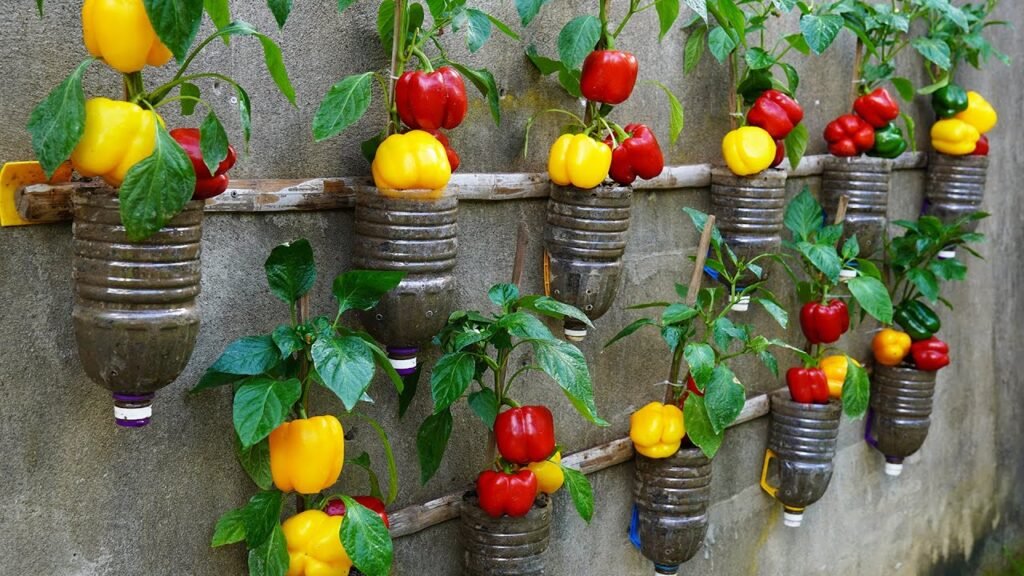
Bell peppers are a colorful, nutritious, and versatile vegetable that can transform your meals with their sweet crunch. But what if you don’t have a backyard garden? With a DIY wall garden using bottles, urban gardeners in the US and Europe can grow bell peppers vertically, saving space while producing abundant, healthy fruits.
This guide will show you how to create a bottle wall garden for bell peppers, covering everything from materials and planting to care, fertilization, and harvesting.
Why Grow Bell Peppers in a Wall Garden?
Vertical gardening with bottles offers many advantages:
- Space-efficient: Perfect for balconies, terraces, and small patios
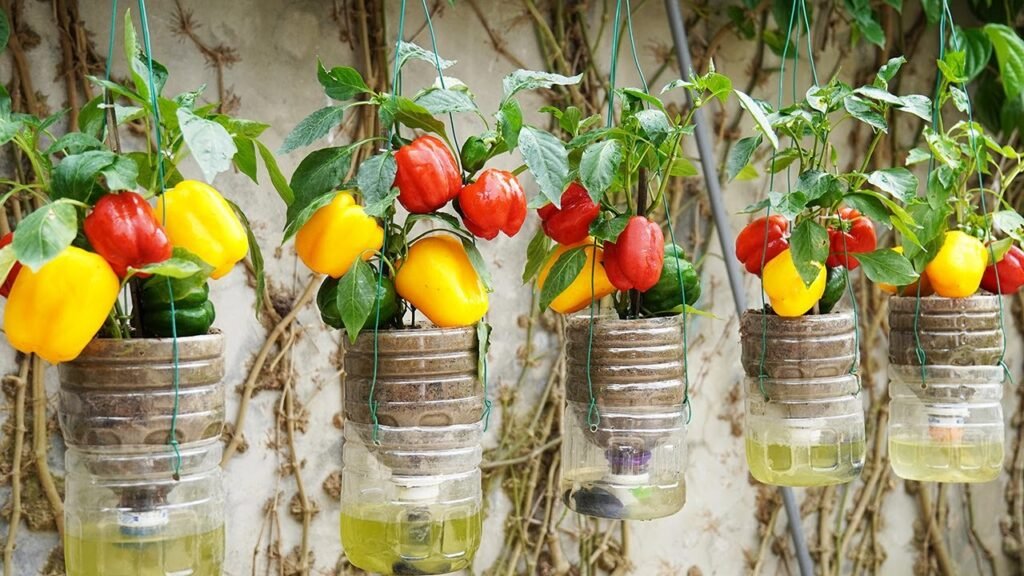
- Recycling-friendly: Turn old plastic bottles into productive planters
- Easy maintenance: Watering and harvesting are convenient
- Pest control: Plants elevated from the ground reduce pest and disease risks
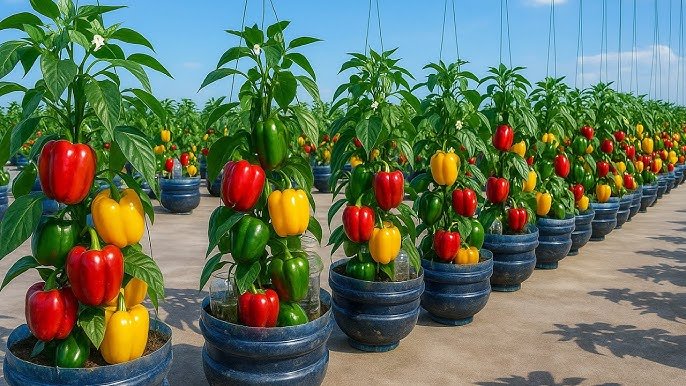
- High yield: Proper care produces a surprising number of peppers per square foot
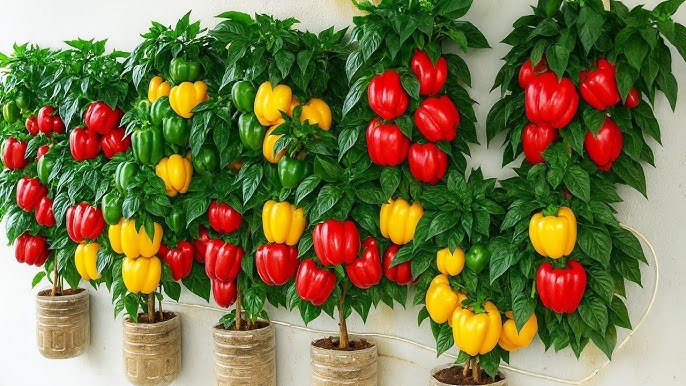
Even a small wall setup can supply enough bell peppers for a household, fresh and organic.
Step 1: Selecting Bottles
The first step is choosing the right bottles for your wall garden.
Bottle Guidelines
- Size: 1–2 liter bottles work best
- Material: Plastic, clean and sturdy
- Drainage: Drill 2–3 holes at the bottom for excess water
- Shape: Straight-sided bottles are easier to mount on walls
Pro Tip: Use transparent or green bottles to monitor soil moisture and root growth easily.
Step 2: Preparing the Bottles
- Wash bottles thoroughly to remove residues.
- Cut a horizontal opening on the side large enough for planting.
- Drill drainage holes at the bottom.
- Add small stones or broken pottery at the base to improve drainage.
- Mount the bottles on the wall securely using ropes, hooks, or metal brackets.
Proper preparation ensures strong, healthy plants and prevents waterlogging.
Step 3: Preparing the Soil Mix
Bell peppers require nutrient-rich, well-draining soil for optimal growth.
Ideal Soil Mix
- 50% garden soil
- 30% compost or vermicompost
- 20% cocopeat or sand for drainage
Optional Additives
- Bone meal or rock phosphate for strong root and fruit development
- Wood ash or potash to promote flowering
- Neem cake for natural pest control
Mix thoroughly to create a loose, fertile medium that retains moisture but drains well.
Step 4: Choosing Bell Pepper Varieties
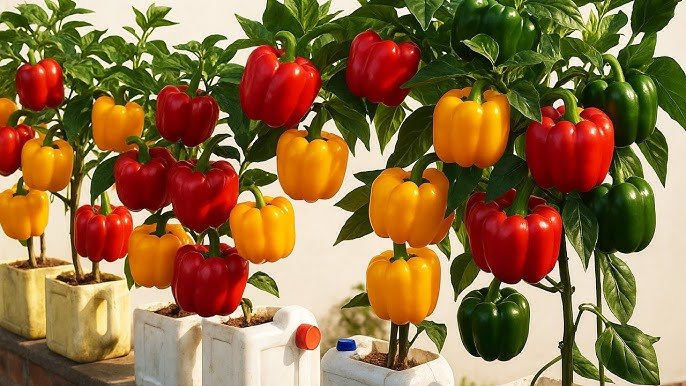
The right variety ensures vibrant colors and high yields.
Recommended Varieties for Wall Gardens
- California Wonder: Classic, sweet, and productive
- Sweet Mix: Small, colorful, and fast-growing
- Mini bell peppers: Ideal for limited spaces
- Early maturing varieties: Produce fruits quickly in containers
Select compact, container-friendly varieties for best results in a wall garden.
Step 5: Planting Bell Peppers in Bottles
Bell peppers can be grown from seeds or seedlings.
From Seeds
- Start seeds in small trays or pots 6–8 weeks before transplanting.
- Keep soil moist until germination.
- Transplant seedlings to bottles after 3–4 weeks once they have 3–4 true leaves.
From Seedlings
- Choose seedlings that are strong, healthy, and 4–6 inches tall.
- Plant them deep in the bottle soil to encourage strong root growth.
- Water gently after planting.
Spacing: Plant one bell pepper per bottle to ensure enough room for growth.
Step 6: Sunlight Requirements
Bell peppers need full sunlight to thrive.
- Minimum: 6 hours/day
- Optimal: 7–8 hours/day
- Morning sun is preferable; provide partial shade during hot afternoons
Adequate sunlight promotes strong stems, vibrant foliage, and abundant flowering.
Step 7: Watering Bell Peppers
Bell peppers require consistent moisture, but overwatering can harm roots.
Watering Guidelines
- Keep soil evenly moist, especially during flowering and fruiting
- Water at the base of the plant to prevent fungal diseases
- Mulch with coconut coir or straw to retain moisture in the bottle
- Summer: Water daily or every other day
- Cooler months: Water every 2–3 days
Pro Tip: Ensure proper drainage to avoid waterlogged soil, which can stunt growth.
Step 8: Fertilizing for Big Yields
Bell peppers are nutrient-hungry, especially during flowering and fruiting.
Fertilizer Schedule
- Every 2 weeks: Apply compost or vermicompost around the plant
- Every 10–14 days: Use liquid fertilizer (cow dung water, compost tea, or seaweed extract)
- During flowering: Add potash (banana peel or wood ash) to enhance fruit size and sweetness
Balanced nutrients encourage continuous flowering and heavy fruit production.
Step 9: Supporting Bell Pepper Plants
Even in bottles, bell pepper plants need support as fruits grow heavy.
- Use bamboo sticks or small trellis pieces
- Tie stems loosely to avoid breakage
- Regular pruning of lower leaves improves airflow and prevents disease
Proper support ensures strong stems and well-formed, colorful peppers.
Step 10: Pollination Tips
Bell peppers are self-pollinating, but pollination can be improved for higher yields.
- Gently shake flowers daily to distribute pollen
- Encourage pollinators by planting flowering companions nearby
- Hand-pollinate with a small brush if necessary
Effective pollination results in uniform, healthy fruits.
Step 11: Pest and Disease Management
Even in vertical bottle gardens, bell peppers can face pests like aphids, whiteflies, and fungal infections.
Management Tips
- Inspect plants regularly and remove damaged leaves
- Spray neem oil or organic insecticides weekly
- Ensure good airflow between bottles
- Avoid overhead watering to reduce fungal issues
Healthy plants produce disease-free, high-quality peppers consistently.
Step 12: Harvesting Bell Peppers
Bell peppers are ready to harvest when fully colored, firm, and slightly glossy.
Harvesting Tips
- Pick fruits regularly to encourage new growth
- Early harvest (green peppers) can be done before full ripening
- Avoid leaving overripe fruits, as this reduces overall yield
Expected Yield: Each bottle can produce 3–5 peppers per season, depending on variety and care.
Advantages of a DIY Wall Garden
- No traditional garden needed; ideal for urban living
- Space-efficient and visually attractive
- Easy maintenance and harvesting
- Full control over soil, water, and nutrients
- Recycles plastic bottles, promoting sustainability
- Continuous harvests with minimal space
Even a small wall garden can supply fresh, colorful bell peppers year-round.
Final Thoughts: Big Yields from a Bottle Wall Garden
Creating a DIY wall garden using bottles is simple, eco-friendly, and highly productive. With proper soil, sunlight, watering, fertilization, and support, even limited spaces can produce abundant, colorful bell peppers.
A bottle wall garden transforms balconies, terraces, and small patios into productive vertical farms, providing fresh, organic vegetables all season. By following these steps, gardeners in the US and Europe can enjoy juicy, vibrant bell peppers with minimal space and effort.